Behind the Seams: the Eggstravagant Easter Egg Hunt Dress
*Edit*
So, a lame thing happened: this post got deleted. That could have happened either of these two ways:
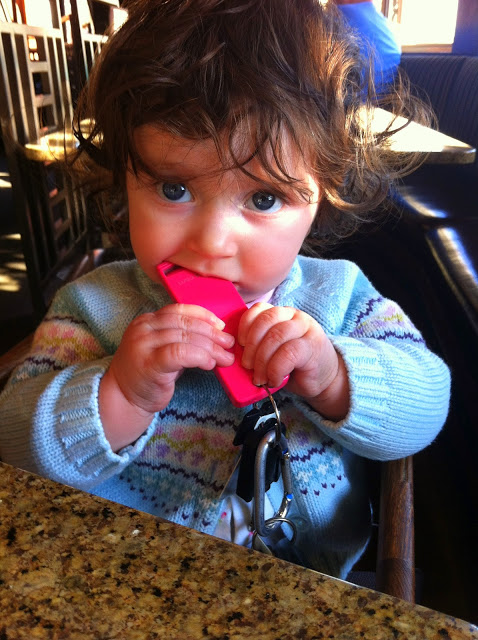
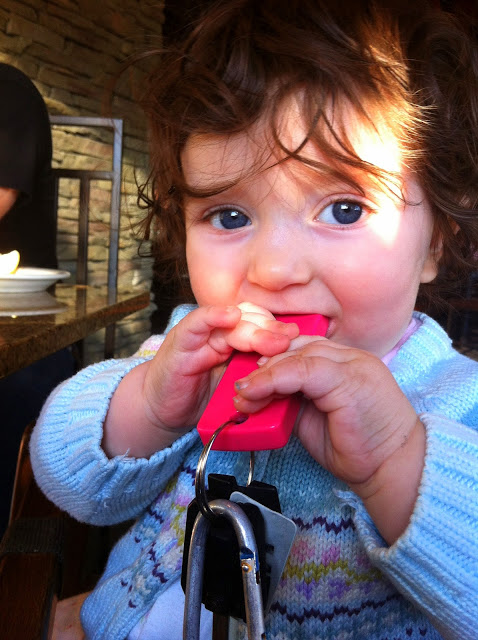
Az decided to go to Safari whilst playing with my phone then clicked on something she shouldn't have and deleted it's contents. OR
The baby hit or kicked my arm and made me do something awful.
Honestly, it could have been either. And this all happened or was discovered an hour or so ago, so we are all right in the middle of our sleep. I'm going to try to do the best I can to remember everything (including the banter, ha!). Here goes nothin'!
So I promised to do an in depth look behind the seams on my Eggstravagant Easter Egg Dress that I made for Azriella for Easter this year (and for the ulterior motive to participate in the PR&P auditions)! This dress is packing so secrets, so let's start the tour! I promise there was a method and motive to all the madness!Ha!
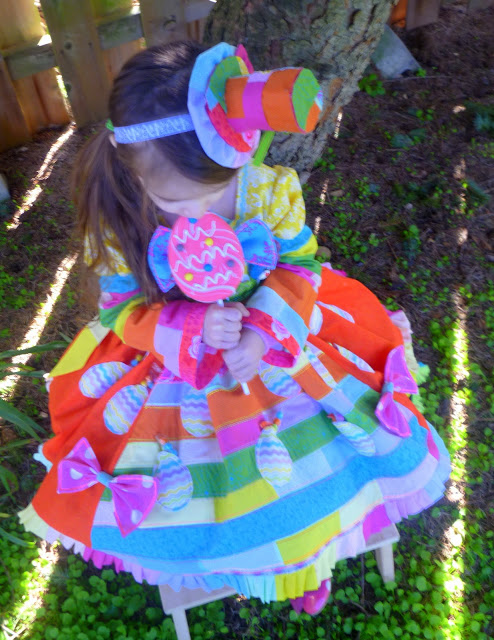
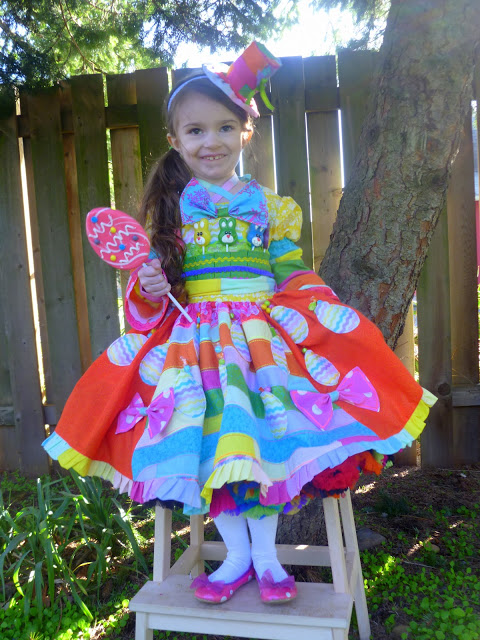
For this dress I wanted to make her the princess of Candyland, bright colors and playful prints were a must. I personally enjoy the almost over-the-top rainbow and trim additions to the dress (and so does she! The whole time I was making it she asked if it was for "Azzywella" and would exclaim "WOW. Beautiful!").
Let's start at the top and work our way down shall we?!
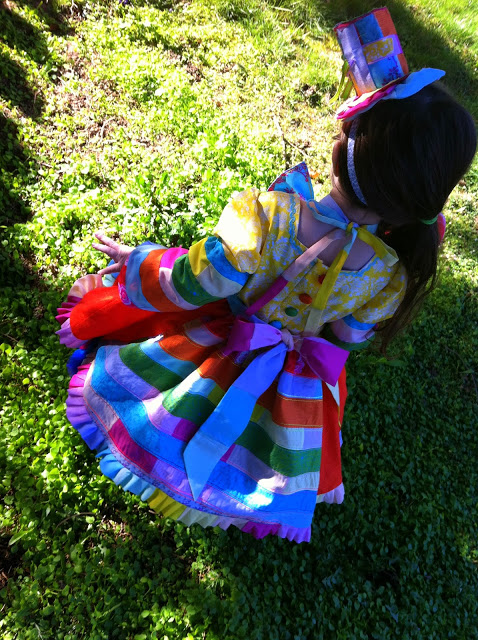
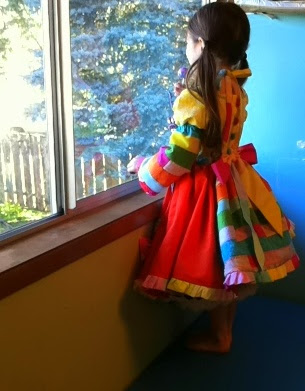
First, for the overall construction of the dress, I decided to go for a style known as Lolita as my inspiration. Lolita is a style that originated in Japan, and the clothes focus around the dresses of the Rococo Era where the ladies were very mannerly and their dresses were full of ruffles and sweet colors. Not a provocative style, Lolita epitomizes "precious" and it is a lifestyle for the people that consider themselves "Lolita." I would not begin to say that Azriella is "Lolita" in her dress because that would be rude towards Lolitas. Rather I'd say it was my inspiration (and is most of the time when it comes to dressing way up!): full, poofy, tea-legnth skirt; big back bow (well- lots of bows); fitted bodice; poofy sleeves (sometimes adding a full bell look using lace or eyelet); crisscross neckties; sometimes mini top hats (but that's more an Edwardian or Steampunk look, sometimes it overlaps); and ruffles, ruffles, ruffles!!
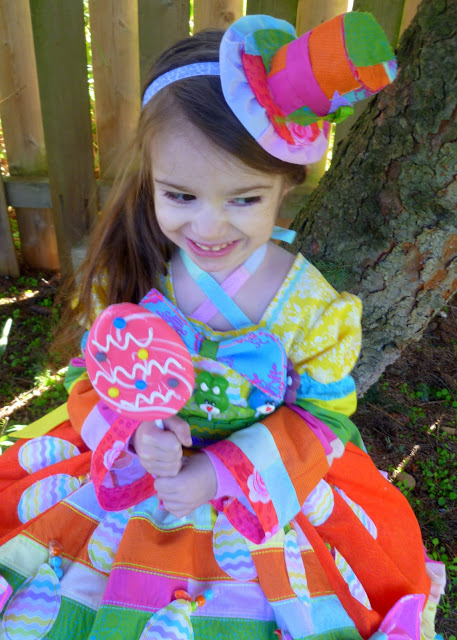
The top hat is made from felt and scraps of fabric. I added a little ruffle and bow.It's attached to some decorative FOE. I will put up a tutorial soon! Promise!
Giant lollipop? But of course, thank you!
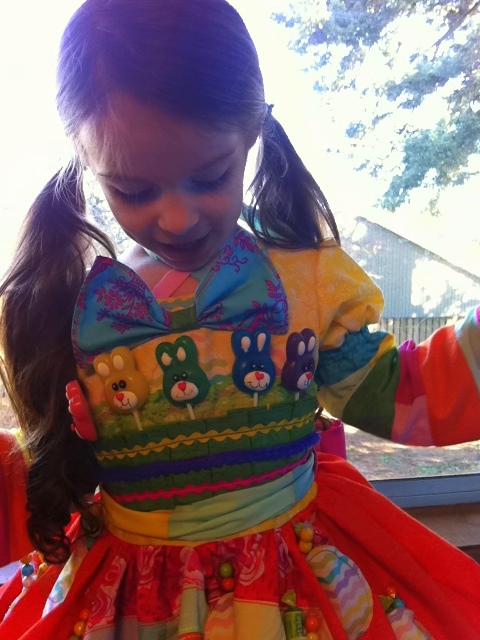
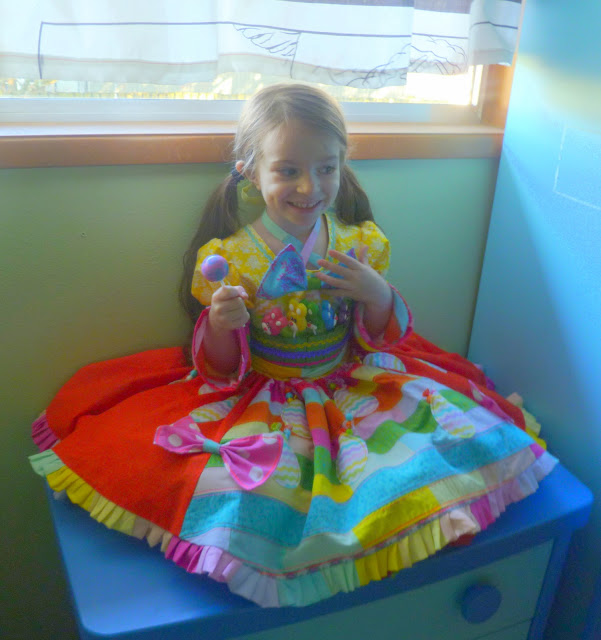
The bodice consists of a basic bodice pattern that I had tweaked to add a button placket, a square neckline, and adjust it so it would fit my tiny little 4 year old. The neckties are sandwiched between the top layer and the lining on a diagonal then tie behind the neck. The front of the bodice has a box pleated Easter basket w/ lace "grass" and some Easter egg appliques in the background and then is stuffed in to a special pocket for her rainbow bunny lollipops!
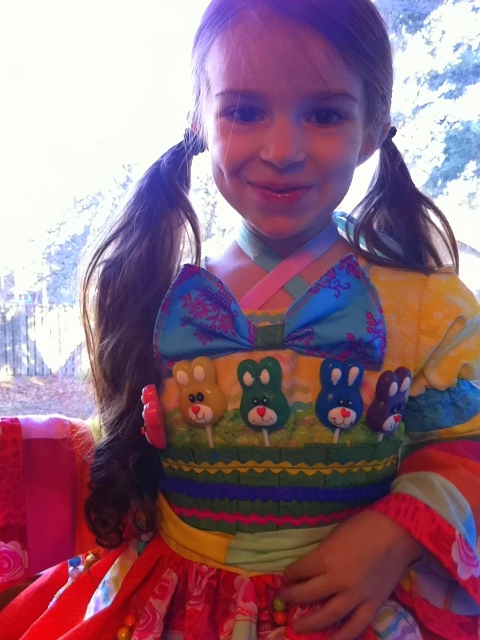
pleated lollipop pocket
To make a "pleated lollipop pocket" of your own, you will need a piece of fabric about 2 and a half times what the finished pocket will be.
Follow directions on how to make box pleats. Decorate the top and middle of the pleats however you like but save some trim for the bottom.
Mark (with pins I suggest) where the corners of the pleat pocket will go on the bodice. (Don't worry, the bodice is completely lined so you won't have to worry about the stitching being itchy on your little one.)
Sew some Easter appliques if you desire where they would look like they are a little in the basket but still mostly seen from the top of the pleat pocket.
Take a plain piece of grosgrain about two or three inches longer than your finished pocket. (Make sure there isn't any detail on the ribbon because when you put the lollipops in, you don't want them to get snagged on the ribbon's innards) put it down halfway down the short sides of where the pleat will be.
Begin placing where you want the lollipops will go and make sure the spacing is one you will be happy with.
Pin both sides of the ribbon to the sides of the lollipop sticks. Trim excess ribbon. Remove lollipops and stitch the ribbon down where you pinned.
Stitch down the lace so that the non-ruffle end is near the ribbon that will be inside the pleat pocket (as a special note, make sure that ribbon doesn't show at all once the pocket is installed.)
Stitch down the sides of the pleat box to the bodice. Then baste the bottom only down to the bodice and then cover that stitch with some trim to secure it in place to the bodice (and look nicer).
Put lollipops in to check! Yay, awesome lollipop pocket!!!
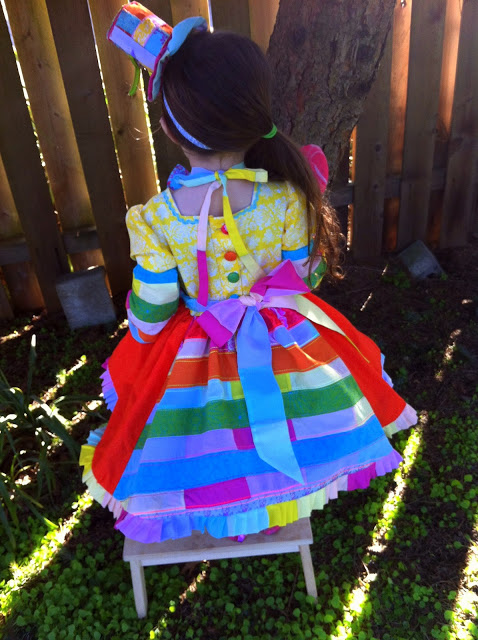
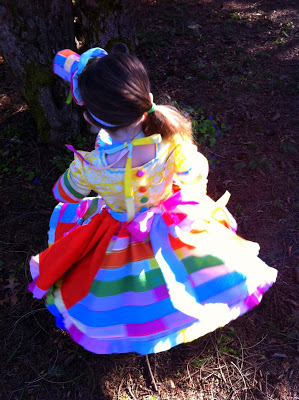
The bodice back features a button placket that extends down into the skirt a couple of inches. Then I made some covered buttons for the closures.


The sleeves I drafted from ikat bag's stupendous sew from scratch series, with a little alterations of my own. I adapted the sleeve into a poofy short sleeve pattern then made a tapered at the top trapezoid for the bell part. I joined them together by gathering the short sleeve bottom to the size of the top of the trapezoid (make sure the trapezoid top is about 3 inches wider than you kiddo's bicep so it will create the gathered effect.) I made a casing out of the top trapezoid for some elastic. I used 1/2" width elastic because I had that size on hand in a non-roll style elastic. You could shirr this or use a smaller width elastic.
Next is a simple sash held up by sash loops

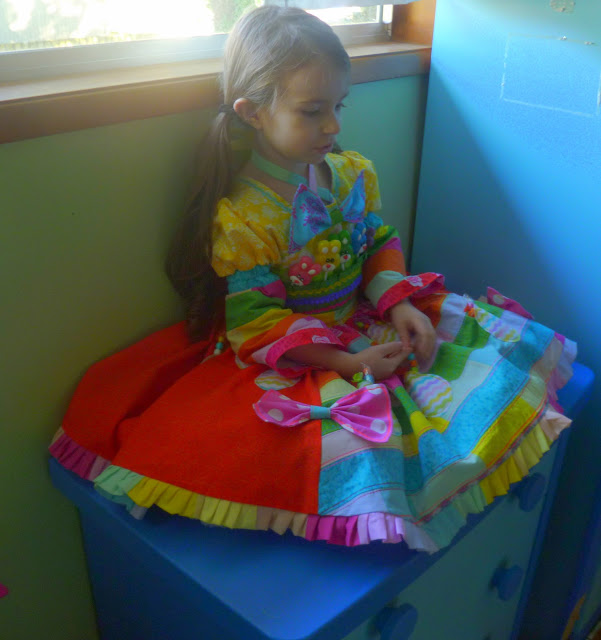
And now the skirt. The skirt is drafted once again from scratch. It consists of four panels. The two side panels that are an orange floral print and two that are a special "fabric" that I pieced together . The rainbow pastels were stitched together first, then cut, and finally pieced together with brightly colored patterned fabrics. Also they were decoratively top-stitched in rainbow order. My intention was to have a skirt that was striped together to emulate a big bright wonderfully decorated Easter egg!
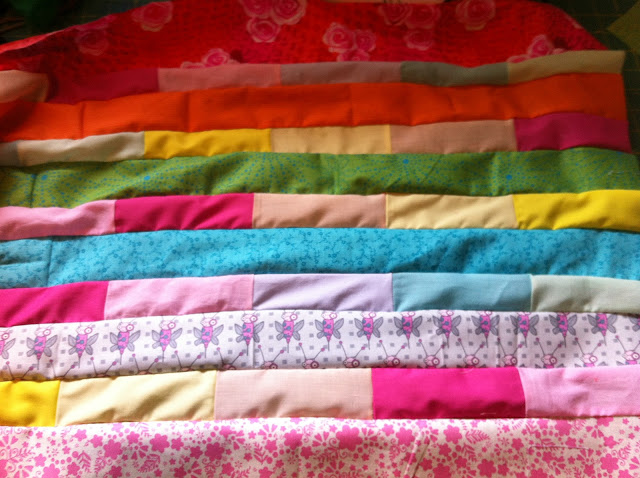
before pressing and top-stitching, this is what the "fabric" looked like.
Pockets. The side panels have inseam pockets (I gotta tell you- once I learned how to put inseam pockets in, I put them on virtually everything!)
Easter egg pockets. Well it just wouldn't be much of an egg hunt dress without finding eggs would it?! I found this perfect rick rack fabric, cut out a dozen eggs, craft fused them so they'd stay stiff, then scattered them all over the skirt front and side panels. Add candy the night before and presto! A dress filled just like your little chibi's basket!! What little girl would just love that!?!

Add a sweet rainbow knife pleat for the hem, and sprinkle with bows for that sugary Lolita look...
There you have it! A rainbow-y confectionary dress that is definitely good enough to eat!

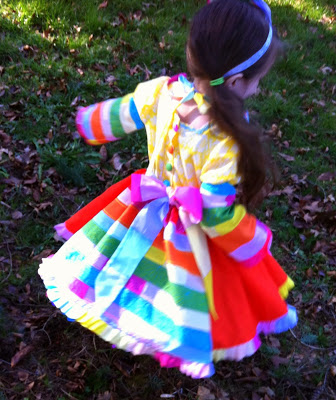
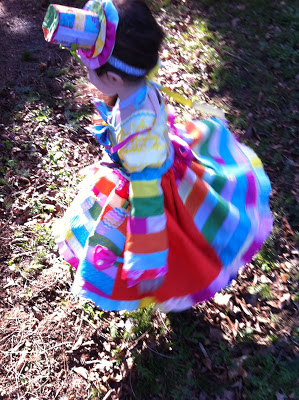
Frolick! Spin! Twirl! Play!
And even though she was probably the culprit for deleting this post the first time, how could I ever get mad at this face:
I hope you enjoyed my first Behind the Seams look at my Eggstravagant Easter Egg Hunt Dress! Keep looking for more like this here!
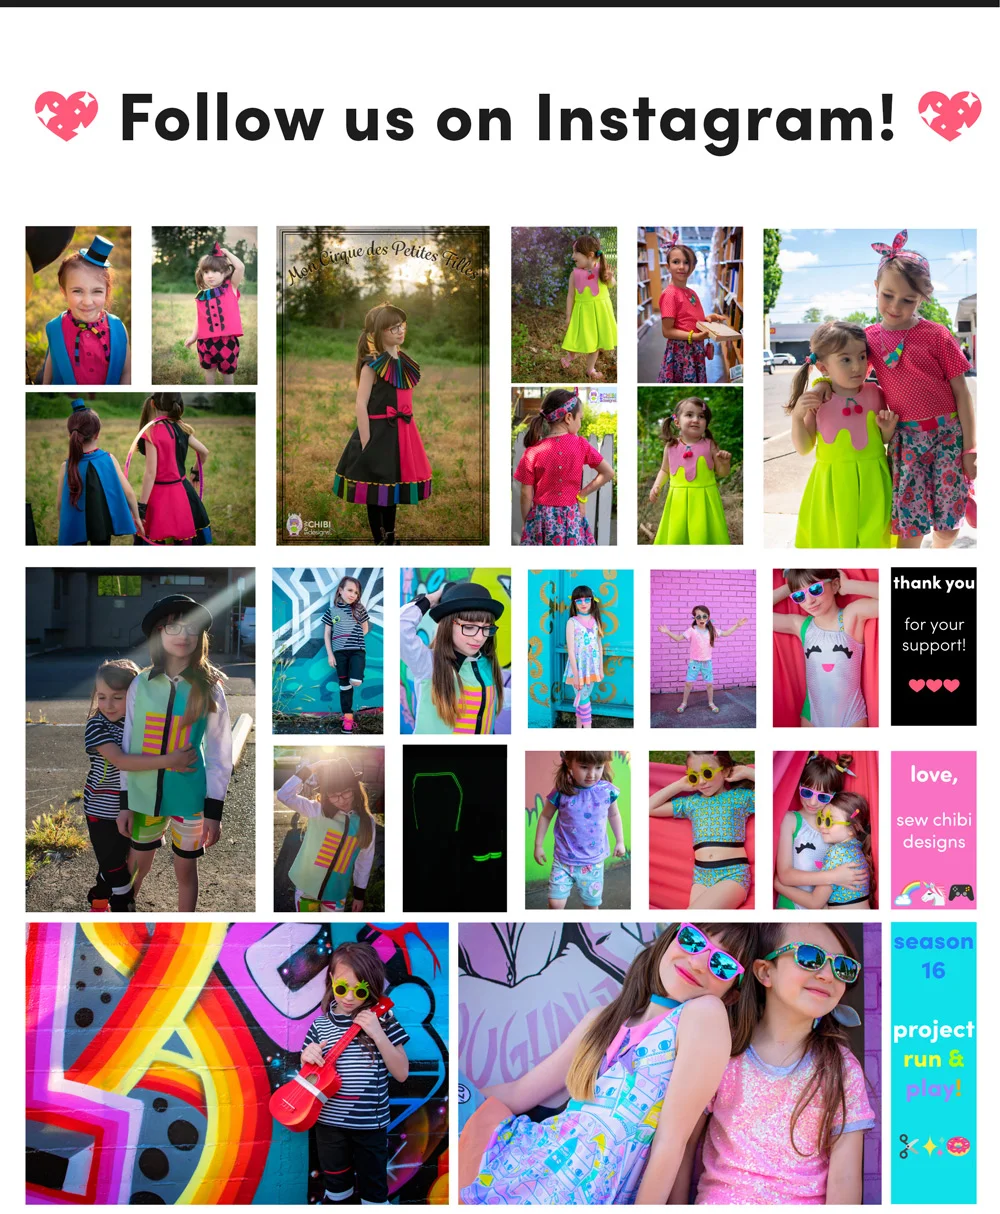


YAY! You're here! I'm so happy! I'm Kat! Mom, shawol, and pattern designer, this is the place where I share all of my sewing projects, chibi cosplay fashion, and DIY/tutorials! Everything around here is action-packed with color, silliness, and tons of kawaii stuff!