👻Halloween "Villain" Cosplay🎃 part I: Plague Doctor
(Disclaimer: I am not affiliated with SHINee or SM Entertainment in any way. No patterns/fabrics were gifted and all opinions are my own. My need to create SHINee cosplay for my girlies stems solely from my love of the group and each of the members ❤️)
Happy Halloween! This year Azriella and I did the same theme but in different ways and different styles: Villain a Key “Gasoline” cosplay! I’m going to do them in two separate posts so check out the part II of this post here!
We were at the beach when she came up with the idea of being a plague doctor for Halloween. We were just freshly smitten with the whole comeback of Gasoline by Key just a month before and she seemed really keen on doing an outfit from it! I started kind of sketching out a futuristic plague doctor outfit and when the comeback stage performances of Gasoline started up I got really inspired!

Key Villain concepts shots for Gasoline MV
Most Kpop soloists do two songs for their comeback stages and Key’s opening stage (for two of the shows he was on) was the song “Villain” off the Gasoline album which features Jeno from NCT. Look- that whole album is a no-skip album for me, it’s absolutely perfection upon perfection when it comes to a tracklist, and Key’s album styling is the best out there of anyone! I was soooo excited to see Villain come to life! The first performance outfit was this green moto one and the second performance is like the outfit in the part II of these Villain posts😊
Planning the Outfit!
The Jacket
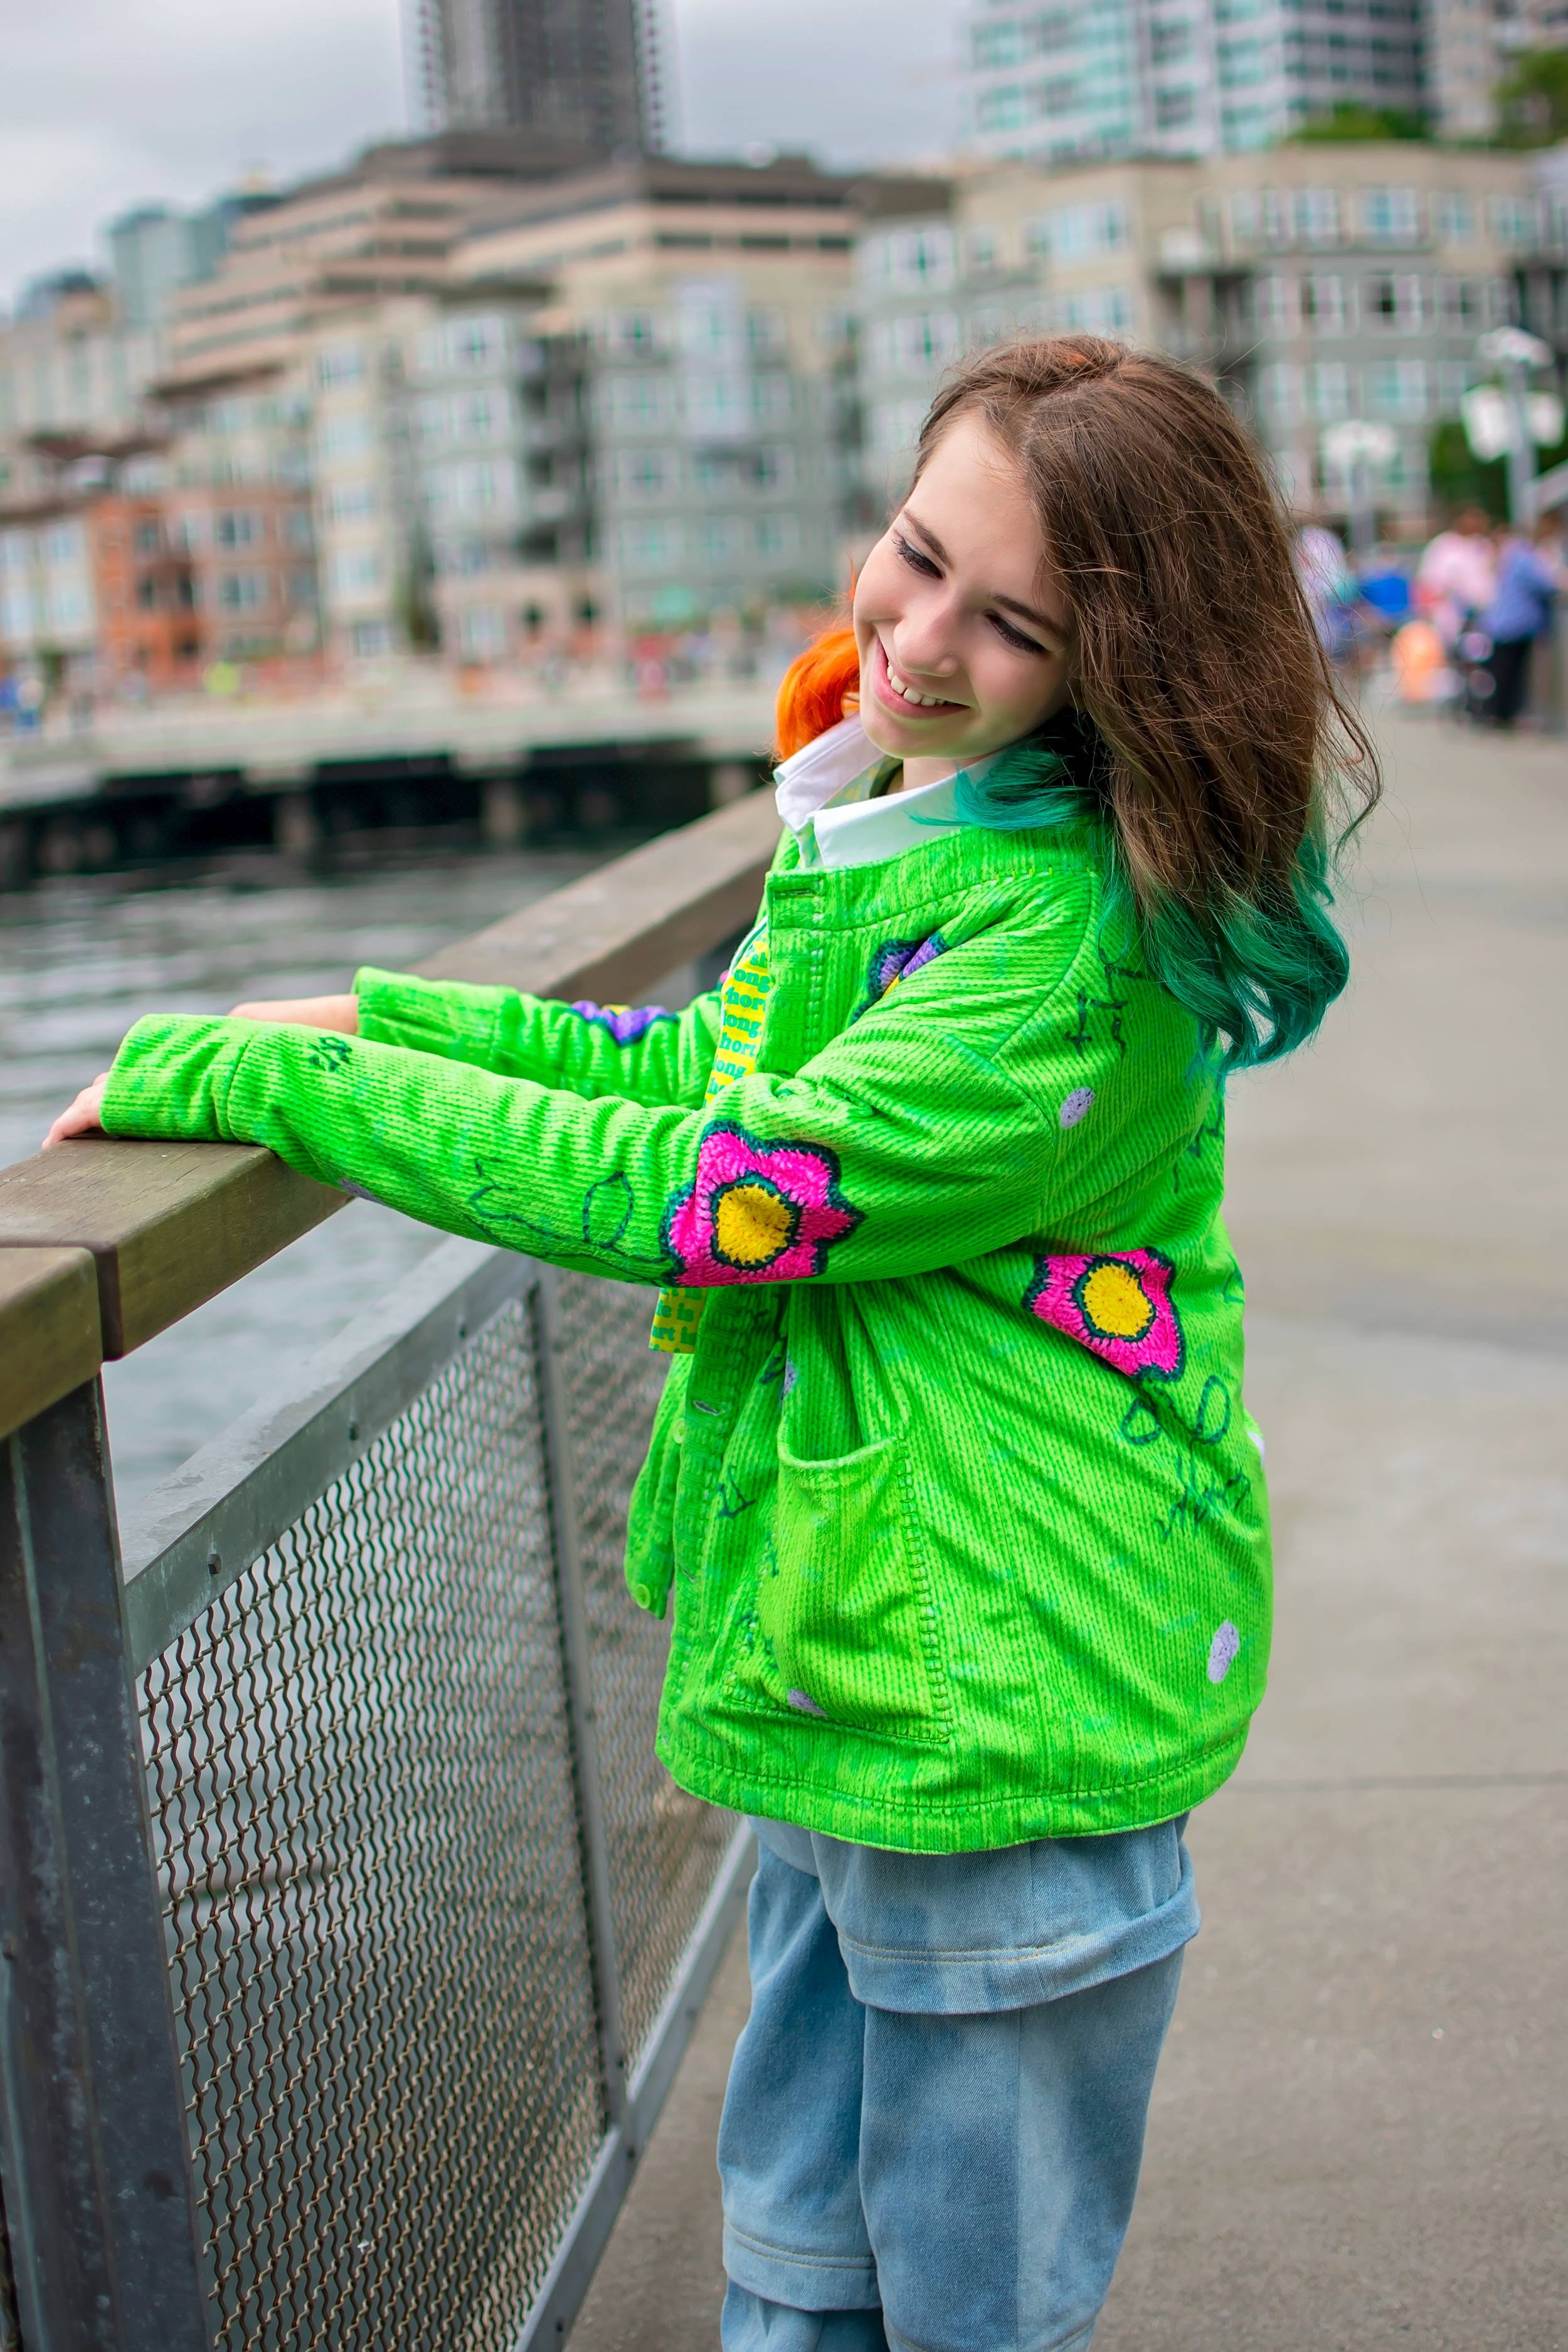
I knew I wanted to make something that would also showcase the rest of the outfit I had planned so I had to play around with the shape. I really loved all the detailing of Key’s outfit and I tried really hard to keep all of it accurate… but I made it into a dress coat shape instead! I used my own blocks for the pattern and made a quarter-circle skirt shape, omitting the center. I did a straight collar… not quite a Mandarin style and then added a few of the domed-shaped spikes on the shoulder like Key’s had.
I used a black neoprene and, for the bodice pieces, I fused it with leftover blue neoprene from this dress, dying it with black to make it as dark as possible (because it flat out would not turn black🥲). Finding neon green vinyl was just not working out for me at the time but what I did find was this perfect-hued ripstop fabric which I also backed with neoprene. Then, to achieve the same looks as Key’s, I quilted the green pieces. Originally, I tried to fuse clear vinyl but it wasn’t having it, no matter how much i tried to pretreat the fabric! I honestly am having a hard time finding redeeming qualities about fusible vinyl because it rarely does what I want it to. I lined the bottom with just a black poly lining fabric.
The great thing about the jacket is that it is, in fact, waterproof! And, being in the Pacific Northwest in the fall, it is necessary to be waterproof! It poured Halloween night but two out of three of my girls were super waterproof!
The Villain Shirt (with mini zip up turtleneck tutorial)
I was really into the turtleneck shirt I had just made Azriella for her previous birthday outfit but I wanted a tighter fit around the neck. I also wanted it to be a full turtleneck but, given the amount of stretch in the fabric I chose (which was a black scuba knit with about 50% stretch), I realized I needed to figure out how to add a fold-over zipper collar.
Working off of just images of shirts with a neckline I was going for, I worked out how to do it:
First things first, you might want to raise the neckline of your shirt pattern about 1” or 3cm to accommodate a turtleneck look. A regular shirt pattern most likely will have a slightly lower depth and you really want the neckline to be at just about the clavicle, more or less.
Next, eliminate the fold and add a seam allowance (I use 3/8” or 1cm) to your back bodice piece. Starting at the bottom, sew the middle seam up to about 4.375” away from the top edge. Interface on both sides of the remaining open edges (the 4.375” area).
Take your neck height and multiply it by four (two for the fold over and double that for the lining part). For Azy’s neck which is pretty and long, it was about 4” height so my collar piece was a total of about 16” and I used the almost the same widthwise measurement: 17” (since it has about 1” for seam allowances at the zipper edges. The finished width is 16” though). I used about a 87.5% ratio to my neckline for the widthwise measurement. Just multiply whatever your neckline is on your shirt by .875 and that is your measurement.
Get a zipper that is at least as tall as half as tall as your collar plus about 4” to be sewn into the shirt. Mine was about 12”. Interface along the lengthwise sides (the 16” long edges with the least amount of stretch).
Sew one of your widthwise edges (the 16” edge with the most stretch) and align it with the neckline. Sew all around your neckline, stretching the fabric to match your neckline.
Pin and sew your zipper (I just used a regular one) one side at a time, right sides together, making sure the teeth are at the top of your halfway fold. It might help to make a little mark halfway up the length of the collar on both sides to keep things straight. There will be a little bit of the overhang of the zipper at the top. You can either fold that out of the way or sew it into the other half of the collar. Sew all the way down to where your shirt seam stitches start. Repeat for the other side.
Fold the remaining half of the collar over wrong sides together aligning the edges. Stitch right on top of the previous zipper stitches till you get to the neckline.
Then, and this part is a little tricky and there are probably better ways to do this, but this was just how I made this one: pull your remaining flap of fabric edge and match it with the seam allowance from the neckline attachment and sew over the previous stitches. You may need to start about .75” (2cm) from the zipper edges since getting that close it pretty hard. This does not make a tucked under seam but since it’s knit, it will not fray so it won’t look to terrible or misshapen.
I know I don’t have any super fantastic illustrations to go along with this yet but perhaps I’ll update this again some time with those. For me, I just had zero guidance to figure this out so I hope this may help anyone else trying to make a fitted turtleneck that’s easy to get in and out of!
Beyond that, made a printed elastic band that stretches across the waist (I think I just made it about an 1” or 2 less than her front waist measurement). I made a cutout that says “VILLAIN” in black super stretch iron on vinyl and stitched it into the shirt sides right at her true waist. I also added some thumbhole cuffs again using this tutorial.
lil bits. (the skirt, the masks, and the leg harness)
The most important part of a plague doctor costume is the mask. It was freaking hard trying to draft something out that work. I was constantly just working on a shaped that made sense and looked decent. I loved the look of a holographic mask but it’s not the most comfortable because of the edges so I made a lined black one in a stretch vinyl. Still… the holographic mask is soooo pretty! I really like both of them so much! It’s nice to have a subtle plague doctor mask instead of the typical really big steampunk kind.
The leg harness was made from 1” black elastic with measurements at her top thigh and at about 3 inches down from that on. I took those measurements and multiplied them by about 85% so that they wouldn’t fall down and I attached slide adjustor buckles to the ends of them. Then, I made a strap that was about 5” long and folded it over the two straps 1” at each end and boxstitched them down. Voila! Leg harness!!!
Last but not least, I needed a bottom for the outfit. I had her wear a pair of biker shorts she already had. For the skirt, I took a pleated skirt length that was half of what you would usually use for a pleated skirt pattern (so one panel), extended it about 1.5” to fold back on the pleat (I made sure to serge the edge with black thread first) and then stitched it in place behind the pleats. The skirt was sewn halfway around into the waistband. The waistband I made to the size of her waist plus about 3.375” (1cm for seam allowances) on each side and did a trio of snaps on each end about 2cm apart (.75”). I made the length to just above her knee so that there was a big contrast between the shorts and the skirt hem but also shorter than the coat hem. The staggered levels are really pleasing to me.
Photoshoot
We went to one of our go to spots for pictures in Portland: the Clay street parking garage near Water Ave. We hit golden hour and the pics looked really pretty! But since I was also in some of the pics, I was reliant on Jon for some of the shots and so the focus is a little softer than I’d usually get (but they were too good to just pass up!)
I also wanted to do a nighttime shoot like Key’s with green lighting and red. The shots I felt were definitely dark but wow were they fun to edit! It was so cool to crank up the contrasts and vibrancies and watch the shots come to life! I absolutely love them!!!


No SHINee inspired photoshoot would be complete without some aqua lighting and a couple of SHINee World “W” shots!!! 🥰🥰🥰
And that’s it! My Villain post is right after this one and while it doesn’t have as many handmade items, I still like it! I hardly ever ever ever sew for myself so please be kind, lol!🥹🥹
Hugs + Stitches,
Kat
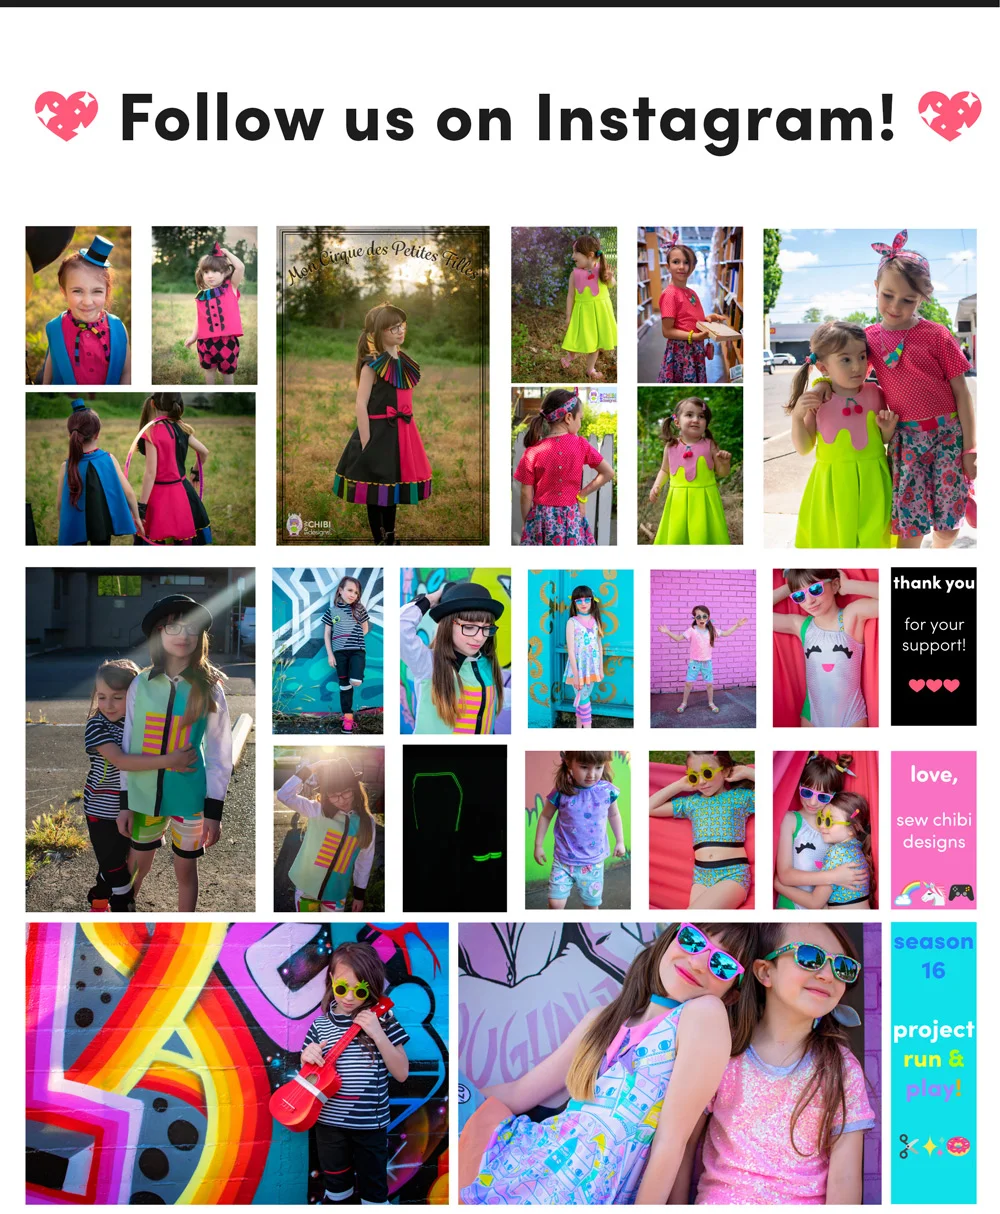


YAY! You're here! I'm so happy! I'm Kat! Mom, shawol, and pattern designer, this is the place where I share all of my sewing projects, chibi cosplay fashion, and DIY/tutorials! Everything around here is action-packed with color, silliness, and tons of kawaii stuff!