Easy half cape tutorial!
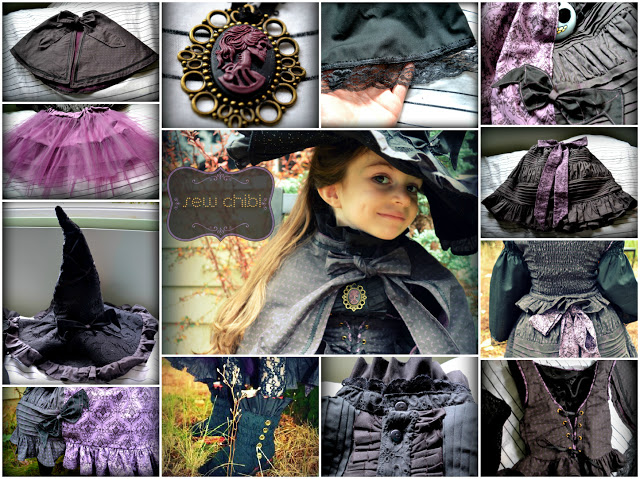
Well, good evening my pretties. Time for another late night tutorial. Mwahhahahahahahahha! Today, we are going to draft and make a simple cape. The measurements are for mid arm length cape for about a 4-5T. You could easily up size this to about a quarter 6" circle and make the length however long you like. Just make a paper pattern first and check the fit.
What you will need:
3/4 yard of main fabric (light-medium weight fabrics)
3/4 yard of lining fabric (fleece, micro-fleece, flannel)
bias tape, trims, lace, etc. (optional)
sewing stuff
*This amount will make a cape that has a 4"x 8" half circle and a hem of about 13", so if you need a larger cape, get a larger amount of fabric as needed.
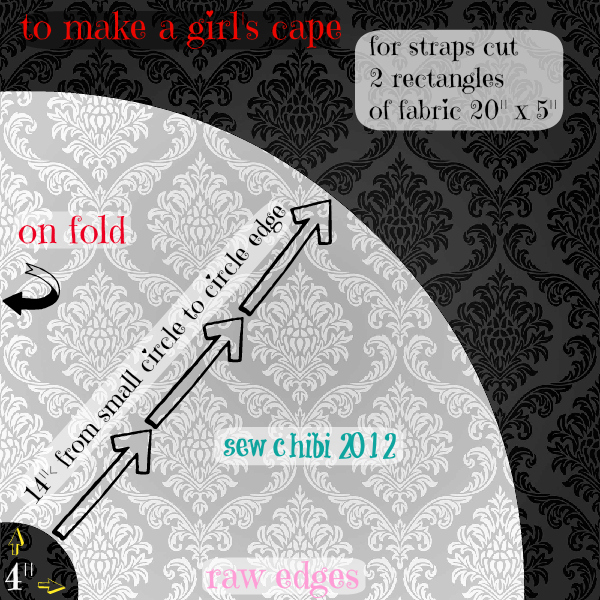
So the cutting instructions are as the above instructs.
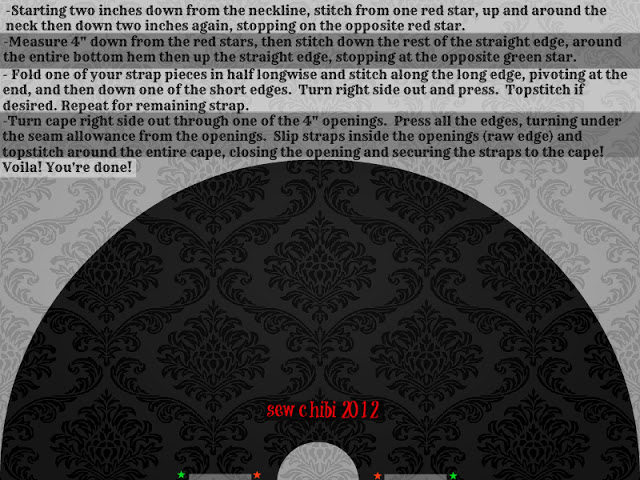
Okie dokie now just follow the sewing instructions in the diagram! You may need to increase stitch length to compensate for the thickness of the layers. If you want embellishments not to show, stitch them down to the top layer before you join the two together (And remember to stitch the layers right sides together.)

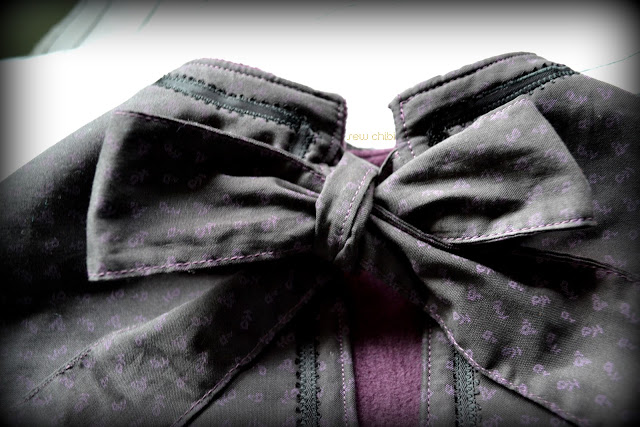
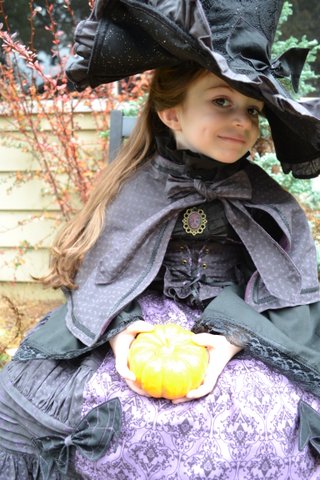
Finished cape. I choose to add a couple of inches to the straps so I could sew them to make points.
So there you have it!
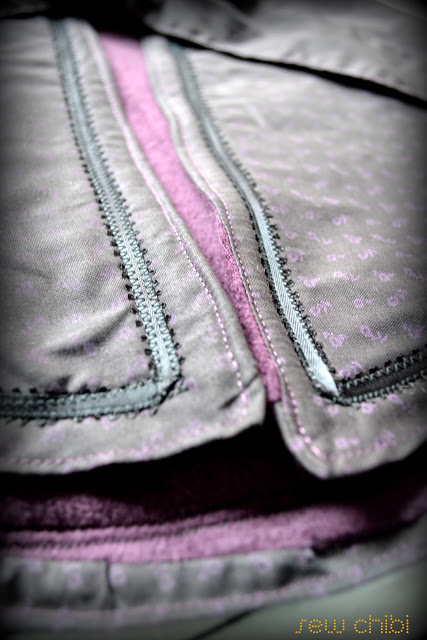
When cornering ribbon, it's best to flip it 90 degrees and ziz-zag along the top and bottom edges.
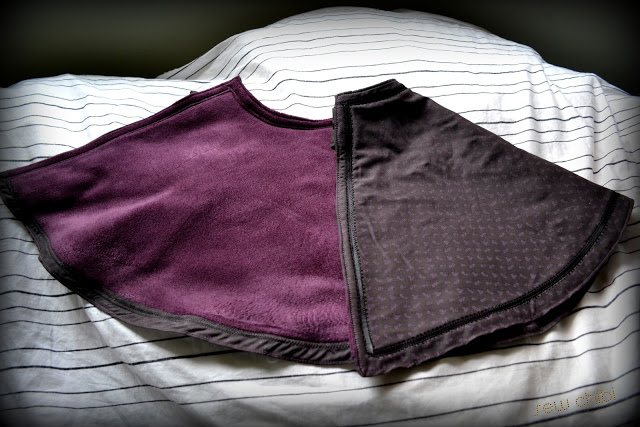
I extended the top layer to make my hem. This is a little trickier and requires clipping and careful matching. For an easy cape follow the above instructions.
Tie it in a bow and be on your dashing way!
Stay tuned for another Lolita tutorial tomorrow! Good night!!


YAY! You're here! I'm so happy! I'm Kat! Mom, shawol, and pattern designer, this is the place where I share all of my sewing projects, chibi cosplay fashion, and DIY/tutorials! Everything around here is action-packed with color, silliness, and tons of kawaii stuff!