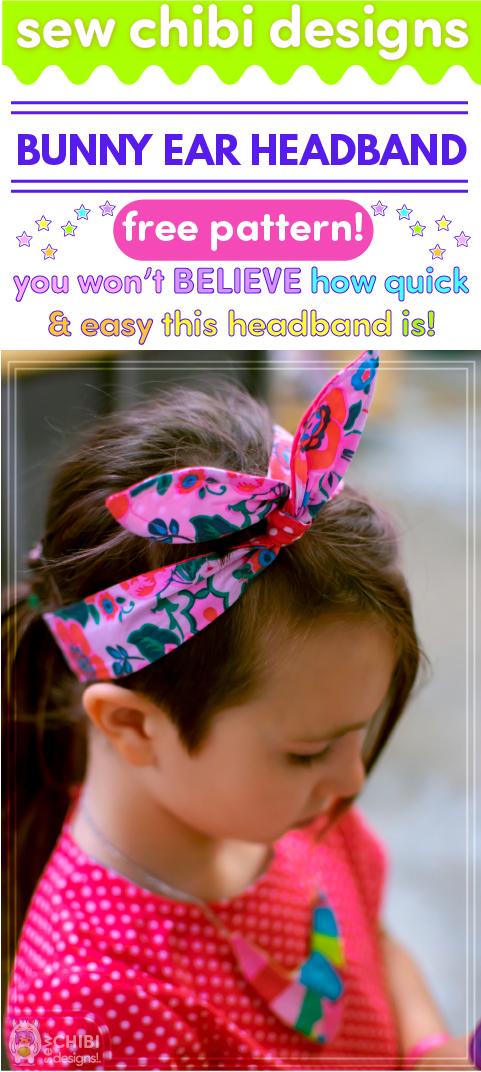
Behind the Seams: A Sunny Easter Spot 2013 with bunny ear headband tutorial


Woah, right?!
I am pretty certain I am certifiable but let's get into the nitty gritty. Where should we start?
Well, what would be most pertinent for you all to make before Easter?!


A bunny headband of course!
Let's get started!
What you will need:
Long fabric scraps (or less than 1/4 yard. perhaps a little more for adult or teens)

34" of wire (I used this stuff I found in the jewelry making section of my local craft chain)
masking tape (for wrapping wire edges)
wire cutters or old scissors (basically you can use scissors that are sturdy enough to cut simple wire. DON'T use your good scissors!!!)
Sewing stuff (machine, thread, needles, pins, iron and scissors)
Okay! Let's get started!
instructions:
(*click on the images to view them larger)

Cutting Instructions:
First you need a head measurement. Do this by measuring around the head from top to bottom. Mine was about 18".
Next you need to add allowance for the knot (I did not do this the first time and trust me, it's not as cool to knot wire). I added about 3-4" for this.
Now for the ears. I like long ears so I can have fun bending them. I used 9" per ear. You may want more or less depending for what age you are sewing for. All this together totals (with 4" knot) 40".
Now you can either choose to cut with the grainline up and down the proper way, but then you will have to piece sections together which is fine if you want to do that. But, since it's a headband and not a dress, I recommend just making your long cut along the selvage and the short edge along the width (cut edges). Cut this x 2. The total dimensions for mine will be about 2.5" x 39" (point to point)
*Note: assume a 1/2" seam allowance unless otherwise noted
Sewing Instructions:

Now take your two pieces and match them RST (right sides together). Fold in half along the long edges, matching the corners on the short end. Then repeat for the opposite side and then fold in half in the middle of the pieces so that all the short corners match, making a fabric sandwich that is 8 layers and about 1.75" along the short edges.
Draw a slight curved line. I just eyed this up. Click on the image to enlarge and see the shape. It's only about a 3" slope on each side.
Cut along your line carefully.
RST, put a pin along one side about 9" from the point. Measure down two more inches from that point and put another pin. Repeat on other end. Sew between the pins like the image below. You will need to start and stop at the pins.
Turn out the headband through one of your two openings. Press, making sure to tuck in your opening seam allowances. (see fig. 2)
Cut your pieces of wire. I like getting a nice point so I do this: take your length of wire (in my case 34") fold it in half. Cut. Fold in half again. Cut. Now you have four wire pieces, each approximately 8.5" long. (see fig. 3)
Match two pieces together at the top and twist around a few times. Masking tape the twist together to secure the twist and to ensure the wire won't cut your fabric. Repeat for remaining two wires.
On the remaining wire ends, cover with masking tape. Put wires to the side for now.

fig. 2

fig. 3
9. Now, topstitch around the whole thing 1/8" from the edge, starting and stopping at the openings (make sure you don't close up your two openings yet.) You might want to increase your stitch length to 3mm or 3.5mm. (see fig. 4)
10. Now, thread your wire through the opening, matching top points as close as possible, spreading the wire as best you can towards the seam lines. Pin wire in place as much as needed but especially the points and the ends (see fig. 5). Repeat for other wire and opposite opening.

fig. 4

fig. 5
11. Next, we are going to secure the wire in place by making a casing around it. Switch to your zipper or cording foot and adjust your machine for the proper setting for using that foot. (On my brother cs1000, it's setting 01). Increase your stitch length to 3.5mm or 4mm.
12. Starting from outer edge of one of your openings (nearer the point; not the center of the headband), stitch into the headband width about four stitches, back-stitching a couple times to secure the end. Leaving the needle in the fabric, lift your presser foot, pivot your fabric so that the point is now facing you, and stitch a 1/4" from the wire very slowly and carefully feeling for the wire and keeping it as far to the edge as possible. When you get about 2" from the point, start curving your stitches in an arch, rather than up to the point. (you may need to leave the needle in the fabric, lift the pressure foot and turn a little as needed to make the curve.) Come down the opposite side in the same manner, feeling and spreading the wire to the edge. Pivot at the wire end, the same way you started, back-stitching a couple times to secure. Repeat for the opposite ear (end).
13. Finally, just matching your top-stitching as close as you can and topstitch the two openings closed. Wrap around head, tie the knot and shape ears as desired!!!


accidental flash but I couldn't resist posting those dimples!

being a bunny

Now some real seamstresses may question my methods and that is totally fine. I am a self taught seamstress and am in no way an authority on sewing, hahaha. But, I do what works for me and share it with you! So let me know if you have any questions on anything!

So we've covered the bunny ear headband. For Azriella's mini top hat, I followed, my own tutorial from a while ago, but this time I made a clean folded seam along the back and added some very simple bunny ears with pink felt centers. Besides the binding and the elastic stitching to the rim, everything is just hot glued down.


How fantastic are these ultra poofy bloomers?! They are so simple but sheesh, I am in love with them! Like I mentioned yesterday, I altered a pattern from A Sunny Spot, the culottes, extended them out a little bit more, and then wrapped a tape measure around one of Sephira's thighs and added about 6" to that and an inch for seam allowance. I just loosely followed the directions from since I had to modify them. Can't understand why they wouldn't add a little variation note for doing them this way. I mean that outfit in their pic is perfect!!!
Whatever. I figured it out ;-)

I really thought the look needed a little t-shirt. I had just the thing! This purple striped kid's jersey bed set that was marked down to $3.88!!!
So I used that, and I knew I wanted to try something different: for the binding, something woven and for the sleeve length, something. So I made a strip of bias binding from fabric from Azy's apron and I used that! It worked pretty well! I'll have to cut my necklines a little tighter next time but I think it turned out pretty cute!!!

I still get all squealy inside when I look at this! Making something you don't know is gonna work, but you jump in anyways and it turns out exactly right ... that.
that is why I sew!
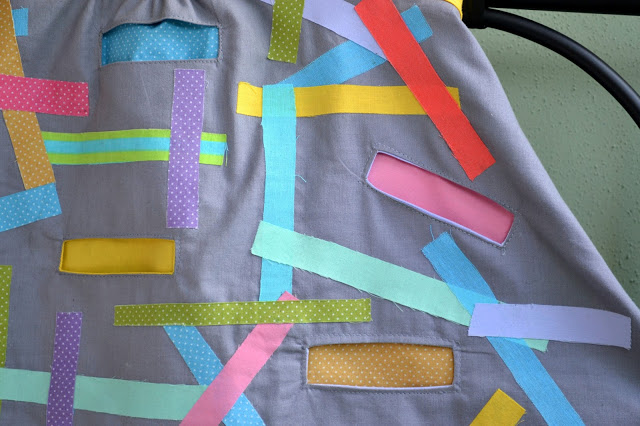
And like I said, my eyes grew to dinner plates when I first saw this dress from Rae of Made by Rae. Because I wanted to make my own washi tape fabric!!!
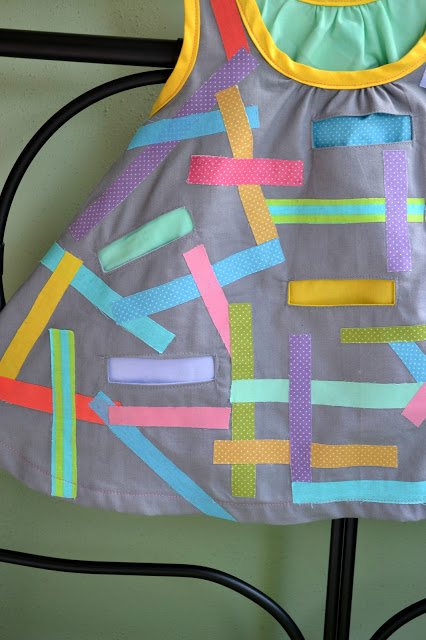
Well, at least the look of washi tape! And since it's an Easter outfit (I simply have to stuff their dresses with Easter goodies every year!), I had to add lots of pockets!!! But I didn't want to take away from my original idea, so I figured they had to be disguised. Which meant I needed to go on over to LieR's pocket series to get some help. And while there wasn't an exact tutorial on how I made mine, I got the general concept down and I set those babies in first. Then I added my fused fabric strips, I mean, washi {wink wink}.

And since there's no need for pockets on the back, it's just all washi-ed out!!!

I used all the fabrics from Azriella's dress and apron for the strips with a few extra's here and there.
Speaking of the back, I got to remind you all that I am a crazy person. Originally I was gonna make this whole thing gray (loved the colors with the lavender stripes and pink bloomers), but I'll be damned if I didn't see that bolt of seafoam broadcloth that I had just put in the cart for Azy's dress and change my mind to make it two colors. Honest guys, my intentions were simple, but seafoam is a seductive bastard. I almost bought the whole bolt!
What didn't make it to the finished product were these:

In my original plan I was going to make pom pom trim using circle scraps from the same fabrics (because she is a ball fanatic and pom poms look like balls) and have them peak out of the hem, BUT, for fear my toddler would just rip them out, I passed.

Here's a peekeroo at the inside of the tunic front.
And now it's time for the Sephira mega photobomb sideshow!

someone found candy in their tunic...

"Mom, stop putting washi tape on me"

Daddy's little girl


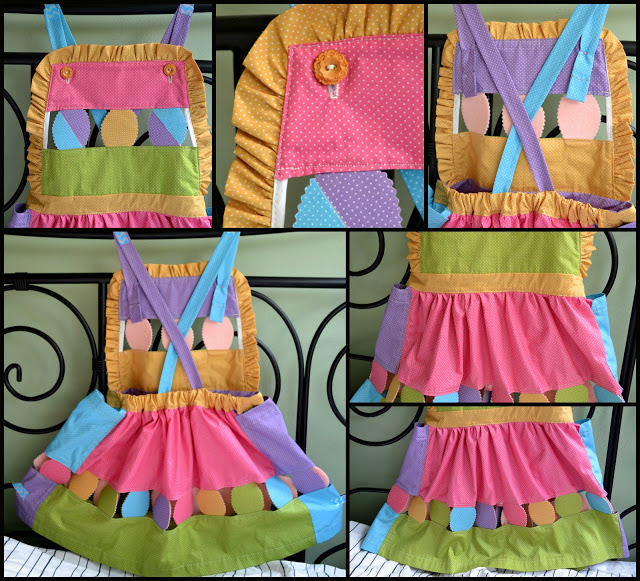
The dreaded awesome cut-out apron. So once again, I took a pattern from a Sunny Spot and modified it. A lot.
Azy is a weird size: super skinny but growing crazy fast right now. So I had to cinch in the elastic back a little, reminding myself that it shouldn't be fitted. It's not like that in the book; resist the temptation!!!
The hard part was obviously gauging and setting in the cut-out sections. I originally wanted to do a chevron pattern for the top cut-out section but decided that I should probably just try this out as easily as possible since this was my first time. I cut out a bunch of polka-dotted egg shapes and fused them to some pink felt and did a pinked edge for decoration, mainly. A lot of math went into all that, guys. I also needed at least one ruffle on these outfits!!! Can you believe that this is the only ruffle on the nine pieces I made?! Woah, how anti-sew chibi of me! So I used white binding to cover the edge of the ruffle (I know it's a stretch but the white matches the polka dots, right? Say yes, please ;-) and set it into the seam allowance around the apron top.

How indecisive can you be?! I could not choose a button color!!! I made three different sets and asked Max, Azriella an my husband which ones they liked and they all said different things!!! Not helpful, guys! In the end, Azriella insisted on the gold ones because they looked like "treasure". No hard feelings, right guys?!


Sometimes, I have craft FAILS. Those adorable TOMS, which took a full day to cut out and sew, fit my girlies like BOATS. Sephira's adorable hobbit feet made hers fit a little better but I just had to scratch them from the outfits. Which left me bummed because I really wanted to make them shoes. I hate making them, but love the look and feeling I get when my girls wear homemade shoes. I slept on it.
The next morning, an hour before I did their photo-shoot, I executed and idea I had come up with.
I always used vinyl for the bottom of shoes... why not just simplify the heck out of a mary janes pattern for the girls, completely leaving out the linings, and whipped up two pairs with FOE in twenty minutes a piece!!! Azriella LOVED her new ballerina slippers!!!! And I have to admit, I do too!!!


Okay folks, last piece.

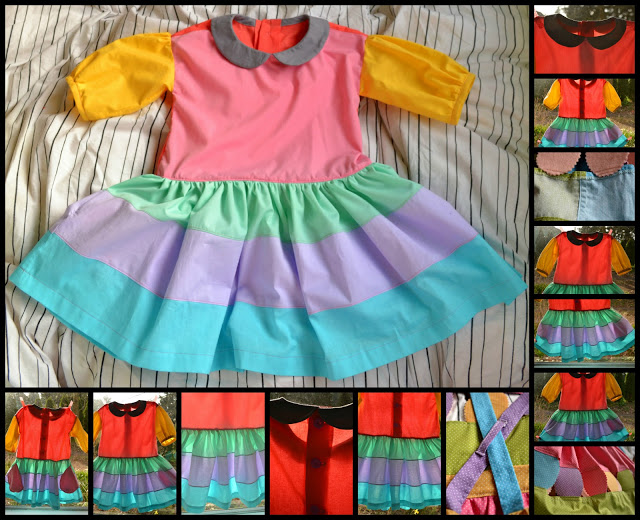
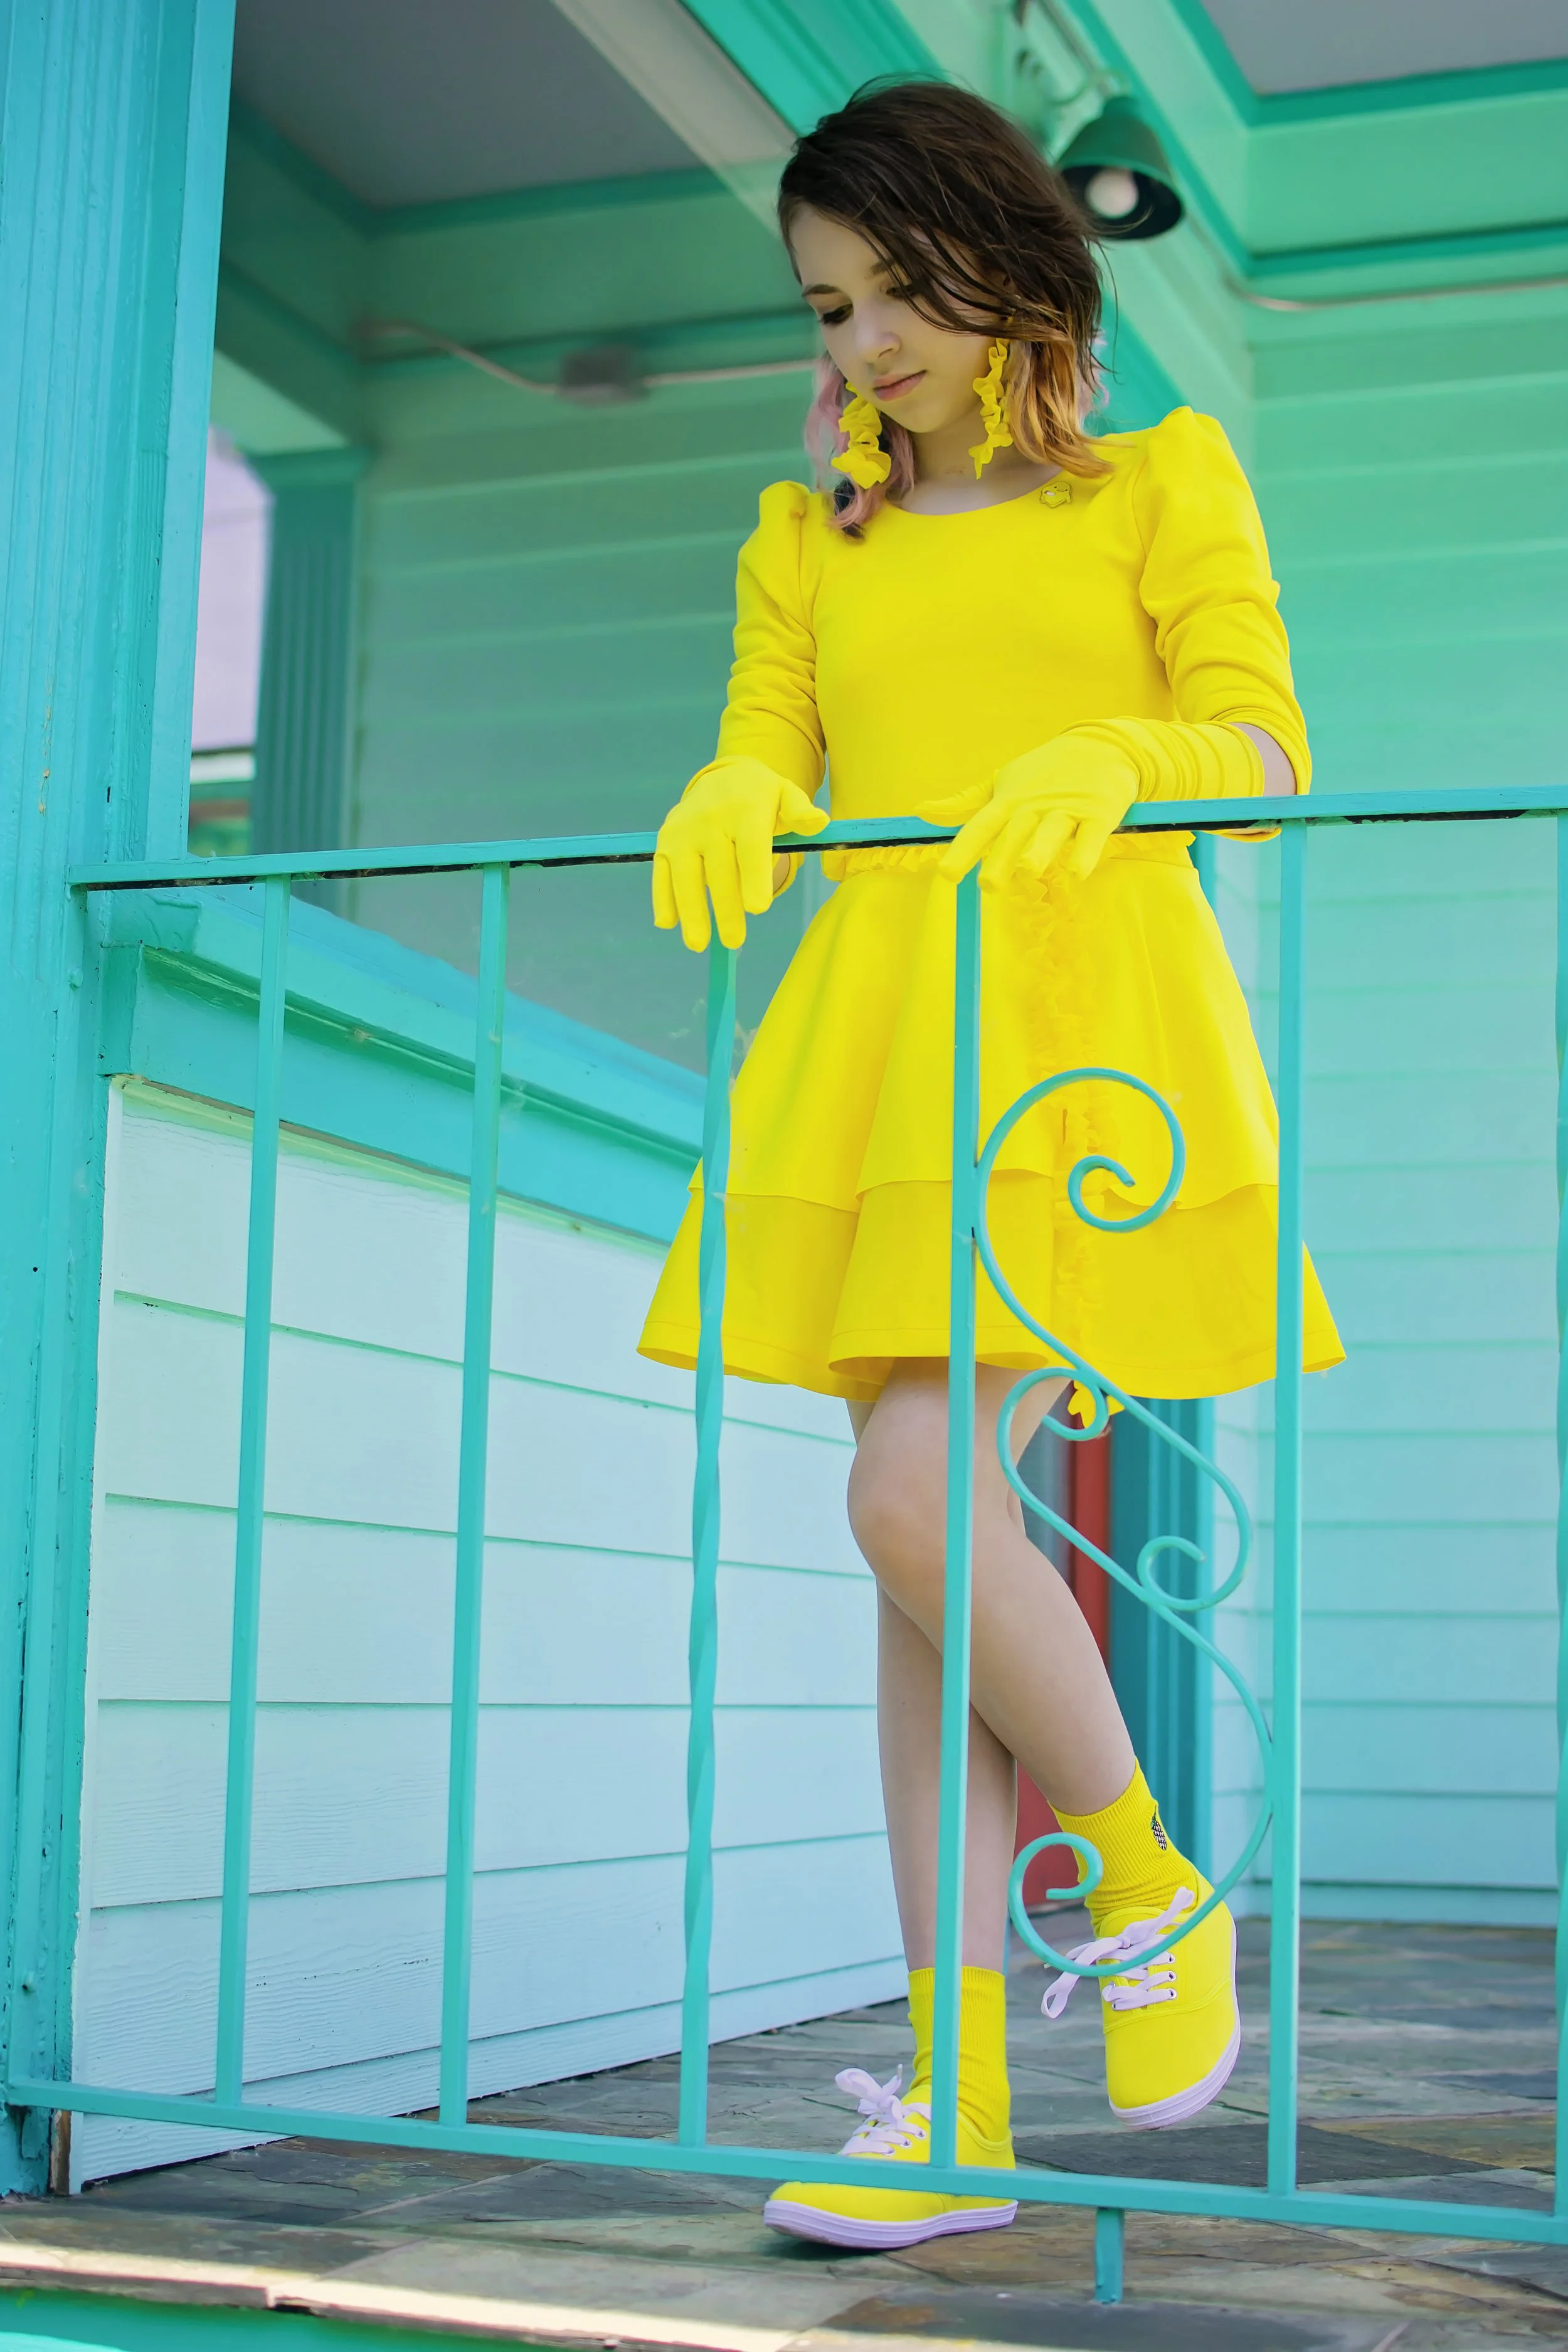
Not to toot my own horn, but my heart goes "beep beep" every time I look at this dress.
It's so sweet, simple, clean, casual, and beautiful all at the same time. I'll tell ya, I have really learned a lot about technique from sewing Japanese Patterns. Seeing how someone else does something really opens up my eyes.
Not too much to talk about: came from the same book as the last two. And I never had a doubt in my mind that this would be a pastel color blocked theme. It's probably the only event in which I will allow myself to get super fou-fou and pastel-ly. I kept the colors simple and complimentary to each other. I did add only one thing: inseam pockets. I'd say 85% of the dresses I make these days have some kind of pockets. They are a must for any little girl, right?! I did something else for the first time since I've been making my own buttons: I blended a pale pink color and a hot pink to get the perfect cotton candy pink.
The setting in of the collar, the collar itself, the button placket... it all was a breeze. I will probably make this dress again a million times.

Here's some innards pics on the bottom right, hahaha. and a peek at the inseam pockets from the front as well.

Okay, I held the dress up to the window and fell into a dream... the chiaroscuro sent me into visions of a rainbow-y jellyfish. I couldn't stop taking pictures!

Okay! That's one of the longest posts I've done in a while!!! Behind the seams in it's entirety! I'm thinking of doing a couple more tutorials before Easter on some of the aspects of the outfits. What do you think? What are your favorites??
Much more to come!!! Have a great day and thanks for stopping by!!!!


YAY! You're here! I'm so happy! I'm Kat! Mom, shawol, and pattern designer, this is the place where I share all of my sewing projects, chibi cosplay fashion, and DIY/tutorials! Everything around here is action-packed with color, silliness, and tons of kawaii stuff!