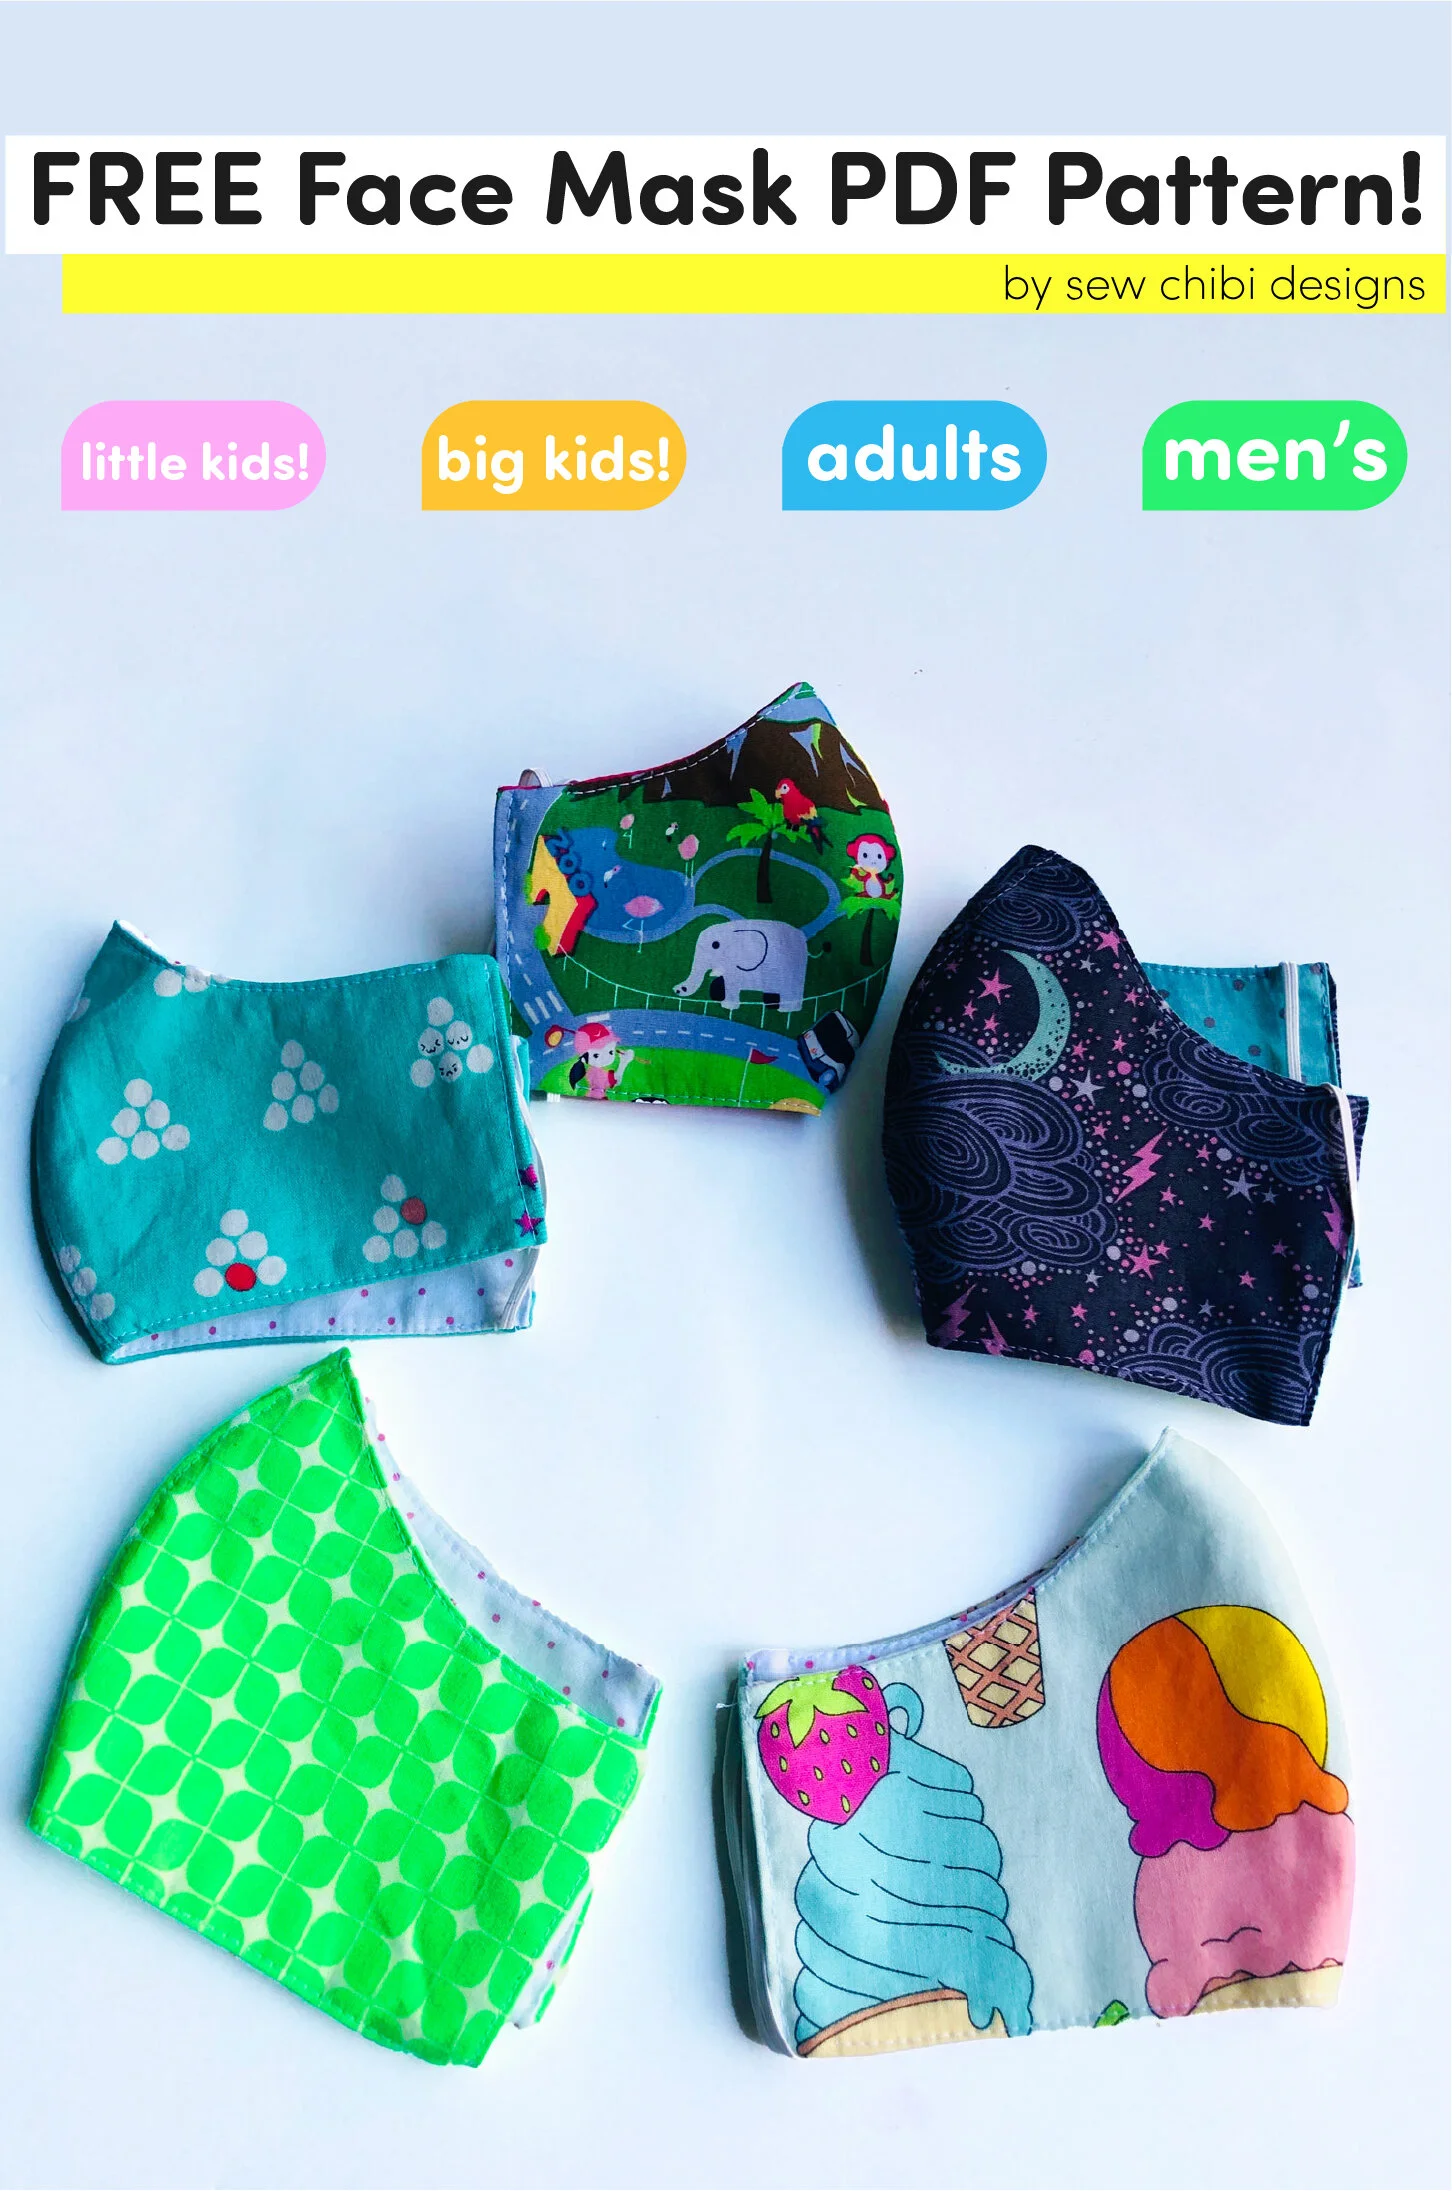
Star Wars Inspired Face Masks
UPDATED 4/22/20! Due to recent popularity, I decided to do a complete makeover on the Face Mask Pattern and Tutorial. Now you can download a full PDF-style pattern AND tutorial for free! Sign up for our newsletter (form is on the left) to get the download which is in our secret freebie clubhouse! The updated pattern has tips on how to make it even more effective, a slightly less wide appearance on the kids sizes, a brand new “mens” size, layering (so you can print just the size you need) plus lots of other cute surprises (like a coloring page)! I hope you really like the updates!
With all the weather changes this Autumn, sniffles and coughs are bound to come our way! One way I curbed my kids from spreading their germs to everyone in the house (and outsiders!) was to make a sick mask that aided us from those nasty colds! And I gotta say, it did help. It does not replace coughing into your elbows, but it does help contain the amount of spreading.
Now these aren’t just for flu season, these are GREAT for costumes and Halloween too! I drafted a FREE PDF pattern for little kids, big kids, and older kids/ adults so that everyone is covered.
Pun intended 😉
Star Wars inspired face mask pattern!


MATERIALS:
Scraps of fabric (lightweight cotton fabrics only)
Basic sewing materials
1/8″ elastic or elastic cording
HOW TO:
First off, gather your materials, print your pattern (set to actual image/ no scaling), then cut out your pattern.
Also note that 3/8″ (1cm) seam allowance has been added unless otherwise stated.
Light green in tutorial is for the right side of fabric and the dark green indicates wrong side.
Here we go!

1.) Cut out 2 mirror sets of your pattern piece for a total of 4 pieces
2.) Match up your main fabrics RST (right sides together) and sew along the convex curve. Clip the curve close to the stitching line but not into it. Repeat for reverse/ contrast side.
3.) Press along your seam and topstitch an 1/8″ from the edge. Repeat for contrast side.
4.) Take your main face mask piece and your contrast piece and pin along the top and bottom edges. When you sew, start at the edge, sew about 1/2″ then leave a gap that is about 1/2″ wide then start again along the long edges repeating at the opposite edge and again for the bottom in the same manner. Leave the short raw edges open. Turn right side out and press. (optional, topstitch between top and bottom 1/8″ from edge.)
5.) Turn the raw short edges in 1/4″ towards the wrong side, press well, then topstitch 1/8″ from the edge. Repeat on opposite side. Take a length of elastic that will loosely fit your ear size. (Mine was around 7″ long for each.) Add two inches for tying a knot or 3/8″ to sew the edges together. The choice is yours since it will be hidden on the inside of the mask. Thread your elastic through and finish the edges how you please. Pull your elastic through until your knot or sewn edges are hidden. Repeat for opposite side.
And that’s it!
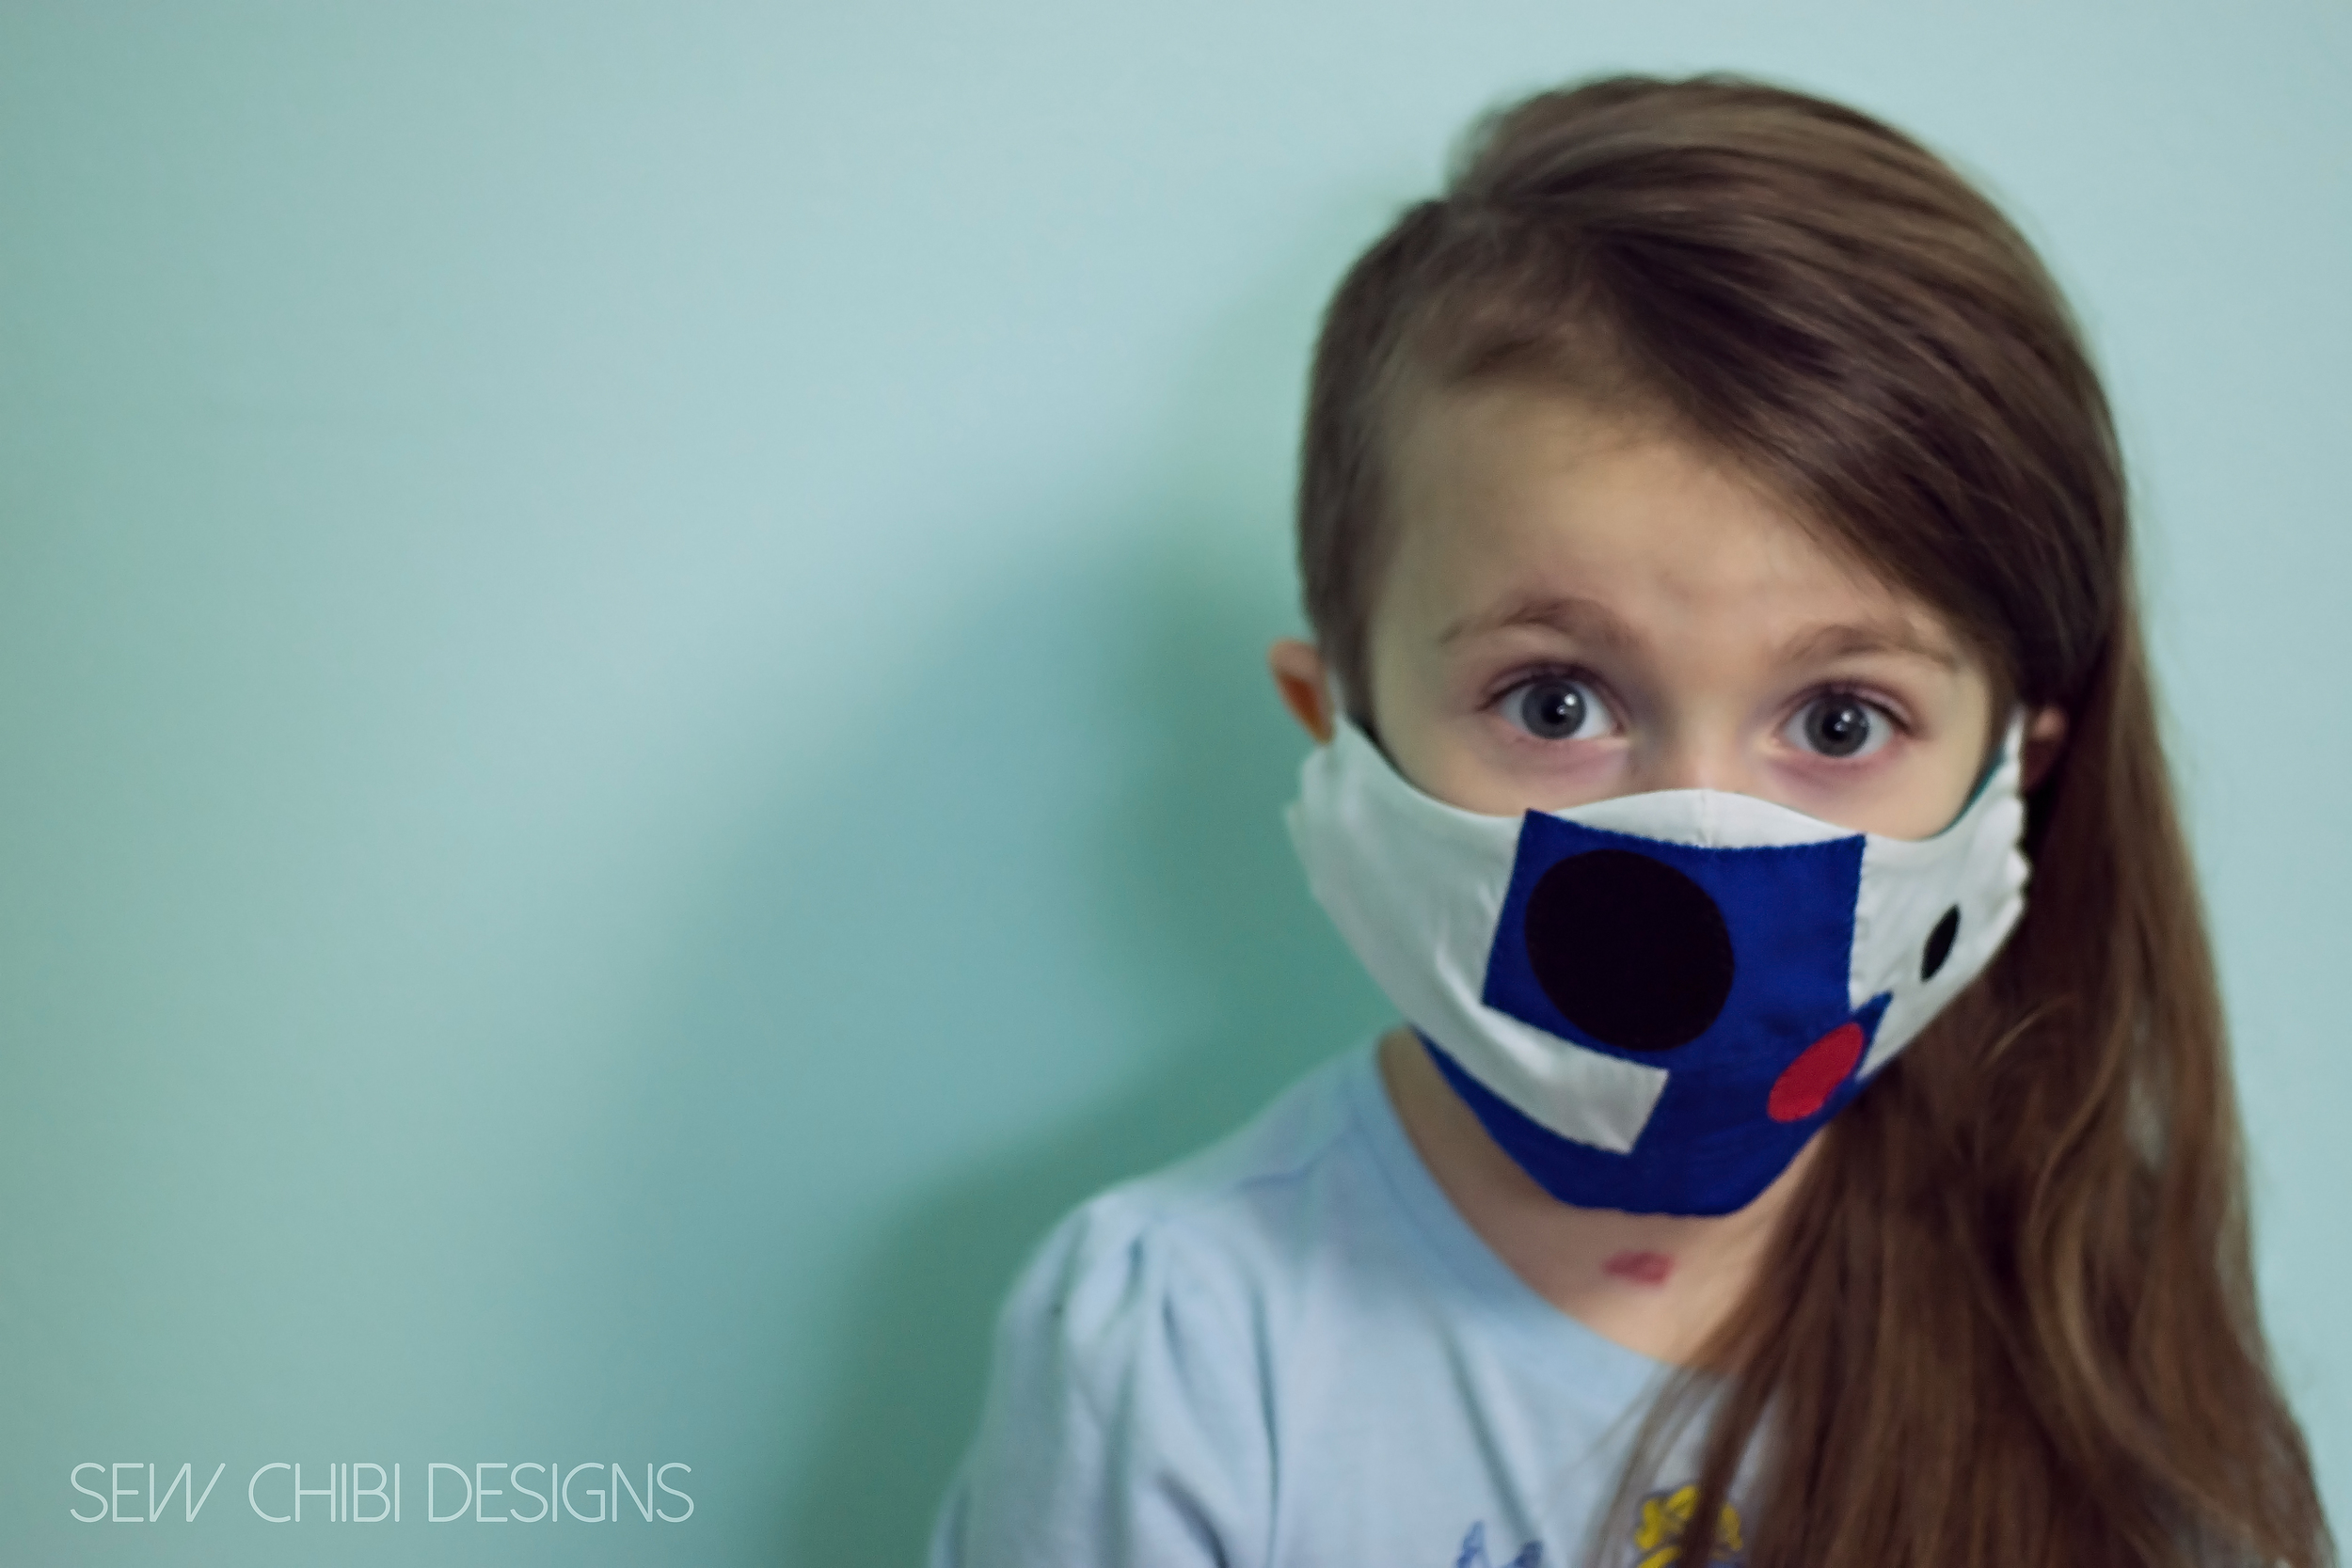
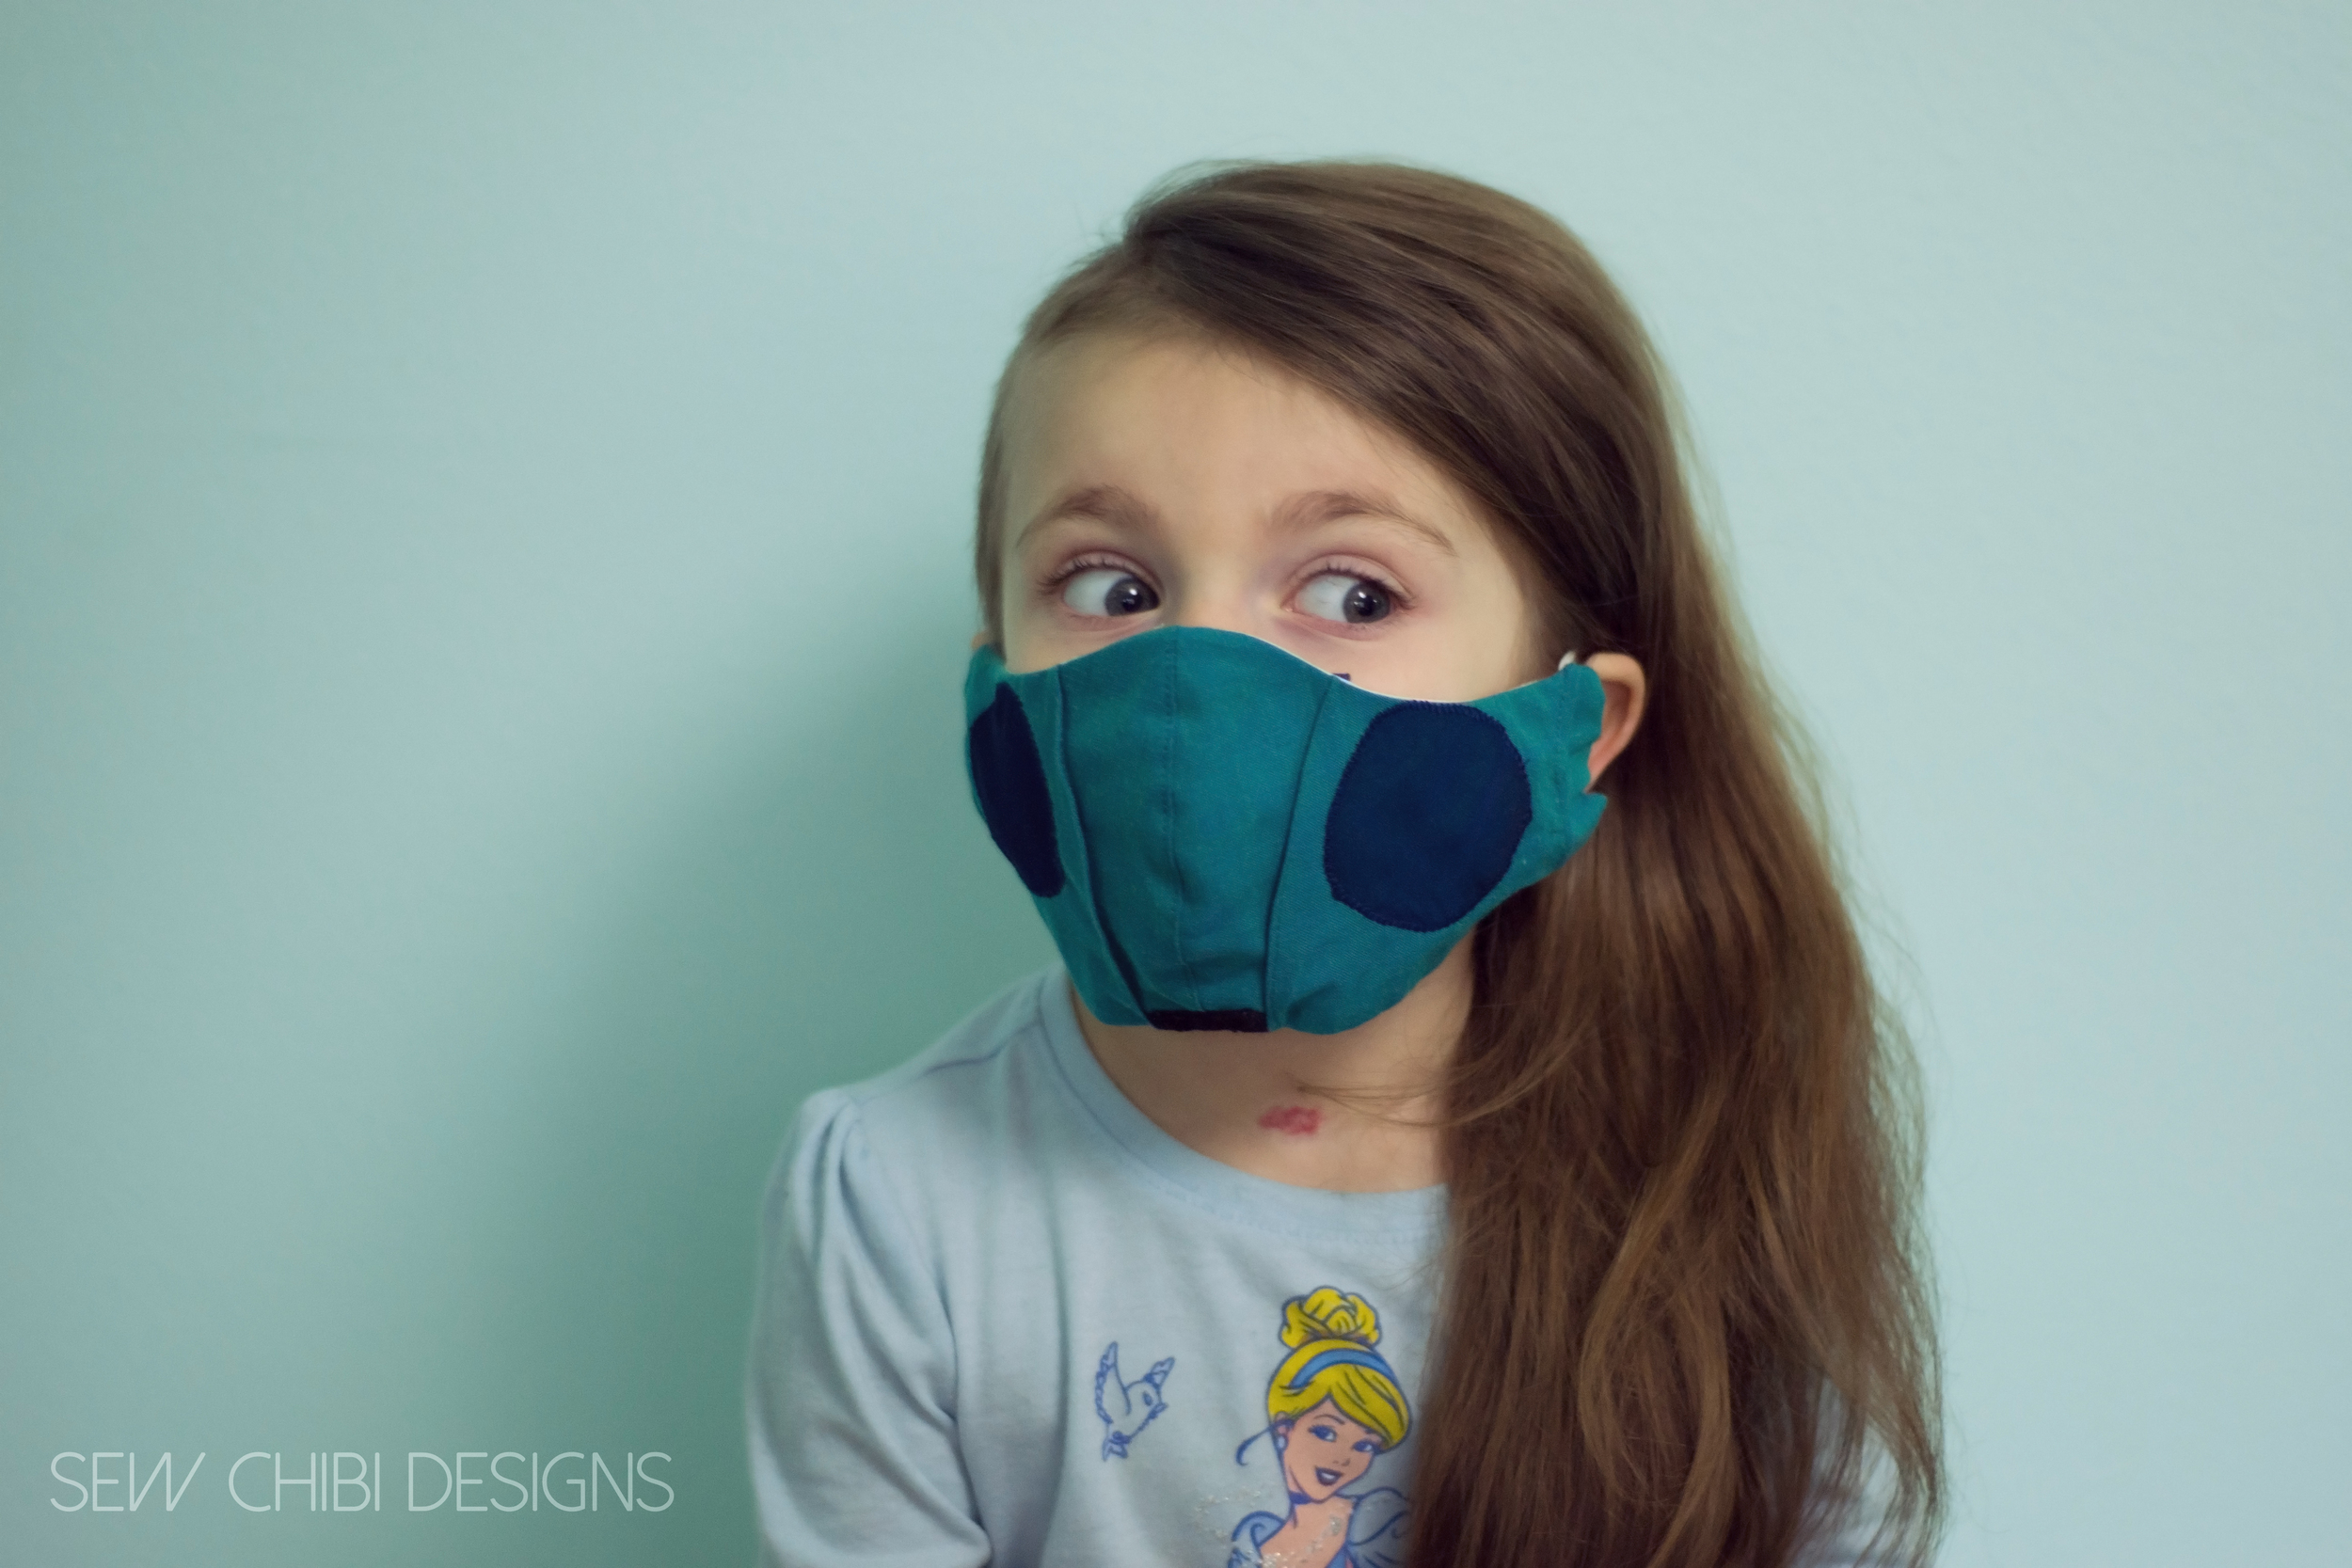
I made a reversible Greedo/R2D2 mask for my middle girl.


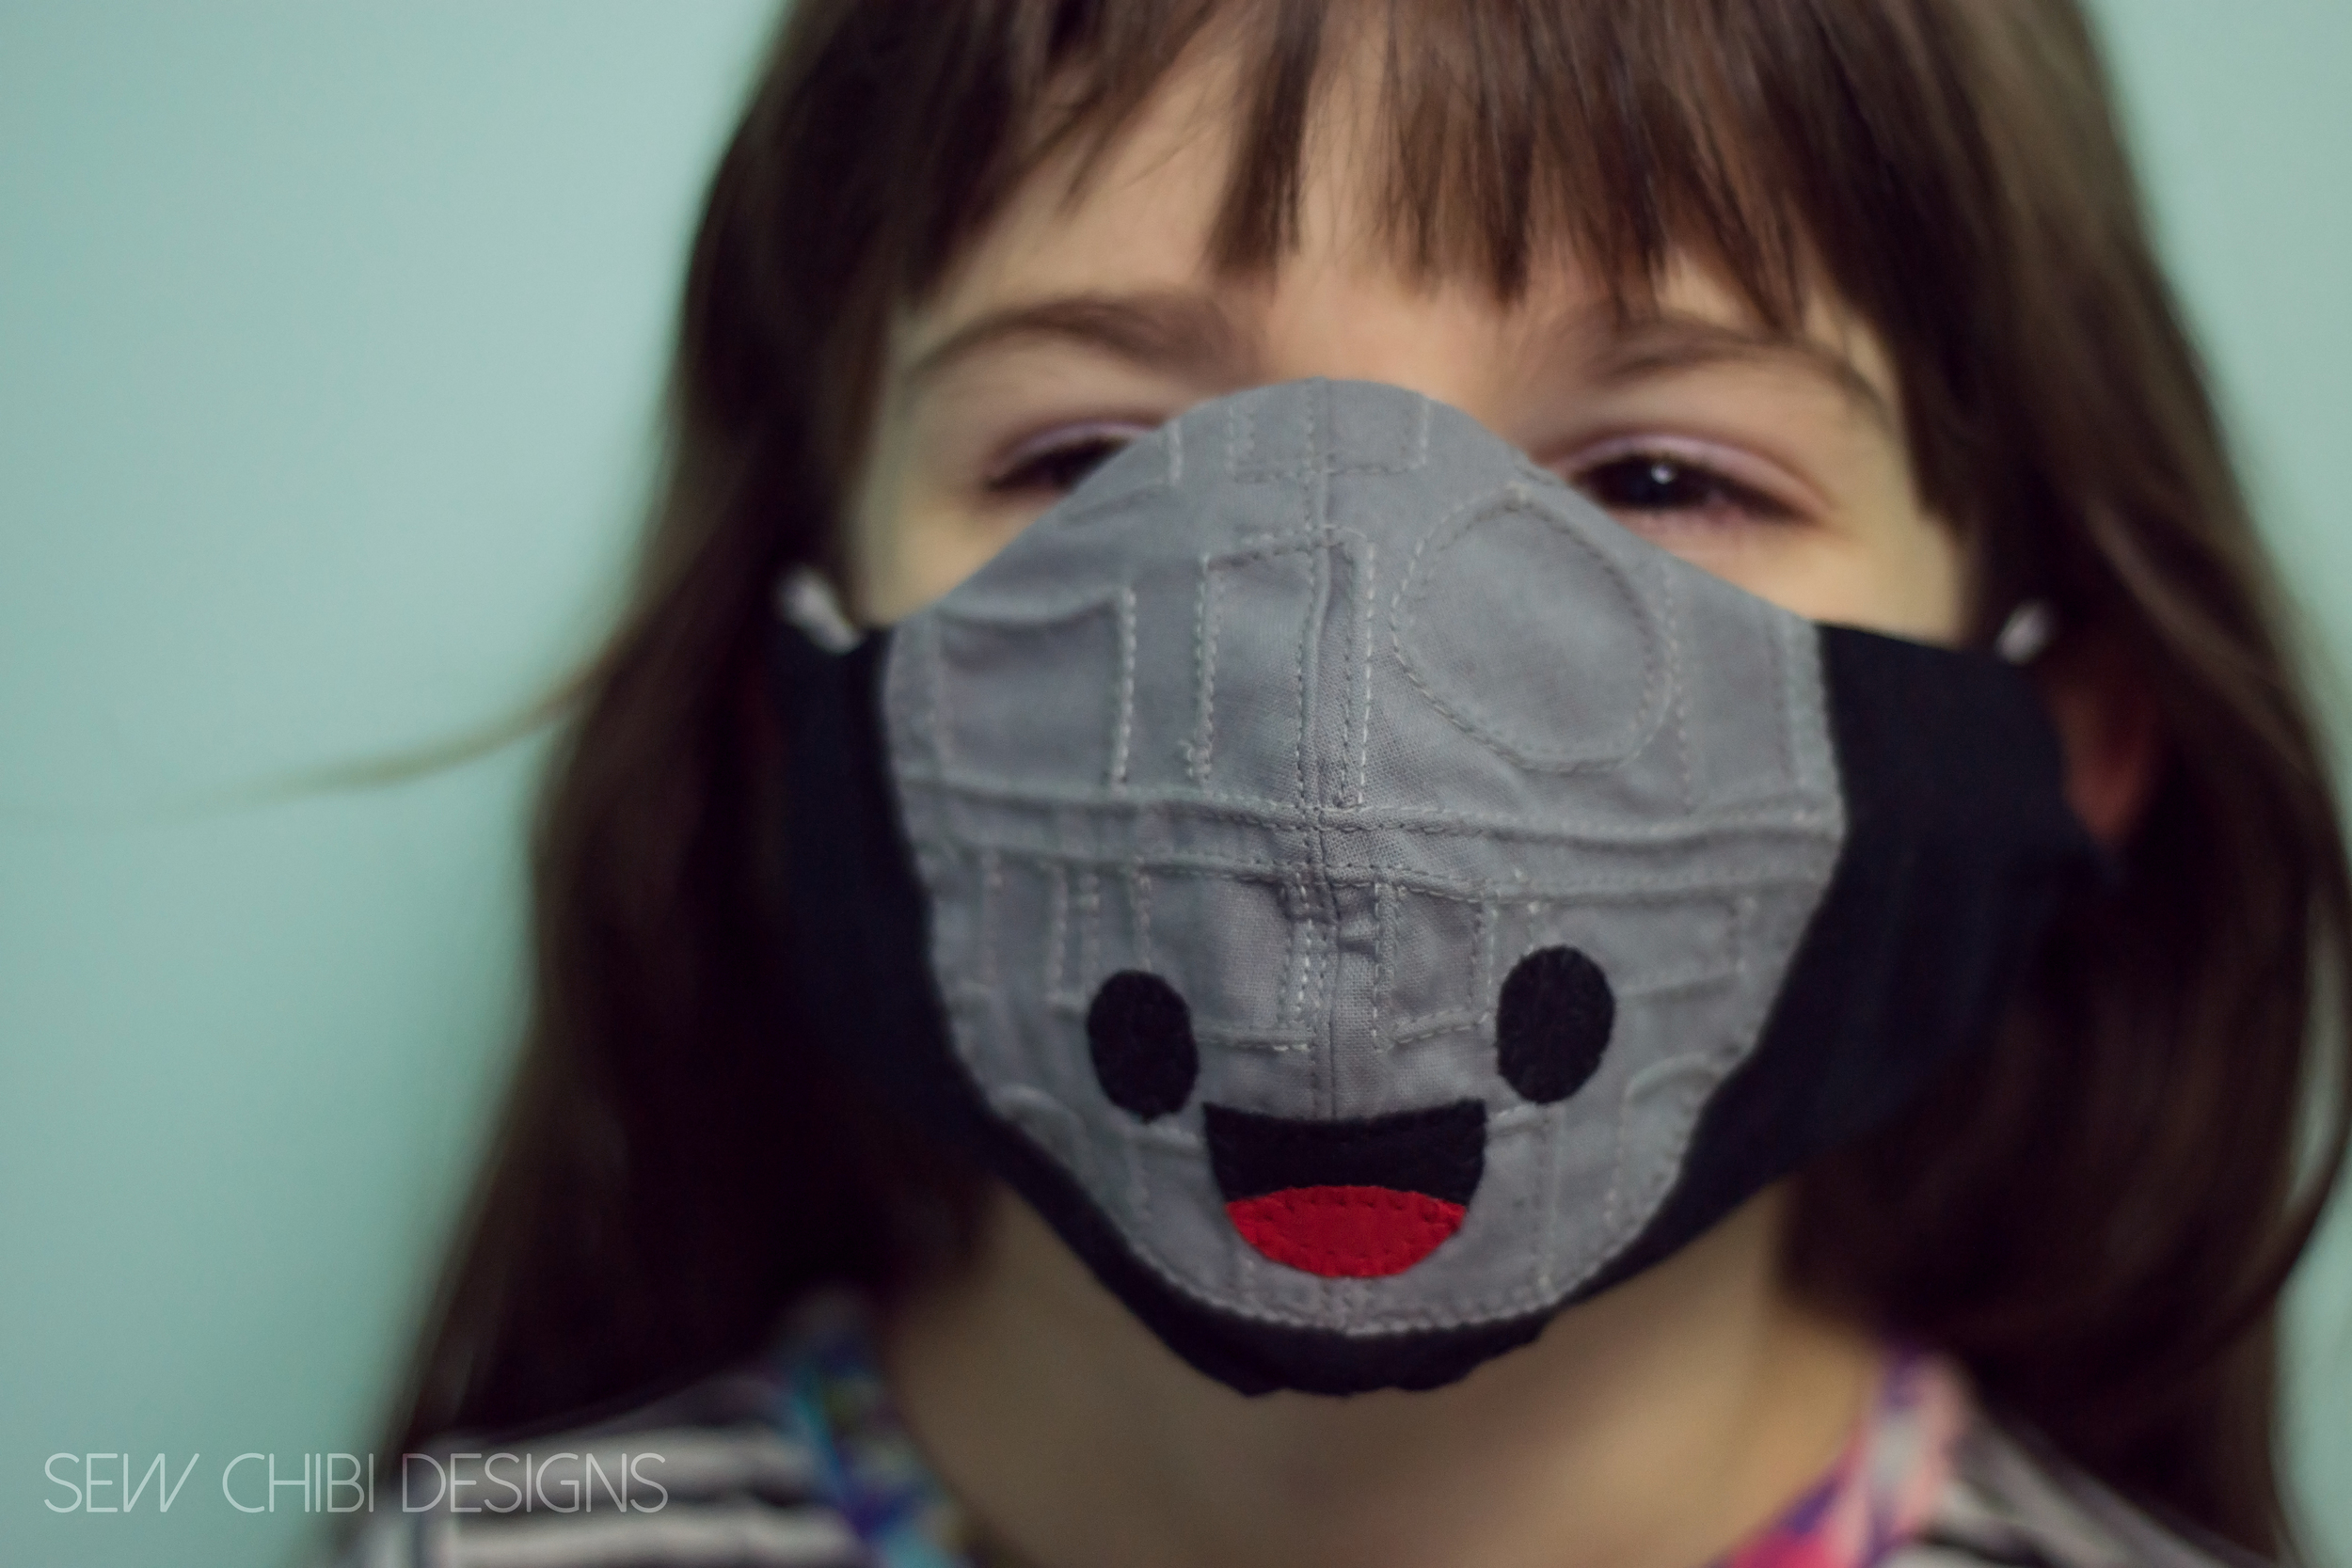
And a Storm Trooper/ Kawaii Death Star for my eldest kiddo!
Well! I hope you like this quick little tutorial on how to make a reversible Star Wars Face Mask! I’d love to see how you use the pattern! Use the hashtag #reversiblefacemask so I can see em!
Till next time, many many smooches and happy sewing!


YAY! You're here! I'm so happy! I'm Kat! Mom, shawol, and pattern designer, this is the place where I share all of my sewing projects, chibi cosplay fashion, and DIY/tutorials! Everything around here is action-packed with color, silliness, and tons of kawaii stuff!