the fantasy romper!
So, I have been sewing... and sewing... and sewing this month! So much so, I swear smoke is coming from my machine! After finishing Azriella's Easter dress, I needed to get started on Sephira's outfit. Now- I have realized one of a million things since I have started sewing: I like to make things my kids want to wear...even if it's for my baby who doesn't know how to talk (hahaha!) I just think of babies trying to crawl in dresses and it just doesn't sound practical. I envision her crawling in place or worse, crawling in place then slipping and face planting or something! Not only that, but (and many of you will totally disagree) I think that girls start to look really cute in dresses when they can stand up on their own properly. Otherwise, it just gets all bunchy and you can't get the gist of the dress unless you fluff it out and that can be futile to do with a baby. So, I thought: romper.
But how do you dress up a romper? Ruffles on the butt? Add a skirt?
And then it hit me: make a completely ruffled romper. Sephira has been in love with nylon chiffon for months now, and I promised I'd make her a pettiskirt... well a petti-something anyway!
Great! Ruffled romper! She'll look like a little lamb! Eureka! A lamb ! I'll add a hood and add some ears and she'll look like a little rainbow lamb to Azriella's Bo Peep! Ha! Perfect!
So, with the idea in mind, I knew I needed to put my idea to the test... I always try to make a test run of a project that is important if I make my own pattern. So I made this:
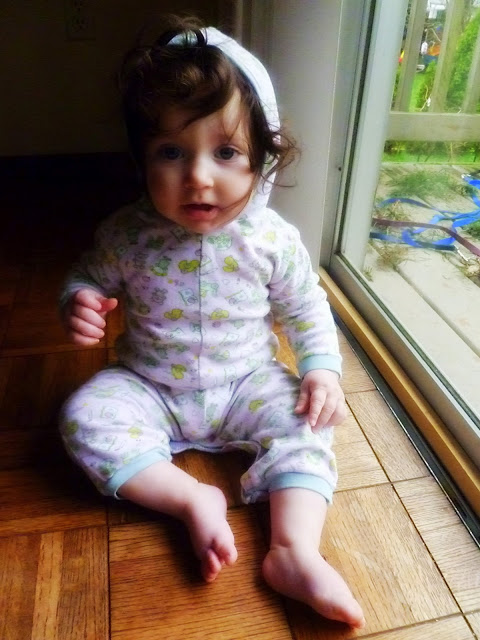
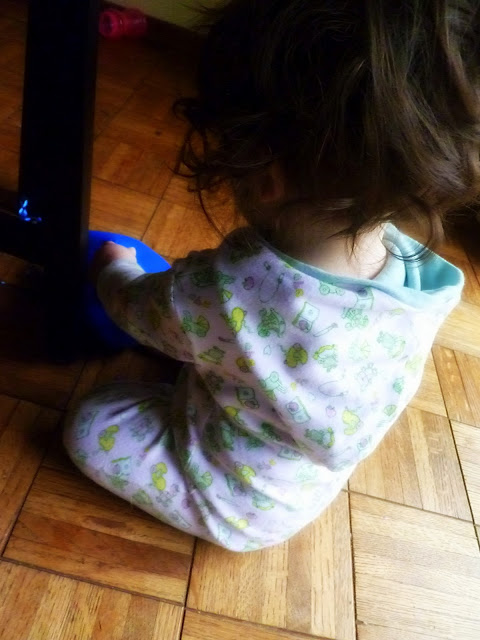
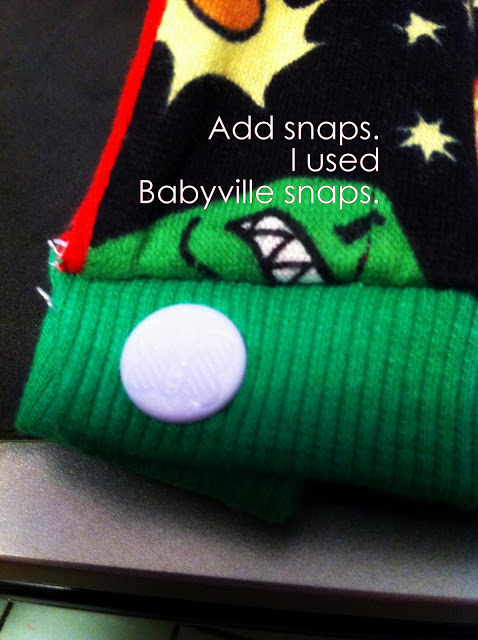
And I was STOKED with how it turned out! It's made from jersey knit (interlock would work too). I used Babyville snaps which are a little pricey, however one package has enough to make 60 snaps! I did have to buy the special pliers, but if you use those 50% off Joann coupons, the pliers are $10 and the snaps are $4! Sooo much cuter than metal ones and you get way more for your buck! Sure they're meant for cloth diapers, but they are so sturdy and awesome that I don't think that they should be limited to that!
The pattern is determined by using a shirt and pants that fit your baby (or a romper!) and draw out a pattern (double check the measurements by measuring the inseam, outseam and collar to crotch area (with an inch or two of ease/room to grow).
I use this drafting technique to make my sleeve patterns.
I traced a hood from a hoodie (on the fold. cut two to make one hood) to make the hood pattern. Make the lining the the same size as the outer hood but make the front (part by the face) about an inch bigger (if you like the contrast trim around the face).
The facings were determined by measuring around the inseam from of the pants then the back inseam. Make the width about 1 1/2"- 2". Cut one for front and two for back.
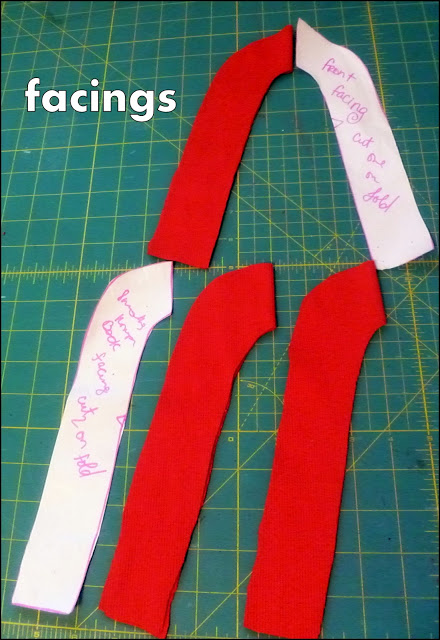
these are on the fold
Cut out the cuffs from knit ribbing, two inches by the width of the sleeve block bottom and double the width of one of the leg bottoms.
Cut ruffle for the butt (if you want them), 1 1/2" x double the width of of the back of the romper back.
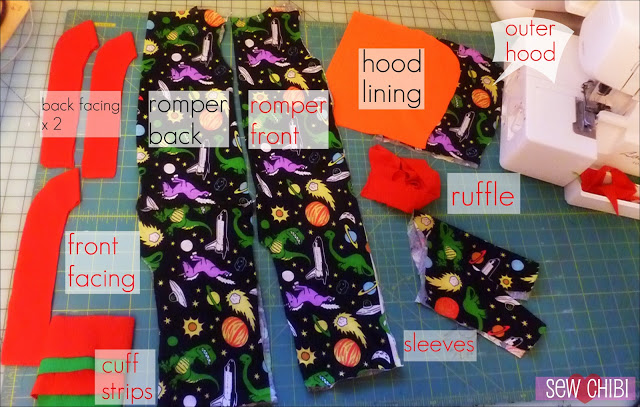
This is what you should have:
So, let's get sewing!!
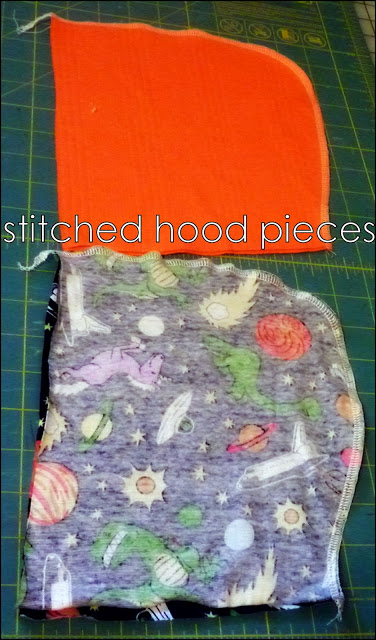
Take the two lining hood pieces and join them at the curve. You can just serge since this whole outfit is knit, or you could just use a stretch stitch on your sewing machine (or if you're like me, do both!).
Repeat this step with the outer hood pieces. Below is where we are at now:
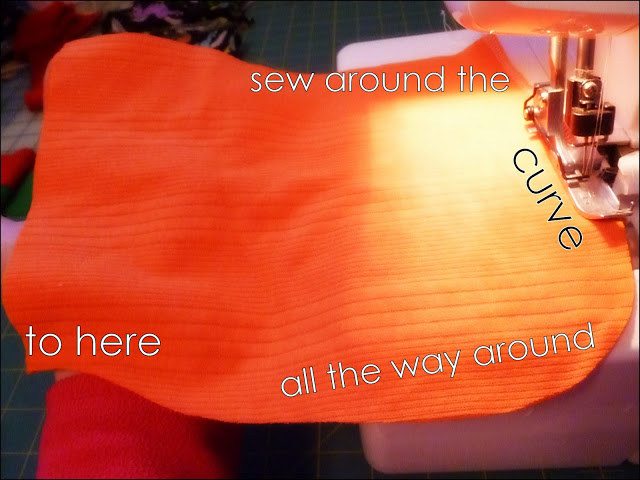
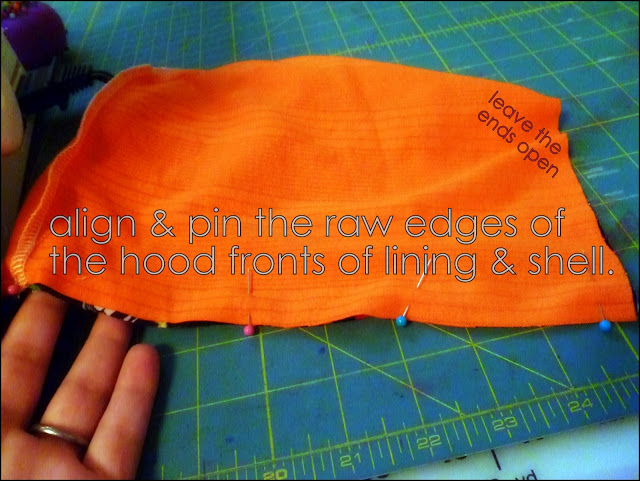
Okay! Now, leaving the bottom of the hood pieces open, match the hood pieces right sides together. Pin the front edges together, making sure to line up the center seams. Sew all along the front.
Hood is done for now. This is what yours should look like:
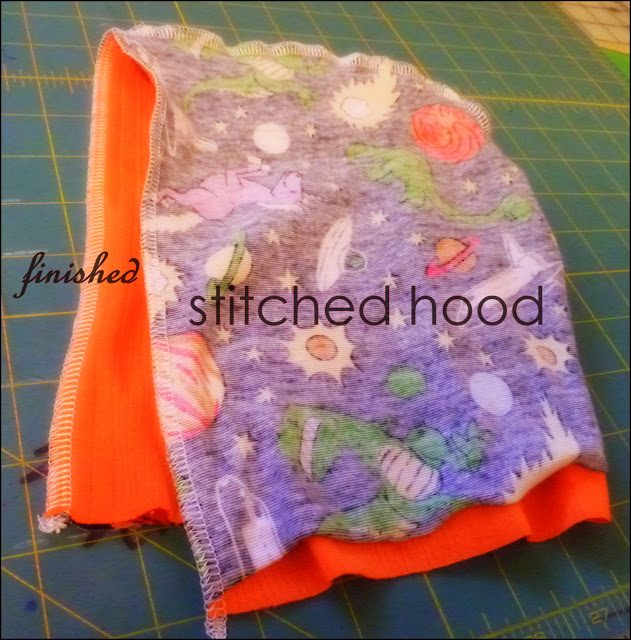
Turn right side out and press. Make sure all edges and seams of your hood match. If you added an inch to the front of the lining for a contrast look, it should like like the hood below:
Set hood to the side, it's done!
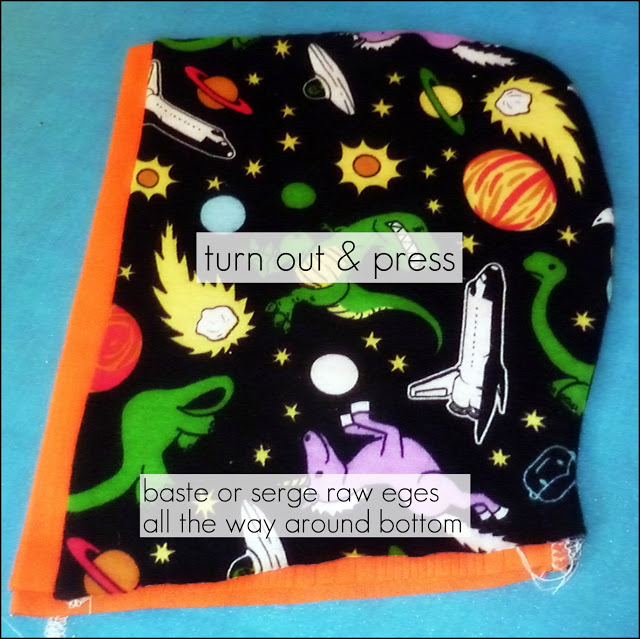
This pic doesn't show it, but this is a good time to BASTE the bottom raw edges. I wrote serge too but you will be serging this to the neckline eventually so it doesn't have to be done twice.

If you want to add rufflesto the back, take your strips (1.5 to 2x the width of the back romper piece) and gather them down the centers with matching thread and the tension cranked all the way up on your sewing machine. Stitch on your longest possible straight stitch. Then, pin your ruffles to the romper about 3in. up from the top of the inseam. Adjust gathers to fit the romper piece. Stitch down using a stretch stitch right on top of your previous stitches. Yeeay! Ruffles!
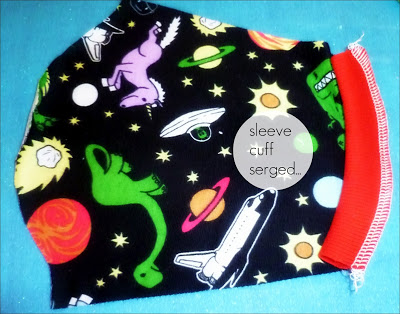
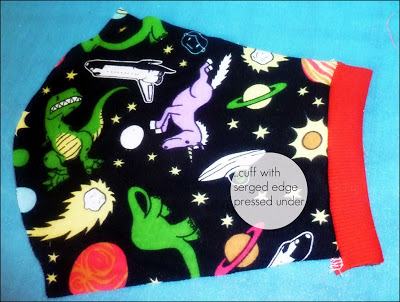
Next, let's add the bindingto the sleeves. Fold in half along the long edges. Press. Match up one end of the binding to one of the sleeves. Very gently pull the binding while you sew(using a stretch stitch)/serge. This will create a slightly sung fit wrist opening. Press seam allowance towards the sleeve. Repeat for other sleeve. The put them to the side for now.
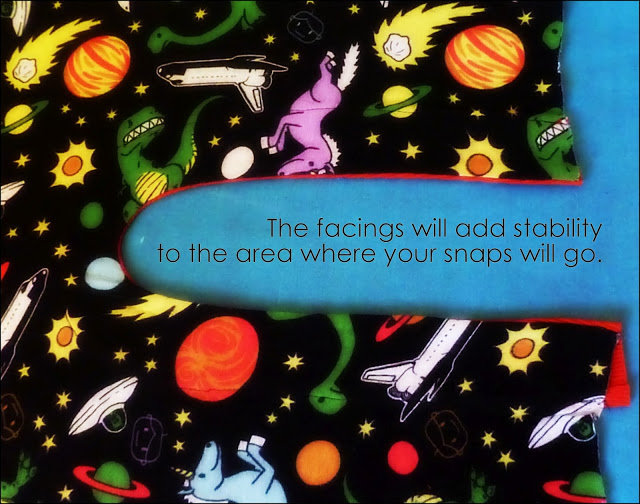
Next, are the FACINGS. They aren't hard to do, but there are a bunch of steps. If I thought these weren't important, I'd tell you could forget about them. But without these, your fasteners will most definitely tear your fabric when you try to open it up. When all snapped up, there really won't be any of the facings showing.
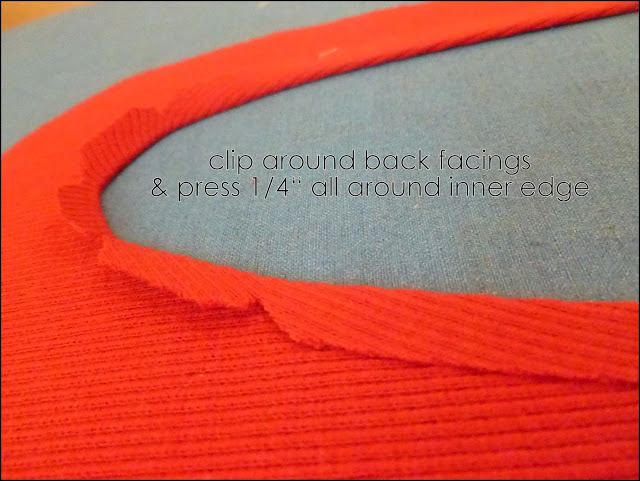
First clip a little into the seam allowances of all three facing pieces and romper inseams just around the curves.
Take one of the back facings and press the inner edge back 1/4" all the way around. Repeat for remaining back facing.
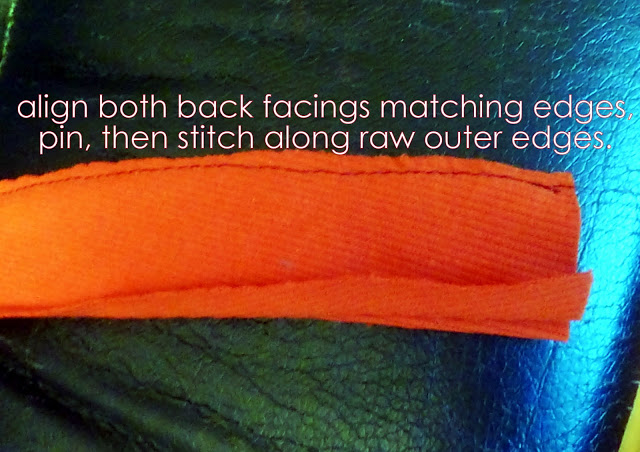
Next match both back facings to each other with folded sides out, and stitch (straight stitch is fine) along the outer raw edge, joining the two together.
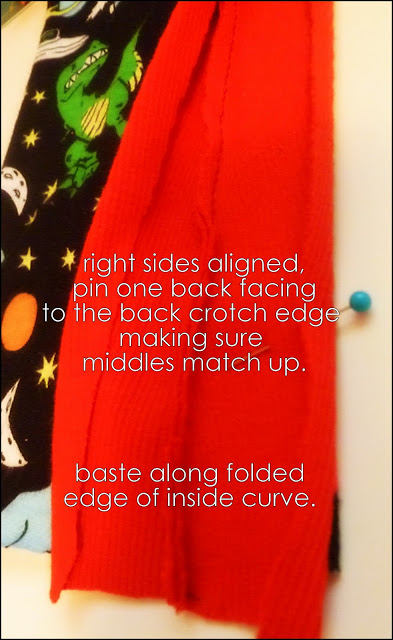
Now, with right sides together and matching inseam centers, pin the back facing to the back romper. Baste along the folded edge that is closest to the edge.
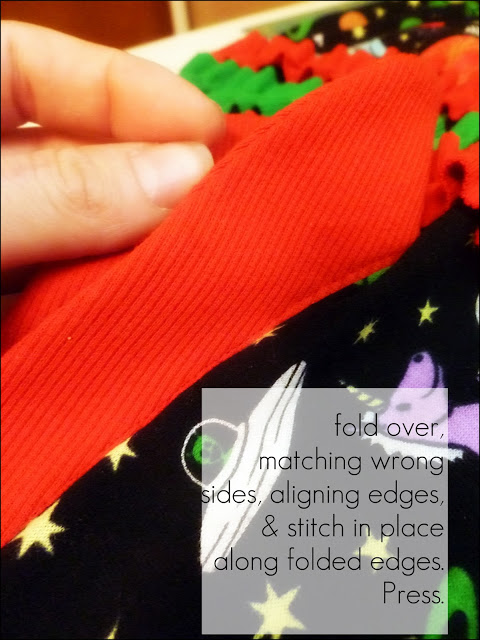
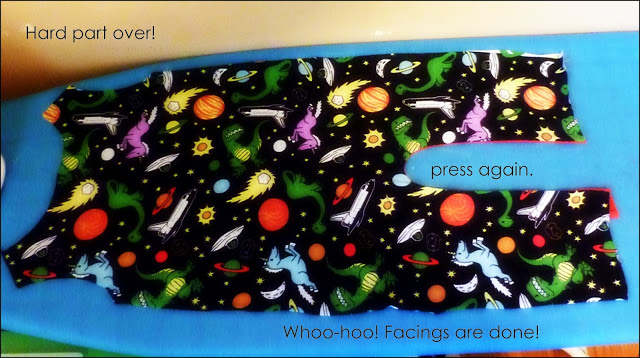
Fold over the back facing so that just the wrong sides of the facings are all matched up. Stitch this time with a regular stitch length all along the inner curve joining the back facing to the back romper piece. Press.
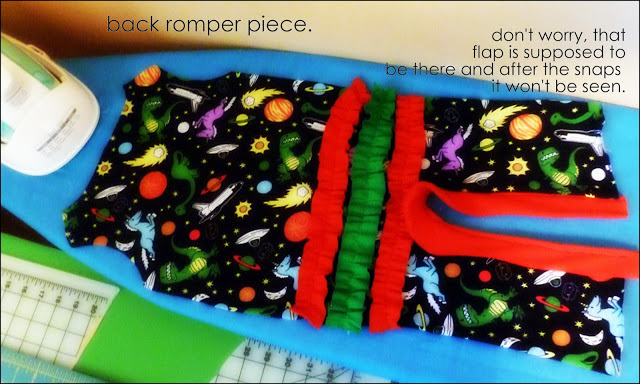
This is what the back romper piece should look like.
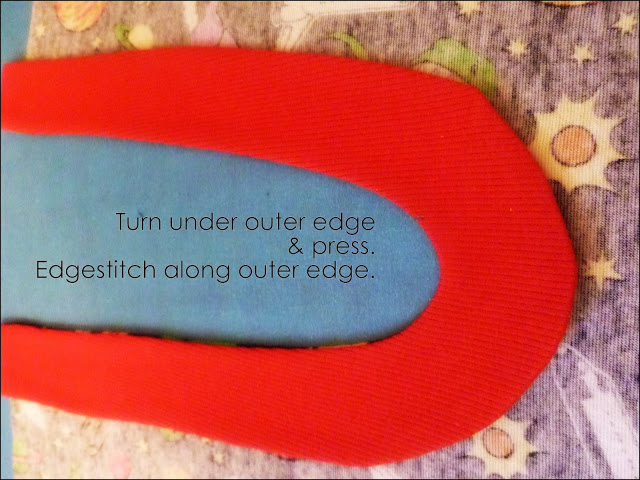
Take your front facing piece and pin it matching the inner edges and centers. Stitch along the curve with a 1/4" seam allowance. Turn the facing to the inside of the front romper piece and press.

Next, turn the outer edge under a 1/4" all the way around and press. Edgestitch around the curve. Press.
Oh yeah! You did it! Good job!
Alright! Let's match those shoulder seams on the front and back romper pieces, making sure the right sides are together. Stretch stitch/Serge those puppies together.
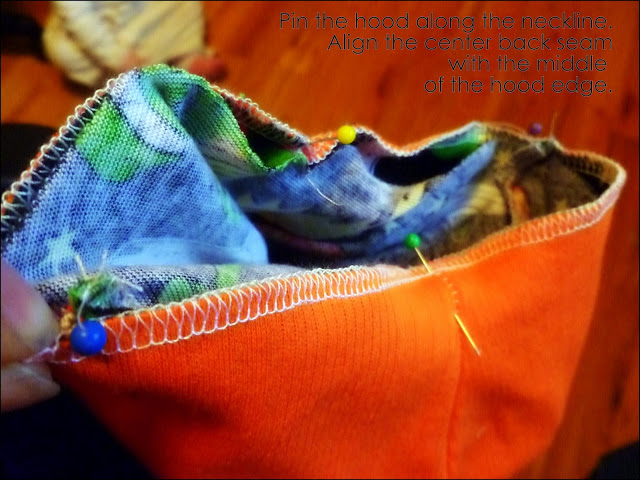
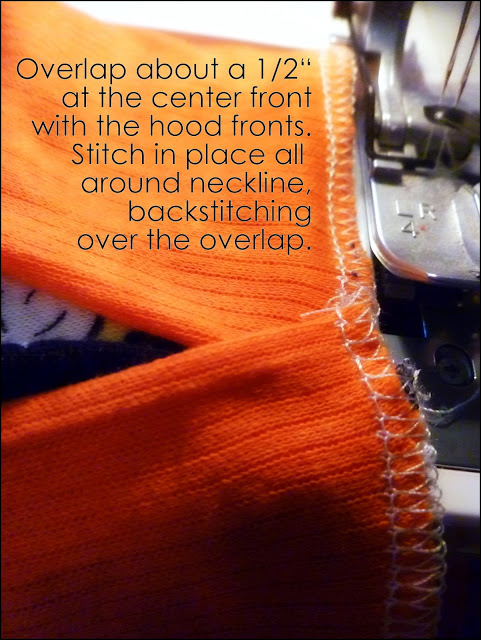
Now grab your hood. Pin the hood along the neckline with right sides together and matching center back seams. For the front centers, find the romper front center and mark it or just use a pin. Next, take your hood corners and overlap them a 1/2" in. and pin to the romper center front.
Stretch stitch/Serge in place.
Okay! Hood is set in! Great! Double check it fits over you little one's head now. If you need to fix something, now is a better time to do it!
Now we're going to set in those sleeves. First figure out the front of the sleeves from the back. The best way to do this is to notice the slopes on the top. The slope that seems less curvy is the back. Appropriate the sleeves to their proper side.
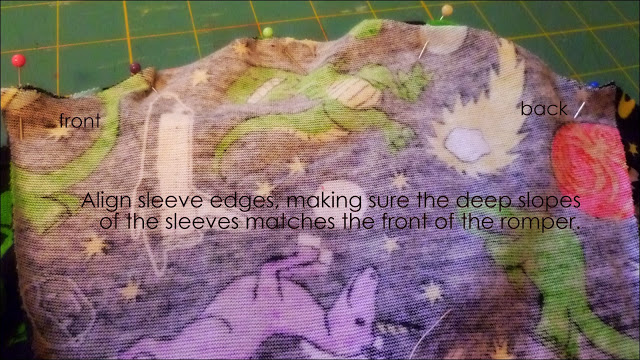
Pin. Stitch/Serge along top edge only for now. Repeat for other sleeve.
Now starting from the sleeve binding, match all seam allowances and pin the front to the back all along the sides and down to the bottom of the outseam. Stretch stitch/Serge in one long seam.
Finally (for sewing anyways), take your leg cuff bindings and fold them in half lengthwise, making a little fold about 1/4" in. on the short ends. Press.
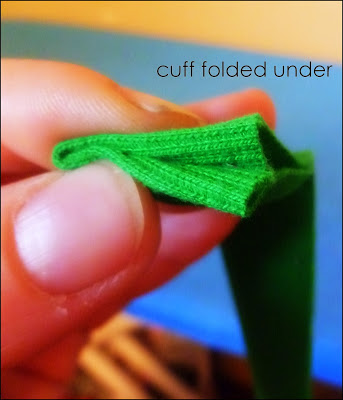
Stretch stitch/Serge to the leg bottoms, gently pulling on the binding only as you sew.
Now this is where I think next time I will change things. Cut two pieces of 1/4" or 1/2" elastic by whatever your baby's ankle girth plus an inch for ease and a 1/2" for stitching. Slide this in using your choice of elastic guide (most people use a small safety pin), making sure to pin the free end of the elastic to the outside of the entrance of your channel. Pin this in place and take the safety pin off. Use a triple stitch if you have it (or just stitch back and forth if you don't), stitch the first pinned end of the elastic together, sandwiching the elastic between the cuff and slipping its end underneath the small folded end so it won't be seen. Repeat for other end and for remaining cuff. What you should end up with is a cute gathered leg bottom.
Yes! You are officially done with the sewing part!!!!
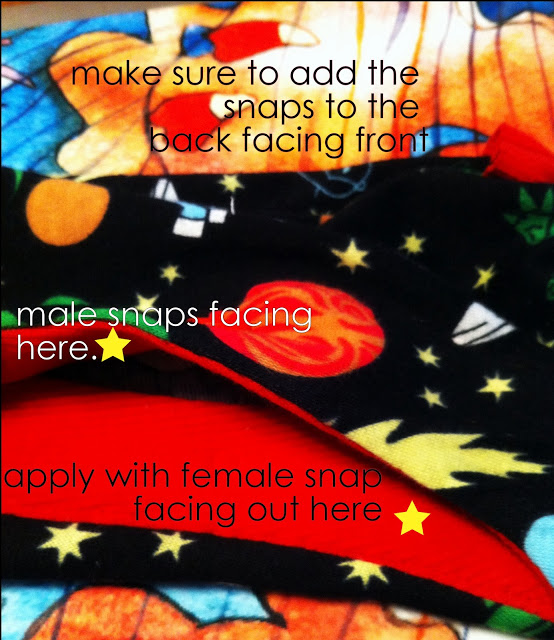
FYI about SNAPS
You need a prongy/or pointy part for each side of each snap. Also, male v.s. female is exactly what it sounds like: The male bit is the part that juts out a bit and the female part is the part that is the socket part. When putting in snaps, it's best to best to have the male snaps on the front and the female on the back. For our example, male snaps are going on the front facing and the female snaps are going on the back facings and from underneath. If you have any questions about any of this please shoot me a comment so I can answer and everyone else can benefit from your awesome inquiries too!
Plan out where you want your snaps. I used 8 for the front and 8 for the back (4 along each side). I started with snaps on the cuff bottoms, then, I decided on the placement of the center snaps. I like them to be about 2-2.5" apart from each other at the tops. Then, I split up the remaining placements, putting a pin equidistant from the bottom up and the tops down, making sure all distances were even. I recommend applying all of your male snaps first, THEN applying all of your female snaps. Double check the lining up before you set them in.

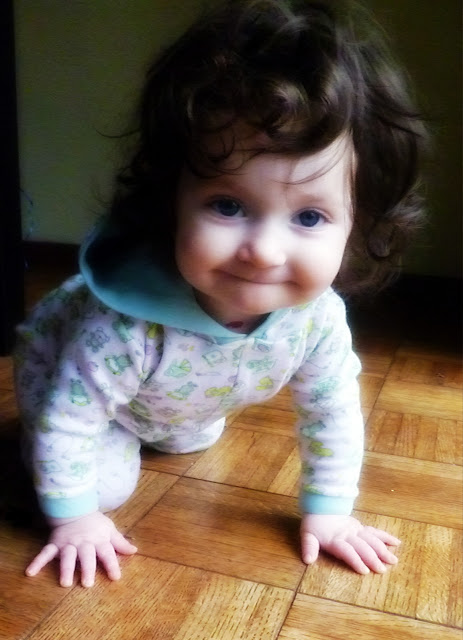
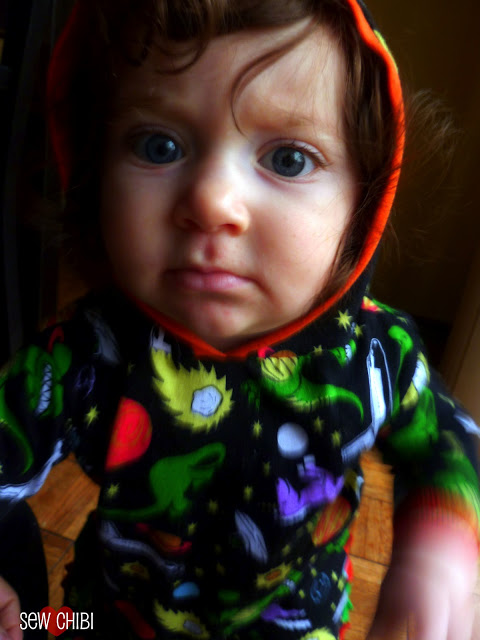
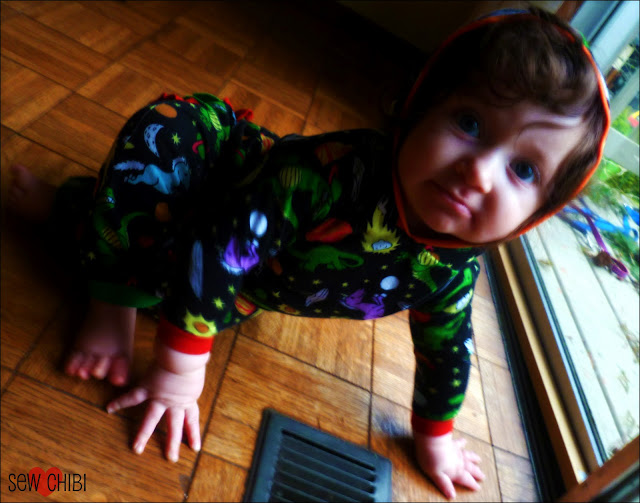
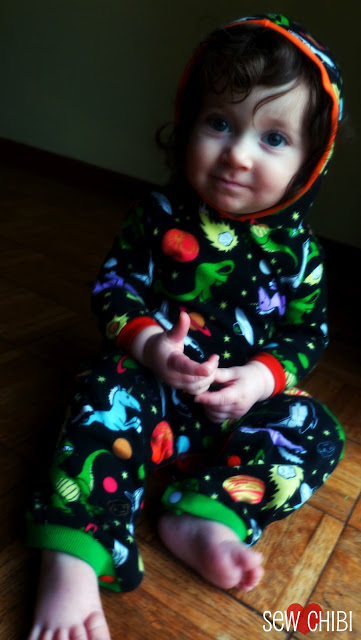
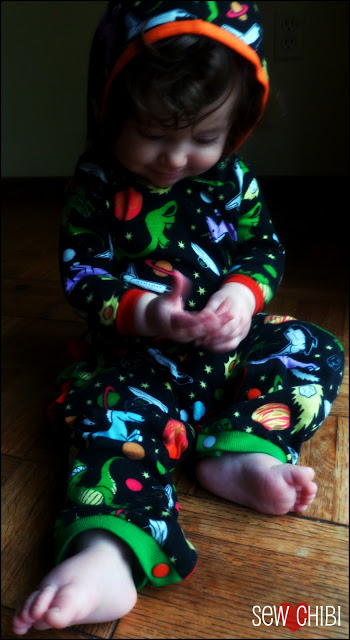
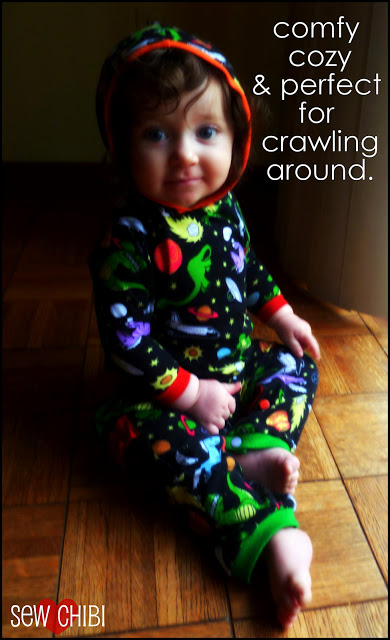
And that's it! You're done! You got an awesome romper for you toddler to toddle and rock out in! Look at you be all amazing!?! Here are some finished pics of Sephy's new unicorn, space, dinosaur romper:


Thanks for stopping by! Happy stitching to you!!!!


YAY! You're here! I'm so happy! I'm Kat! Mom, shawol, and pattern designer, this is the place where I share all of my sewing projects, chibi cosplay fashion, and DIY/tutorials! Everything around here is action-packed with color, silliness, and tons of kawaii stuff!