NEW FREEBIE! How to crank up the whimsy with a puff placket!
OH HAI THERE! Today I'm sharing something I've been hoarding for a while! Akira's second birthday outfit! The theme was puff details and includes a whole lotta fun elements to keep her giggling! Later on, there will be a link for the freebie tutorial on how to make a puff placket! YAY!!!
When it comes to birthday sewing, it's not about making the frilliest dress, or the biggest dress, or even the most technical dress. No. what matters to me most is thinking about my kiddos individual tastes and keeping that at the forefront of my design for them. If one is feeling ethereal one year and cosplaying the next year, then that's what I'm gonna do . And since Akira's not too much of a talker I have to go with what I think will keep her entertained!
I have done some puff detailing in the past because frankly it is so damn fun and I love the look so much! I thought I'd just go and be as zany as possible because, well, just because! I added a puff side seam placket to each side, but I knew that was definitely not enough! I've been wanting so badly to try out puff fabric lettering on an outfit so what better excuse than now to give it a go!
And if there's gonna be letters, then I'm gonna embroider some little kawaii faces on them! That's just a given!
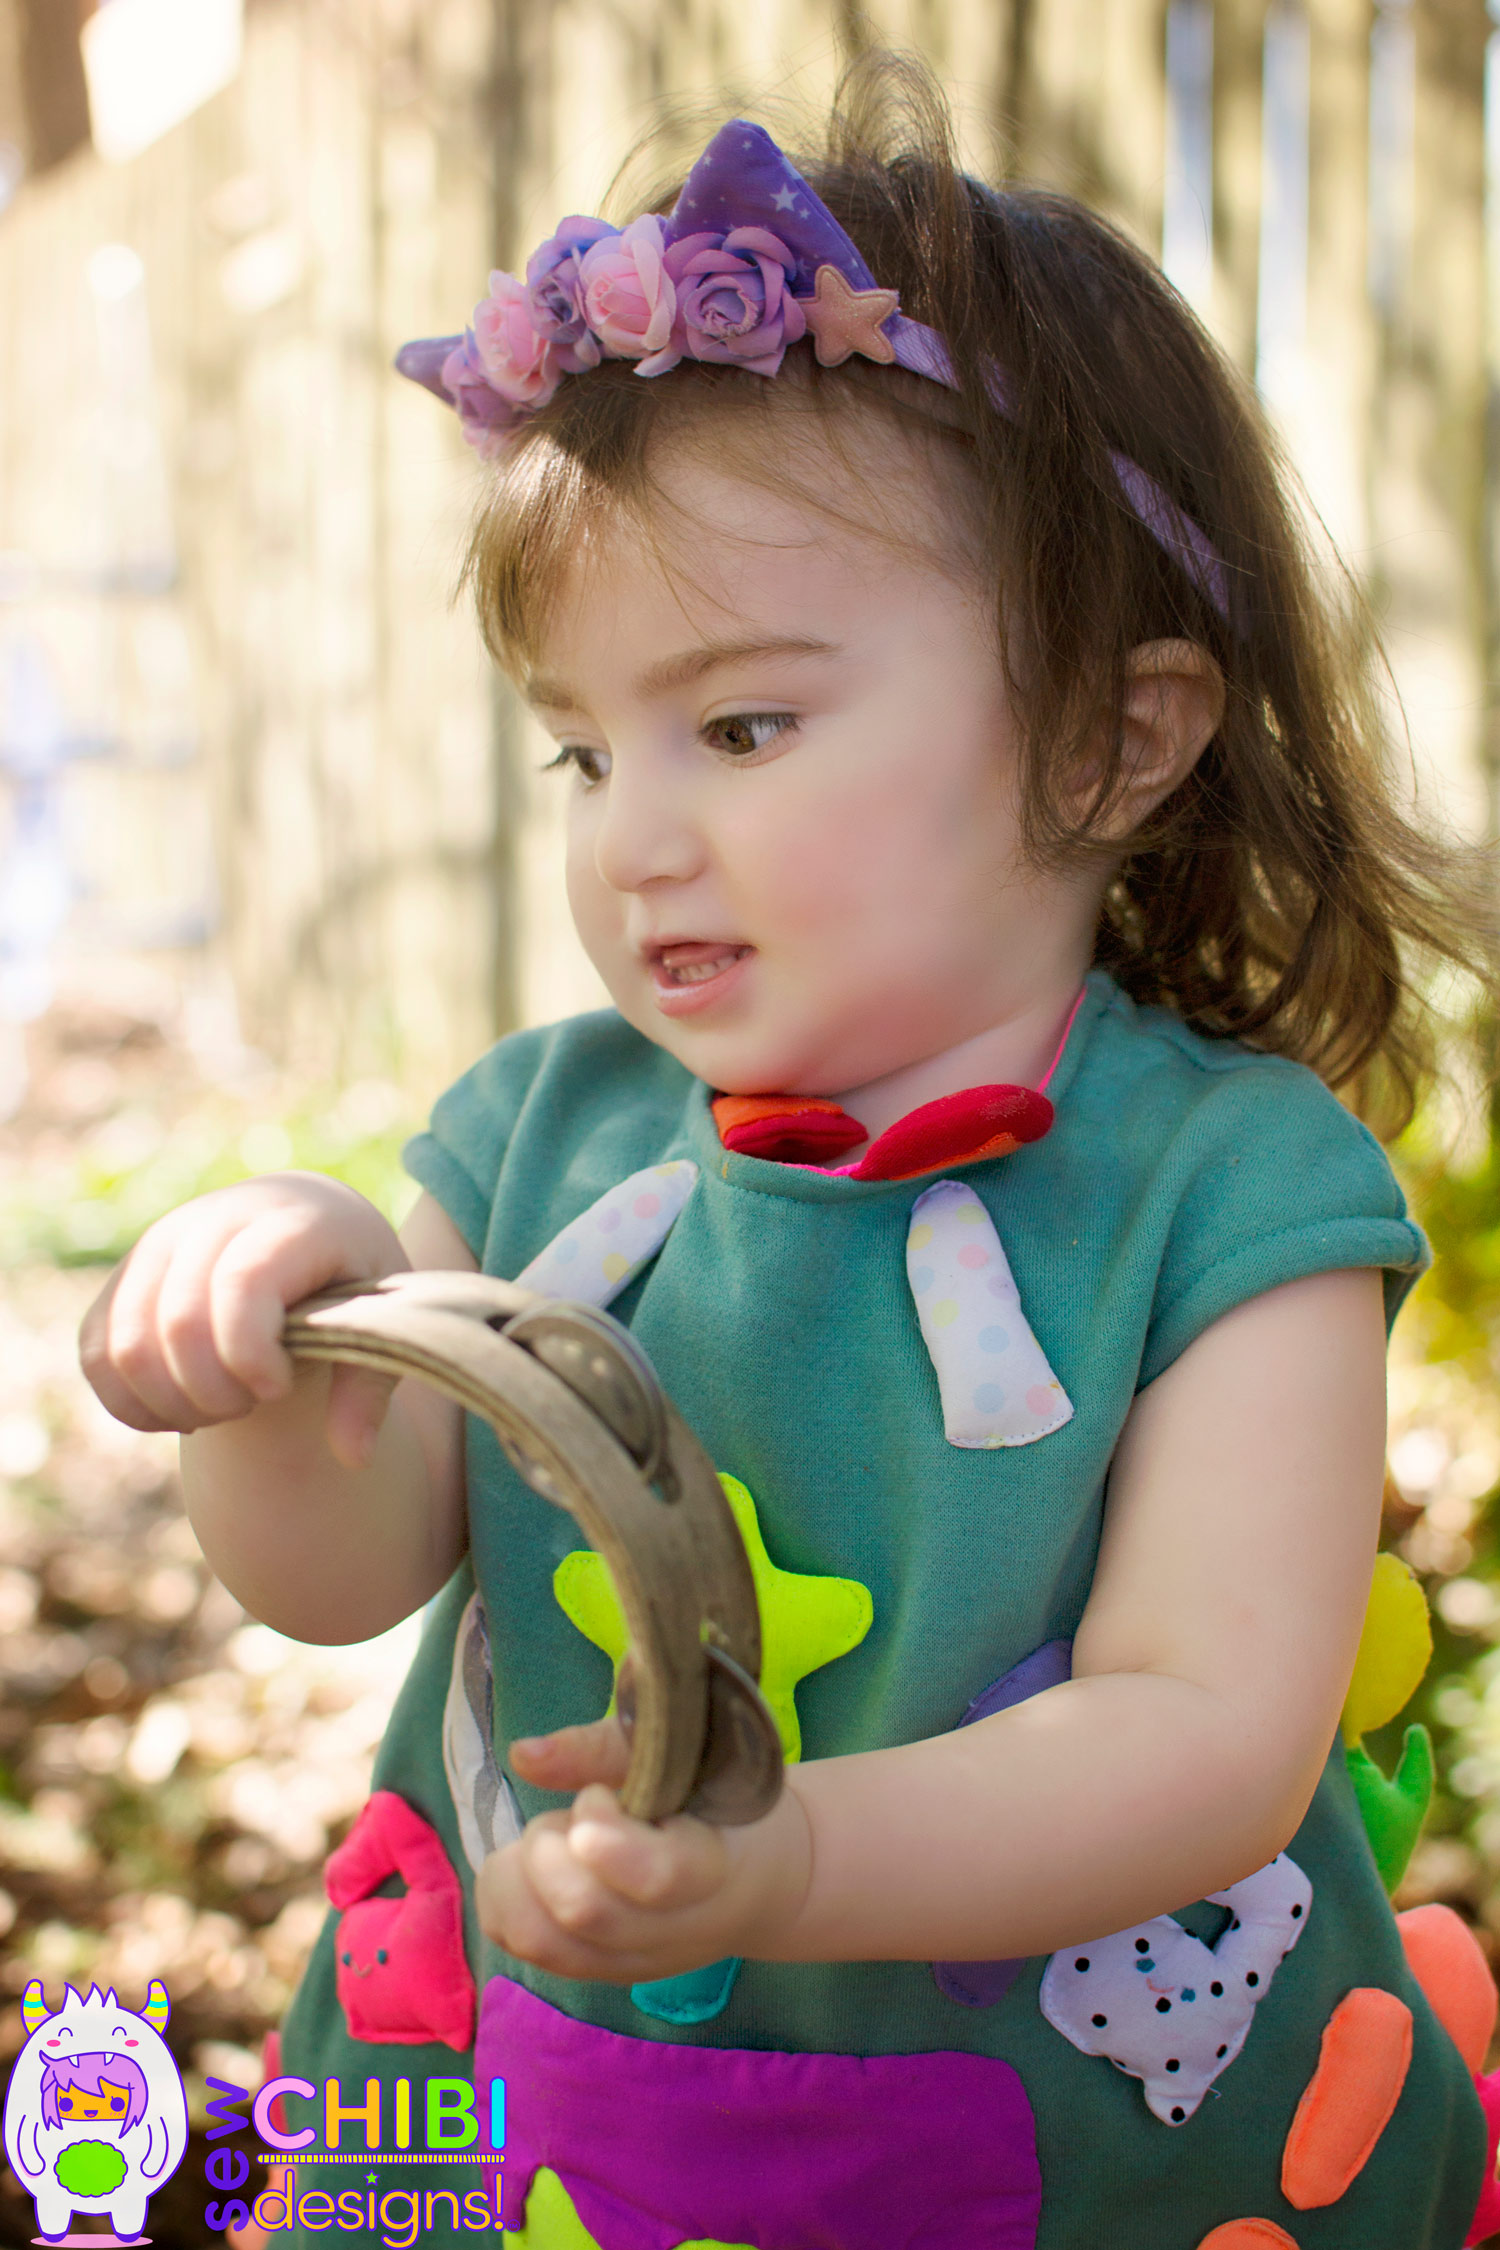
The Dress.
The pattern that I used is one of my favorite patterns to use! I did not get this for any incentive, and I never knew I'd end up using it so much, but man, that brindille and twig minimalist dress is rockin' my world! If you follow me on Instagram, you might have seen that I made a last minute Christmas party dress for this same little chibi of mine! It was one of my favorite things I'd made her until I made this one! This time around I was really trying to find petrol colored sweater knit, but I ended up getting a white one and made it a teal green color. And I didn't want it to be one note! So I thought, to make the back interesting, that I would do some loud color-blocking! I love the way it turned out (although I still yearn for that petrol)!
I wanted it to scream birthday, but I didn't want it to have an overt "2" on it, and I already knew that I was going to have her name be the main focus. So! I made two puff confetti candles with flames by the 🔥neckline🔥!
If there is one thing you know about me (or will learn!) is that I love a secret pocket (or any pocket for that matter)! Since she's not one to fish around for side pockets, I made a super festive one, front and center, right underneath of the "i" in the center! And how much fun is a fluorescent birthday cake pocket!?! I can't even! ❤🎂❤
For the hem, I wanted to tie in the puff detail colors a little more so I made a border just before the hem all the way around. And I wanted to offset all of the color with something unexpected and frilly, so I added a hidden ruffle to the hem as well (I turned it under for the shot on the left just to show the difference in the look).
OH AND NOT TO BE FORGOTTEN!
The pants!
These sweet little mama-jamas are just the best! Simple little leggings made with a gifted neon stripe fabric from one of my favorite bloggy people: Amanda (Kitschy Coo). I have been hoarding this fabric forever and man am I glad I did! And what could be weirder and sillier than some purple potato puff buddies, set way off from each other for added kookiness! YES! SO IN LOVE WITH THESE!!!!!
It's so funny. Sometimes, the best plans, the best efforts... none of it goes right! I wanted so much to take pictures at some cool location, but this girl is fiercely independent! And fast! We tried all over the city but she either wasn't having it or she was darting off. SO! We defaulted to our good ol' backyard! At least I knew that she could run off like the dickens and not get hurt, and that made for the best pictures.

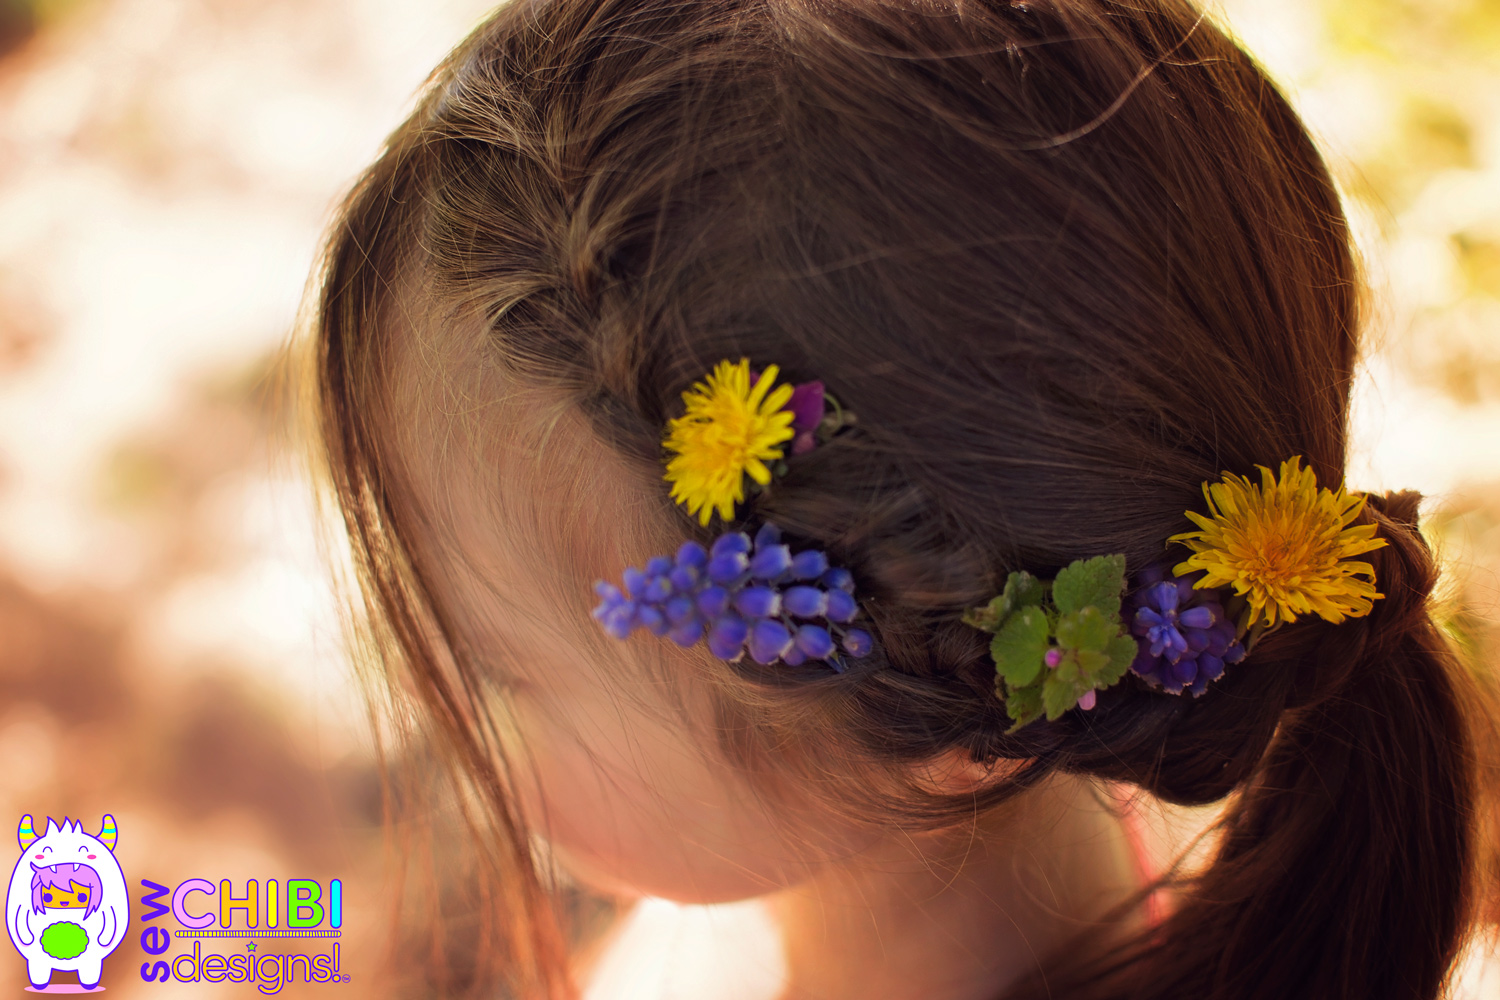
at one point, her older sister requested flowers braided into her hair and I could not resist!
DO YOU WANT TO KNOW TO ADD A PUFF PLACKET TO THOSE SIDE SEAMS?! I made a brand new freebie on how to draft and sew your own! Just sign up to the Sew Chibi Designs Newsletter to gain access to the SECRET FREEBIES CLUBHOUSE!
It's going to be like a secret sewing club for kawaii inclined! Make sure you sign up so you get...... deh secret password !


YAY! You're here! I'm so happy! I'm Kat! Mom, shawol, and pattern designer, this is the place where I share all of my sewing projects, chibi cosplay fashion, and DIY/tutorials! Everything around here is action-packed with color, silliness, and tons of kawaii stuff!