the kawaii magic dress: reversible & detachable apron!
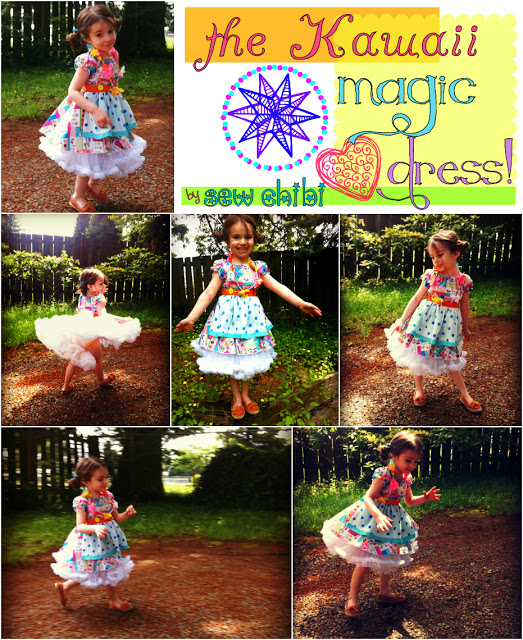
Hello hello hello, everyone! Today is a very special day because today I am doing my very first guest post over at Project Run & Play! I am bubbling over with excitement! I love all the wonderful things that these lovely ladies all over the world are creating and sharing there! And big hugs to those of you joining me for the first time from Project Run & Play! So happy to have you over here!!!
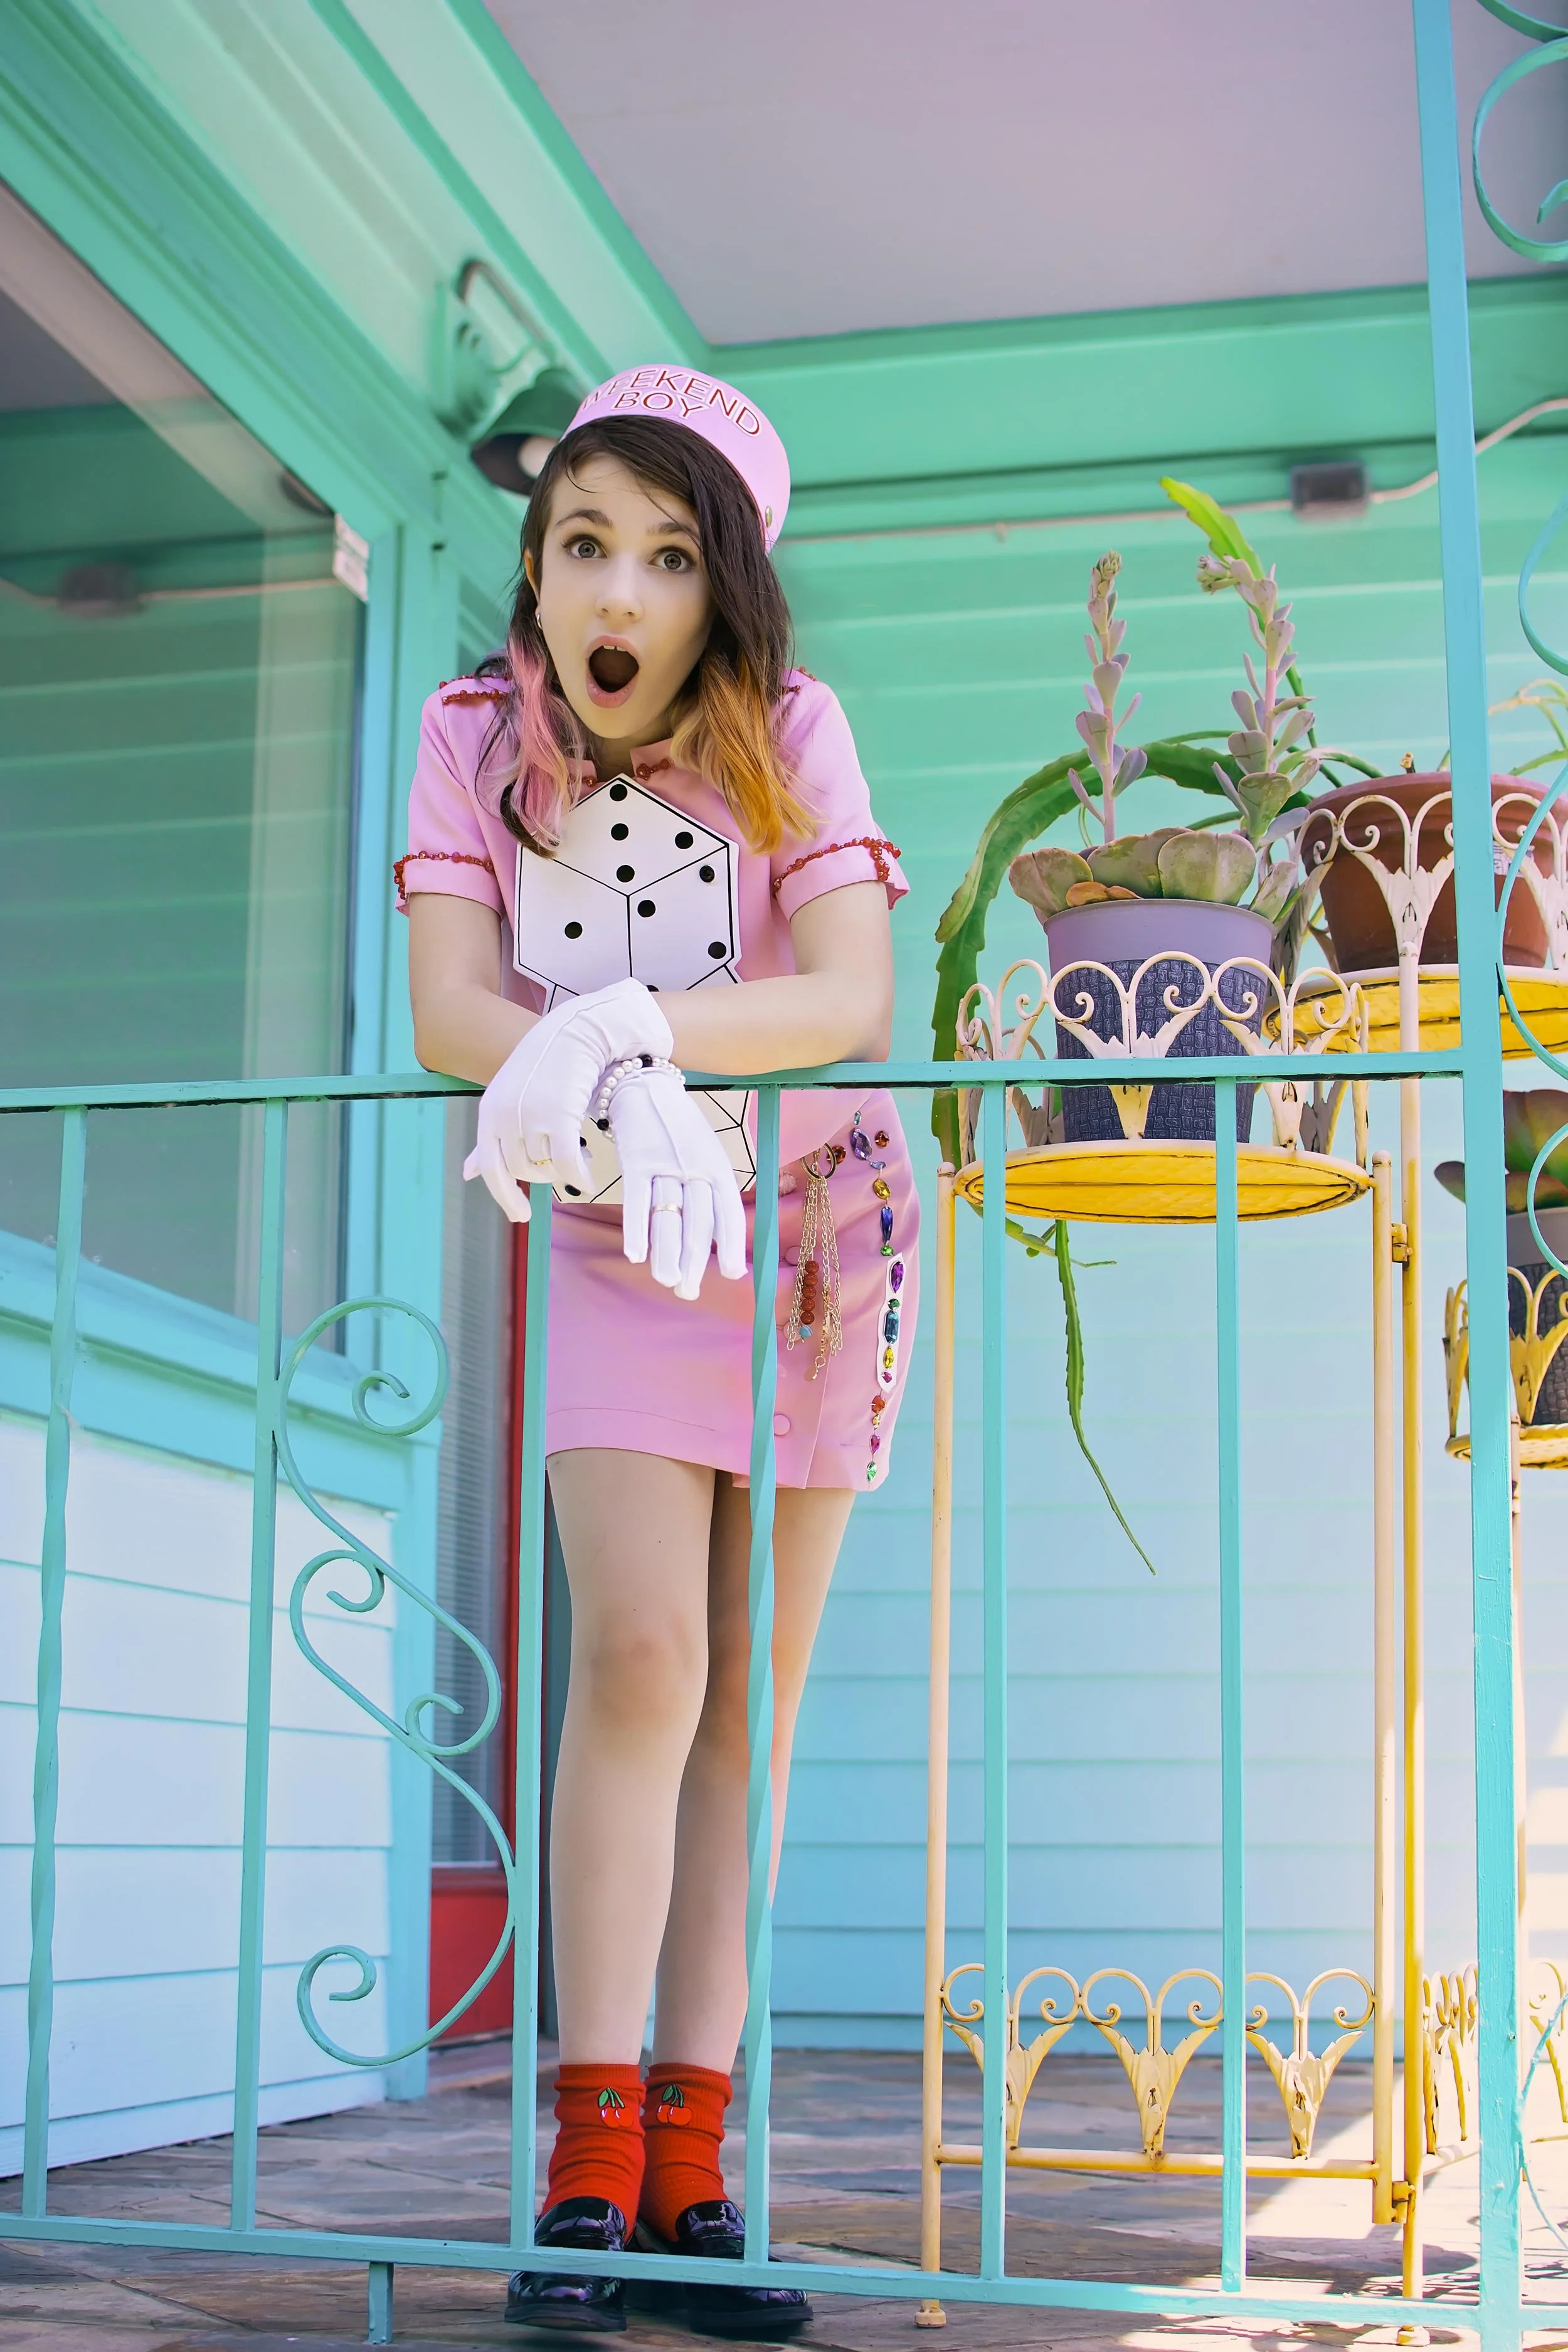
I wanted to share something awesome but easy, and I went back and forth over what idea was the best one for the opportunity. I honed in on the idea for a dress that could change into many different looks... but how? And how to make it seem easy enough that I could translate it into a tutorial... After a few kinks were worked out through my test dress idea (the bright polka dot number above) I realized that: I needed to change up the waistband on the next dress (this one has an elastic casing and while that is fine, it's a little bulky for a summer dress for my taste), fix the buttonholes up front to be lengthwise v.s. widthwise (it's good for the back though!), Also once I came up with the epiphany to do a shirred waistband, decided to change the neckline to a shirred one instead of an elastic cased one. It also needed a few aesthetic changes as well.
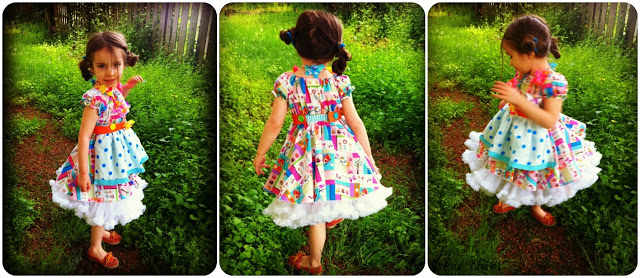
So some of you are here to recreate these looks. And you came to the right place!!!


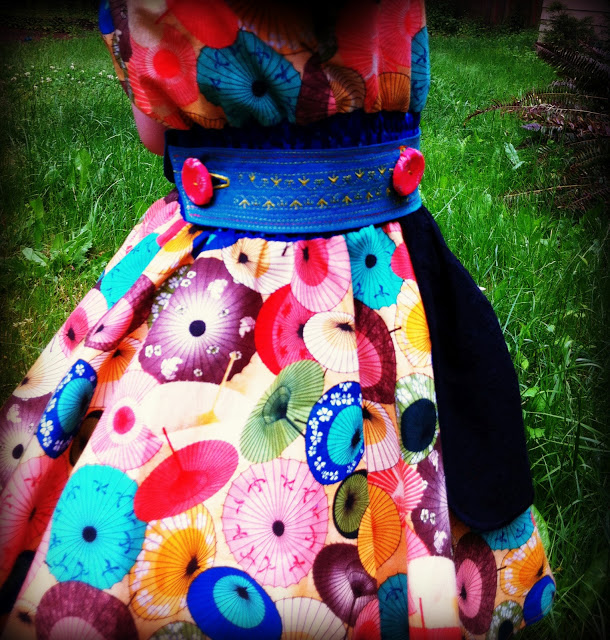
Apron.
Okay, so obviously there are some constructional differences between the black apron and the blue and white apron.... the main one is that the black one is not reversible (and the edges are curved). But it has a super cute heart pocket and some fun and colorful heirloom stitching along the belt to make up for it. So why don't I show you how to make the reversible apron with the option of adding the heart pocket to one side (or better yet both!)?
These measurements fit my super petite 4 and a half year who is about 37" tall and has a waist of 18 and a half inches (I told you she was petite!)
And you can TOTALLY make this a regular reversible apron without the buttonholes, just extend the apron waistband pieces about 15"-20" or more if you need on each side for a sufficient bow.
I just like the idea of having something that won't come untied, go missing, sag as much, and that makes just looks a little different I guess!!
Here's what you will need:
sewing stuff
scraps of interfacing for the buttonholes(if you are doing buttons)
one rectangle of fabric that is about 16" wide (one and a half times your waist front is fine.)by 8" long. (you want it to be a couple of inches shorter than your dress, so whatever the length of your dress minus 2-3 inches)
one rectangle of fabric that is about 16" wide by about 10" long (whatever you want the hem to look like on the opposite side. This will give you a 2" hem on the opposite side)
one rectangle of fabric that is 17" long by 4 and a half inches wide (the length is best determined by trying the dress on your princess andthen, starting froma 1/2" passed the inside edge of one back button, measure all around the front and around the side, ending on a 1/2" over the inside edge of the other button. Then add an inch for seam allowances.)
two pieces of fabric large enough to make your desired sized pockets plus a 1/4 seam allowance (for the heart shape, I just googled"heart template" images and found the outline of one I liked and resized it and printed it)

do you see what I mean about the length? I hope this helps!
First, cut out your apron rectangles.
Then, cut out your waistband. I like to round out the edges like in the picture above. To achieve this look, fold your waistband in half, right sides together. Starting from the raw edge, cut a curve towards the folded edge.

>>>>>>
To make the buttonholes we first need to interface the area where they will be on the waistband. If you don't interface, it's not the end of the world, but if you do, your buttonholes will look crisper and last longer.

Mark your start and stop points for your buttonholes on your waistband right side. Make sure you measure your button in a buttonhole foot or allow about an 1/8" on both the tops and bottoms of your buttonholes. You want to make sure your buttonholes fit on both sides. Your best bet to know exactly is to try your buttonhole on a test piece of fabric, and then use that as your guide for buttonhole strategy.
>>>>>>

Let's make the heart pocket(s).
Skip to the apron hem if you are not interested in the pocket.
Right sides together stitch them together. Leave a 2" opening for turning. I recommend starting and stopping on a non-curvy or non-pointy part. Make sure to backstitch well. Pinking the edges like the photo above will finish your seams and allow ease when pressing out the curve... which is next. Go ahead and turn out your pocket and press it, making sure to fold the opening towards the inside to be pressed.
Topstitch only where you want the opening (the part for little hands) to be.
Now place it on your apron, making sure to keep it away from any future seam allowances.
Do a really good backstitch and then stitch the rest of the pocket down, starting from where your topstitching ended previously. Make sure you stitch your opening closed in the process.
Repeat if you want it on both pockets. I recommend doing opposite corners if you are doing two.
>>>>>>
Okay, match the bottom hems of both apron pieces. Stitch them with a 1/2" seam allowance and finish the edges.
Now fold the long piece in half, right sides together, matching the tops of the apron. Pin. Notice that you now have a pretty awesome hem showing on one side?! Sweet. Stitch the sides in place, turn right sides out and press. Make sure you press so that you have one side all one color and the other has two: you second color and the hem effect of the one color.
Baste the top edges together.
Now gather the top of the apron. Use either the zigzag over the one long thread; the long basting stitch and gather, OR (my favorite when applicable) if you have a serger, turn up your differential feed all the way up, make your stitch length the longest you can, and turn your needle thread tension to about a 6 (or just high). Then just chain off enough to adjust your gathers as you would if you were doing a traditional method.
Adjust the gathers to about 8" or whatever two or three inches less than your dress front would be. (for the serger method, adjust the gathers by finding the needle thread and pull or loosen according to what you need.)
>>>>>>

So now you are going to take your waistband and match it to your apron with the apron top matching the right side of the waistband bottom edge and centering the apron between the buttonholes. Pin then baste in place with a 1/4" seam allowance.
Press the waistband up away from the apron, and continue pressing a 1/4" under (towards the waistband wrong side) all the way around the waistband. Clip if you need to around the curve. I did not because it is not particularly curvy and I had no problems.
Match folded edges by folding the waistband in half and over your apron gathering stitches. Make sure the edges are aligned! Press the waistband top well. Pin.
Top-stitch in place starting from one open edge all the way around using a 1/8" seam allowance, and checking to make sure your stitches and edges look equally good on both sides.

Now make your buttonholes. Try to make them with the bulk of the fabric as flat as can be and as out of the way as possible. If you are having trouble with the foot, just follow this tute instead. Press the waistband.
Do a little dance because you are done!!!!!
I added some heirloom stitching to make the waistband interesting.
You should have some that looks like this:


Well, I hope you enjoyed this fun little tour through the Behind the Seams look at my Kawaii Magic dress! By all means, if anything is hazy or you have any questions or want to share some sweet words, please leave me a comment!
And if you haven't seen the tutorial for the dress and purse, pop on over and take a gander!
As always, if you make something for your little chibis from my tutorials, I'd love to see them! Add them to the Sewn for Your Chibis Flickr group to share with the world!!!
I made a few things in between these dresses that I will be sharing tutorials for too so stay tuned! I can't wait to share more with you very soon!!!
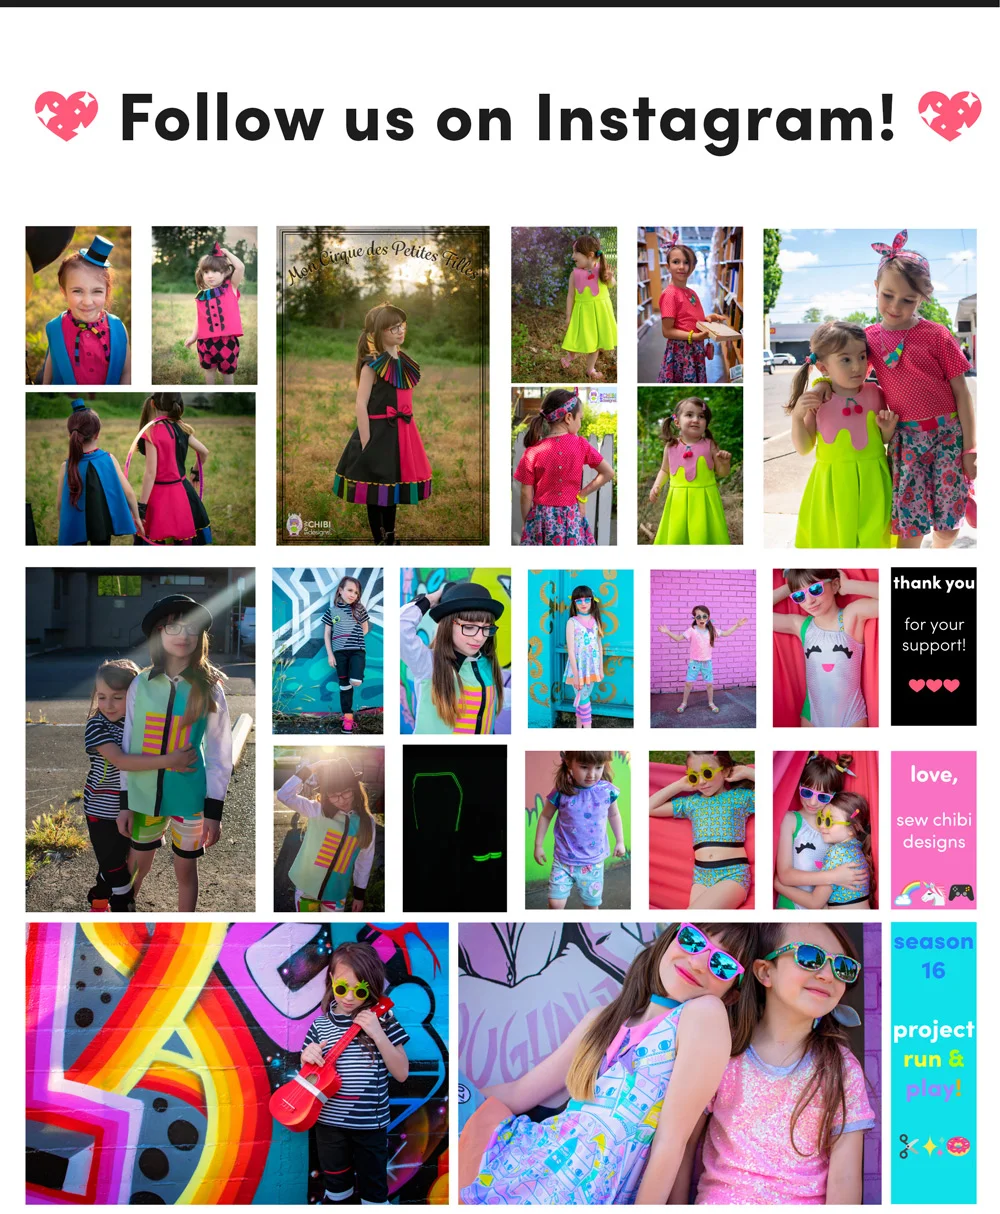


YAY! You're here! I'm so happy! I'm Kat! Mom, shawol, and pattern designer, this is the place where I share all of my sewing projects, chibi cosplay fashion, and DIY/tutorials! Everything around here is action-packed with color, silliness, and tons of kawaii stuff!