Buttons buttons who's got the buttons? A Button-Making Tutorial!

HAPPY VALENTINE'S DAY!!!
So I have been getting a lot of requests on how I have been making my own buttons for the recent outfits I have been making!

And I gotta tell ya: I'm hooked on them!! I have been trying to find excuses to add button plackets to things (slightly masochistic I know ;-) so that I can make more buttons!
Let's first talk a little about the benefits:
They are wayyyy cheaper to make your own buttons. For the cost of a mold which can range about $2-$10 and the cost of polymer clay (which I usually get on sale for $1.30 a block!) you can make a LOT of buttons from one block of clay.
There is a huge array of polymer clay colors and you can mix colors, add varnishes or glosses, add glitter (which I LOVE)
It just feels that much more handmade. I'm so proud of each and every button I've made and I am reminded of it's uniqueness from the prints on the back from my thumbprint :-)
It's something you can make with the kids and it doesn't take any more equipment than a tootpick, oven, and baking sheet.
There are some very very unique button molds (and some that I think might be able to be made into buttons.). Etsy has the best selection and shipping is usually very cheap.
And you can of course make buttons from epoxy resin as well but I haven't gotten any yet (well, that's sort of a lie... that's what I asked for Valentine's for ;-)
So let's go over my process, from start to finish, on making your own buttons!!!!

here are my molds (all from Mold Muse on Etsy)

And my glitter collection

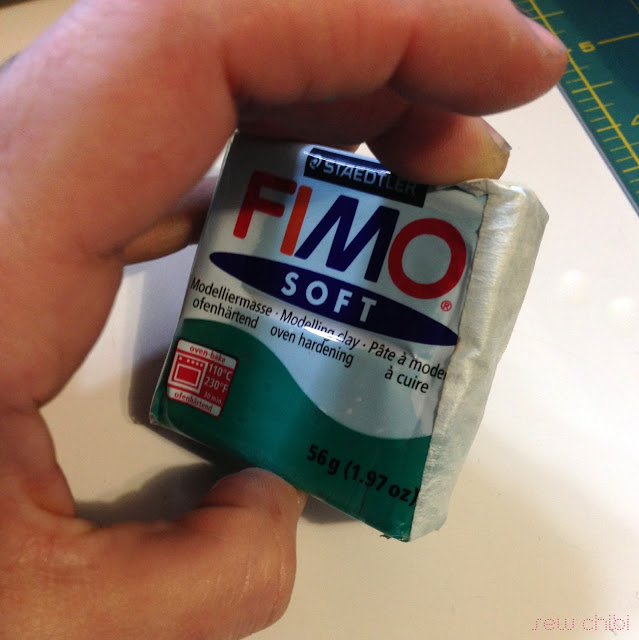
And my clay collection (I'm so proud). The type of polymer clay doesn't matter as long as you can bake it. Baking it is what will make it super hard.
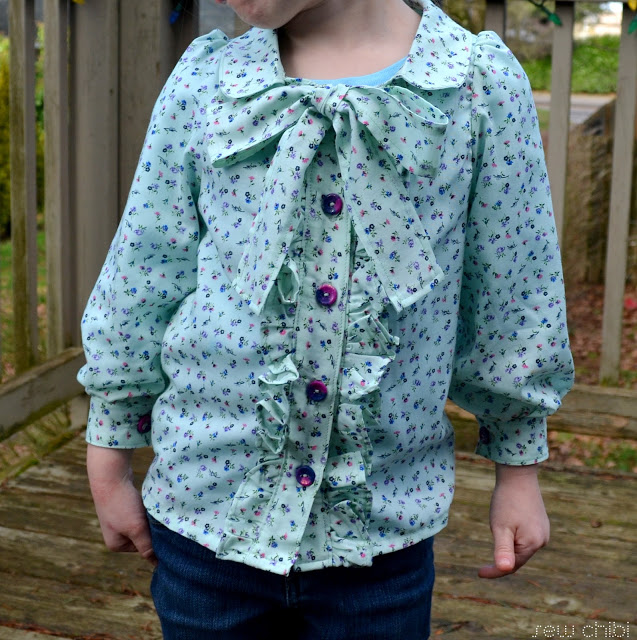
So I needed to make a button for my little one's Valentine's Day dress (but since I have to work tonight, I will take a bonafide photo-shoot tomorrow since that's when we will be celebrating)

I start off by using my favorite mold (it makes these beautiful 5/8" buttons), some hunter green clay, and some glitter.
First, if you want to add glitter, this is what I do:

I tap out a little bit into the mold first. Make sure your opening is not to big at all.
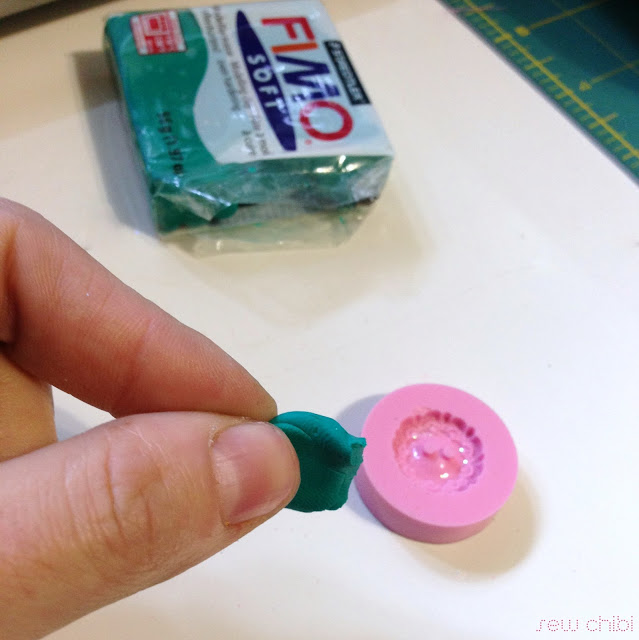
Then pinch off a dime size of clay and knead it to get it soft (this one was already a "soft" clay so I didn't need to do much)

Start pulling off pieces of your kneaded clay and position them in the mold around the buttonholes, making sure every bit is covered.

I actually had pulled off a little more than I needed so just put that back on your larger block of clay.

Start pressing down the clay really well and make sure that you work it into all sides. I usually use my thumbs for this.
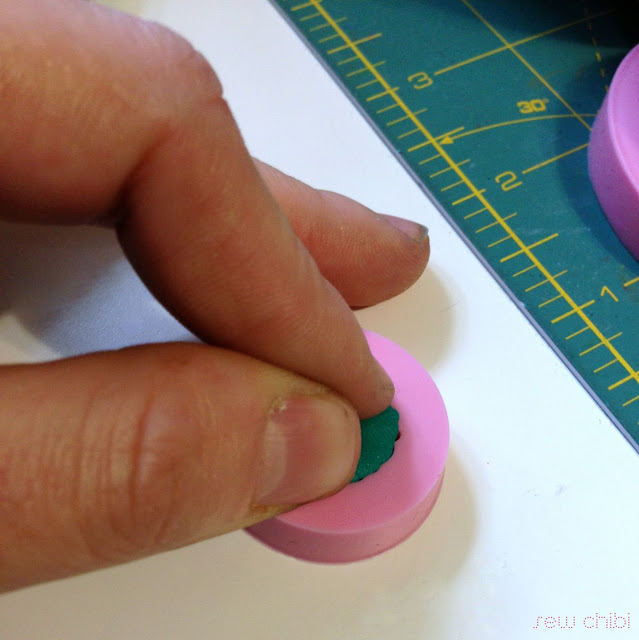
When I feel that it is sufficiently patted, I pinch in the sides a little (then pat a little more) so that I don't have any over hang (don't use anything sharp, ahem, that's how I got that teeny gash on the one side)

This the button fully filled.
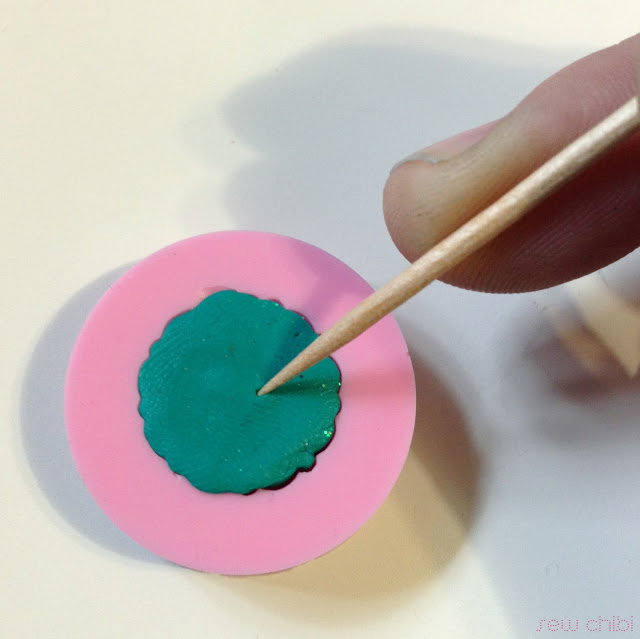
Next I use a toothpick to surface the holes. I usually pat carefully around the middle till I can see a faint indentations of the button holes (can you spot them in this pic?) and then use the toothpick to push the clay to the sides.

And this is my button, ready to be popped out of its mold. See my thumbprint??

Then just pinch the back of the mold and let the button pop out on its own.

Here's the button all ready for the oven!

Don't judge my awful baking sheet.... this one is specifically for button-making now. ;-)
Put the button(s) on the unlined, ungreased sheet.

Bake the buttons at 265 degrees for about 20-30 mins... do not exceed 35 minutes or there might be slight scorching. And by all means,
do not be alarmed that the buttons are not firm right out of the oven.
They will totally firm up within about 3-5mins. I think it goes without saying but handle the buttons with care, on their way to the baking sheet and after you remove them. Until they are hard, you want to make sure you don't distort the button shape.

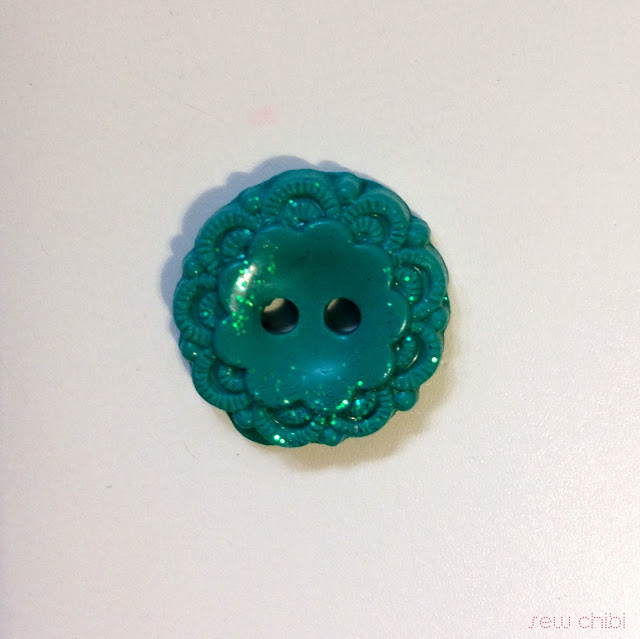
So this is the button all baked and ready to be installed!

And looking at it next to my fabric, it is a pretty close to perfect match.
It's important that you seal your clay immediately so there isn't any drying out of the clay. I used masking tape but I usually use scotch tape and then seal all of my clay and molds in a Ziploc bag.
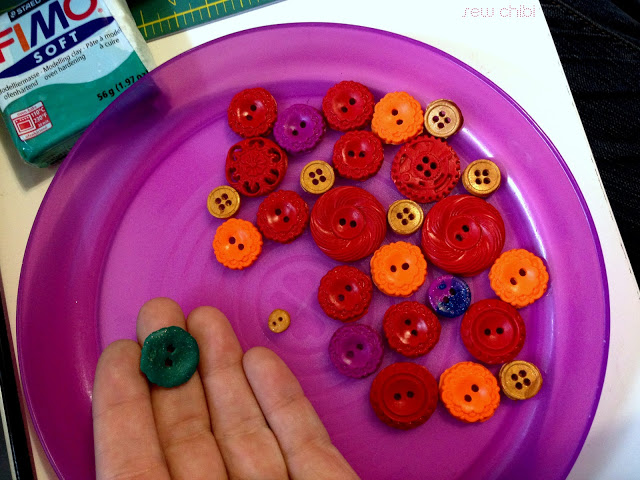
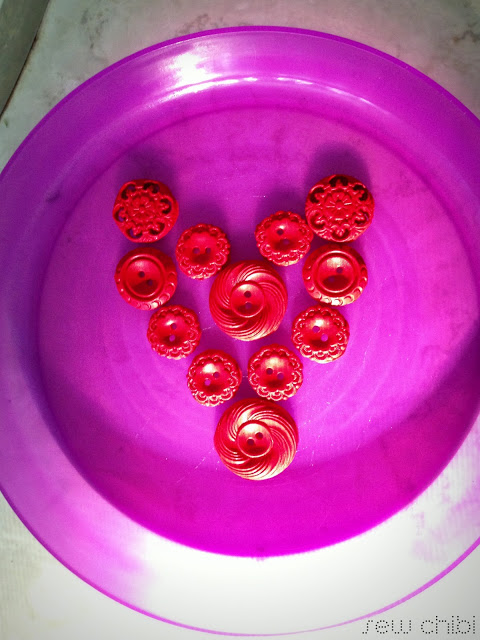
Here's my button, upside down next to my other buttons.

And here it is added to the mix!

These two were made at different lengths of time. The one on the left was 20 minutes and the right was 30. You can see the slight difference in the color.
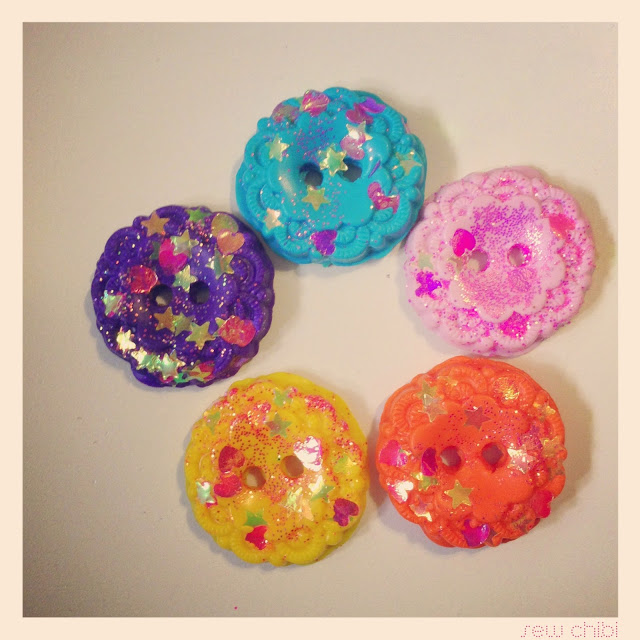
Some glitterific buttons I made for a very special Valentine dress...
Edit: to learn more about polymer clay and working with it and the safety issues check this website out!
Okay! So that is all the info you should need! Yes they are washable and yes, totally addicting!!! I would love it if you added your buttonmaking pics to my flickr pool, sewn for your chibis. And by all means if you have any questions ask away!!! Until then!!
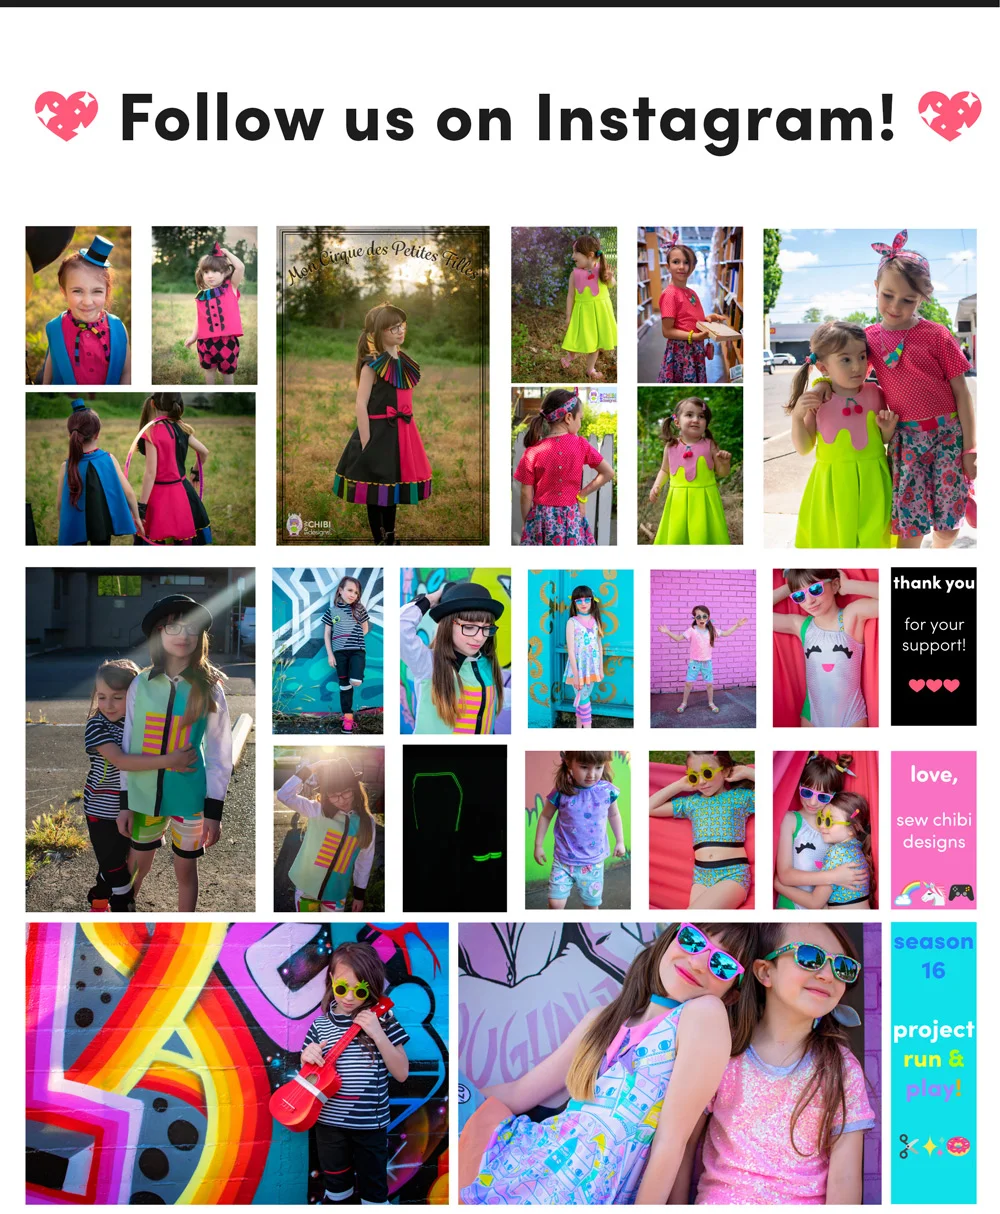


YAY! You're here! I'm so happy! I'm Kat! Mom, shawol, and pattern designer, this is the place where I share all of my sewing projects, chibi cosplay fashion, and DIY/tutorials! Everything around here is action-packed with color, silliness, and tons of kawaii stuff!