Project Run & Play! Week 1: 🎪Circus🎪
Today is a super special day.
As soon as I started Sew Chibi 6 years ago, I followed Project Run & Play. It was the most integral part of socializing among the sewing community back then and without it, I doubt I would have met and become close with so many of my favorite bloggers. It's been a forever dream to be asked to be a designer so this, all of this, fills me with so much emotion and drives me to do every single thing I can do to give you all a good show, full of surprises throughout the competition (hopefully throughout the competition 😉). So, without further ado, I present my Circus Week Collection entitled "Mon Cirque des Petites Filles" (my circus of little girls).
I found out I was going to be a designer on the very day I had planned to take photos for my Umaru Collection of PDF Patterns that I spent about 6 months designing, testing, and making graphics and whatnot for... Let's just say that I was to shocked that I didn't end up taking any pictures that day! I got heart palpitations just thinking about it (especially when i thought about how much I still had to do for my pattern release!); I was basically shaking with excitement!
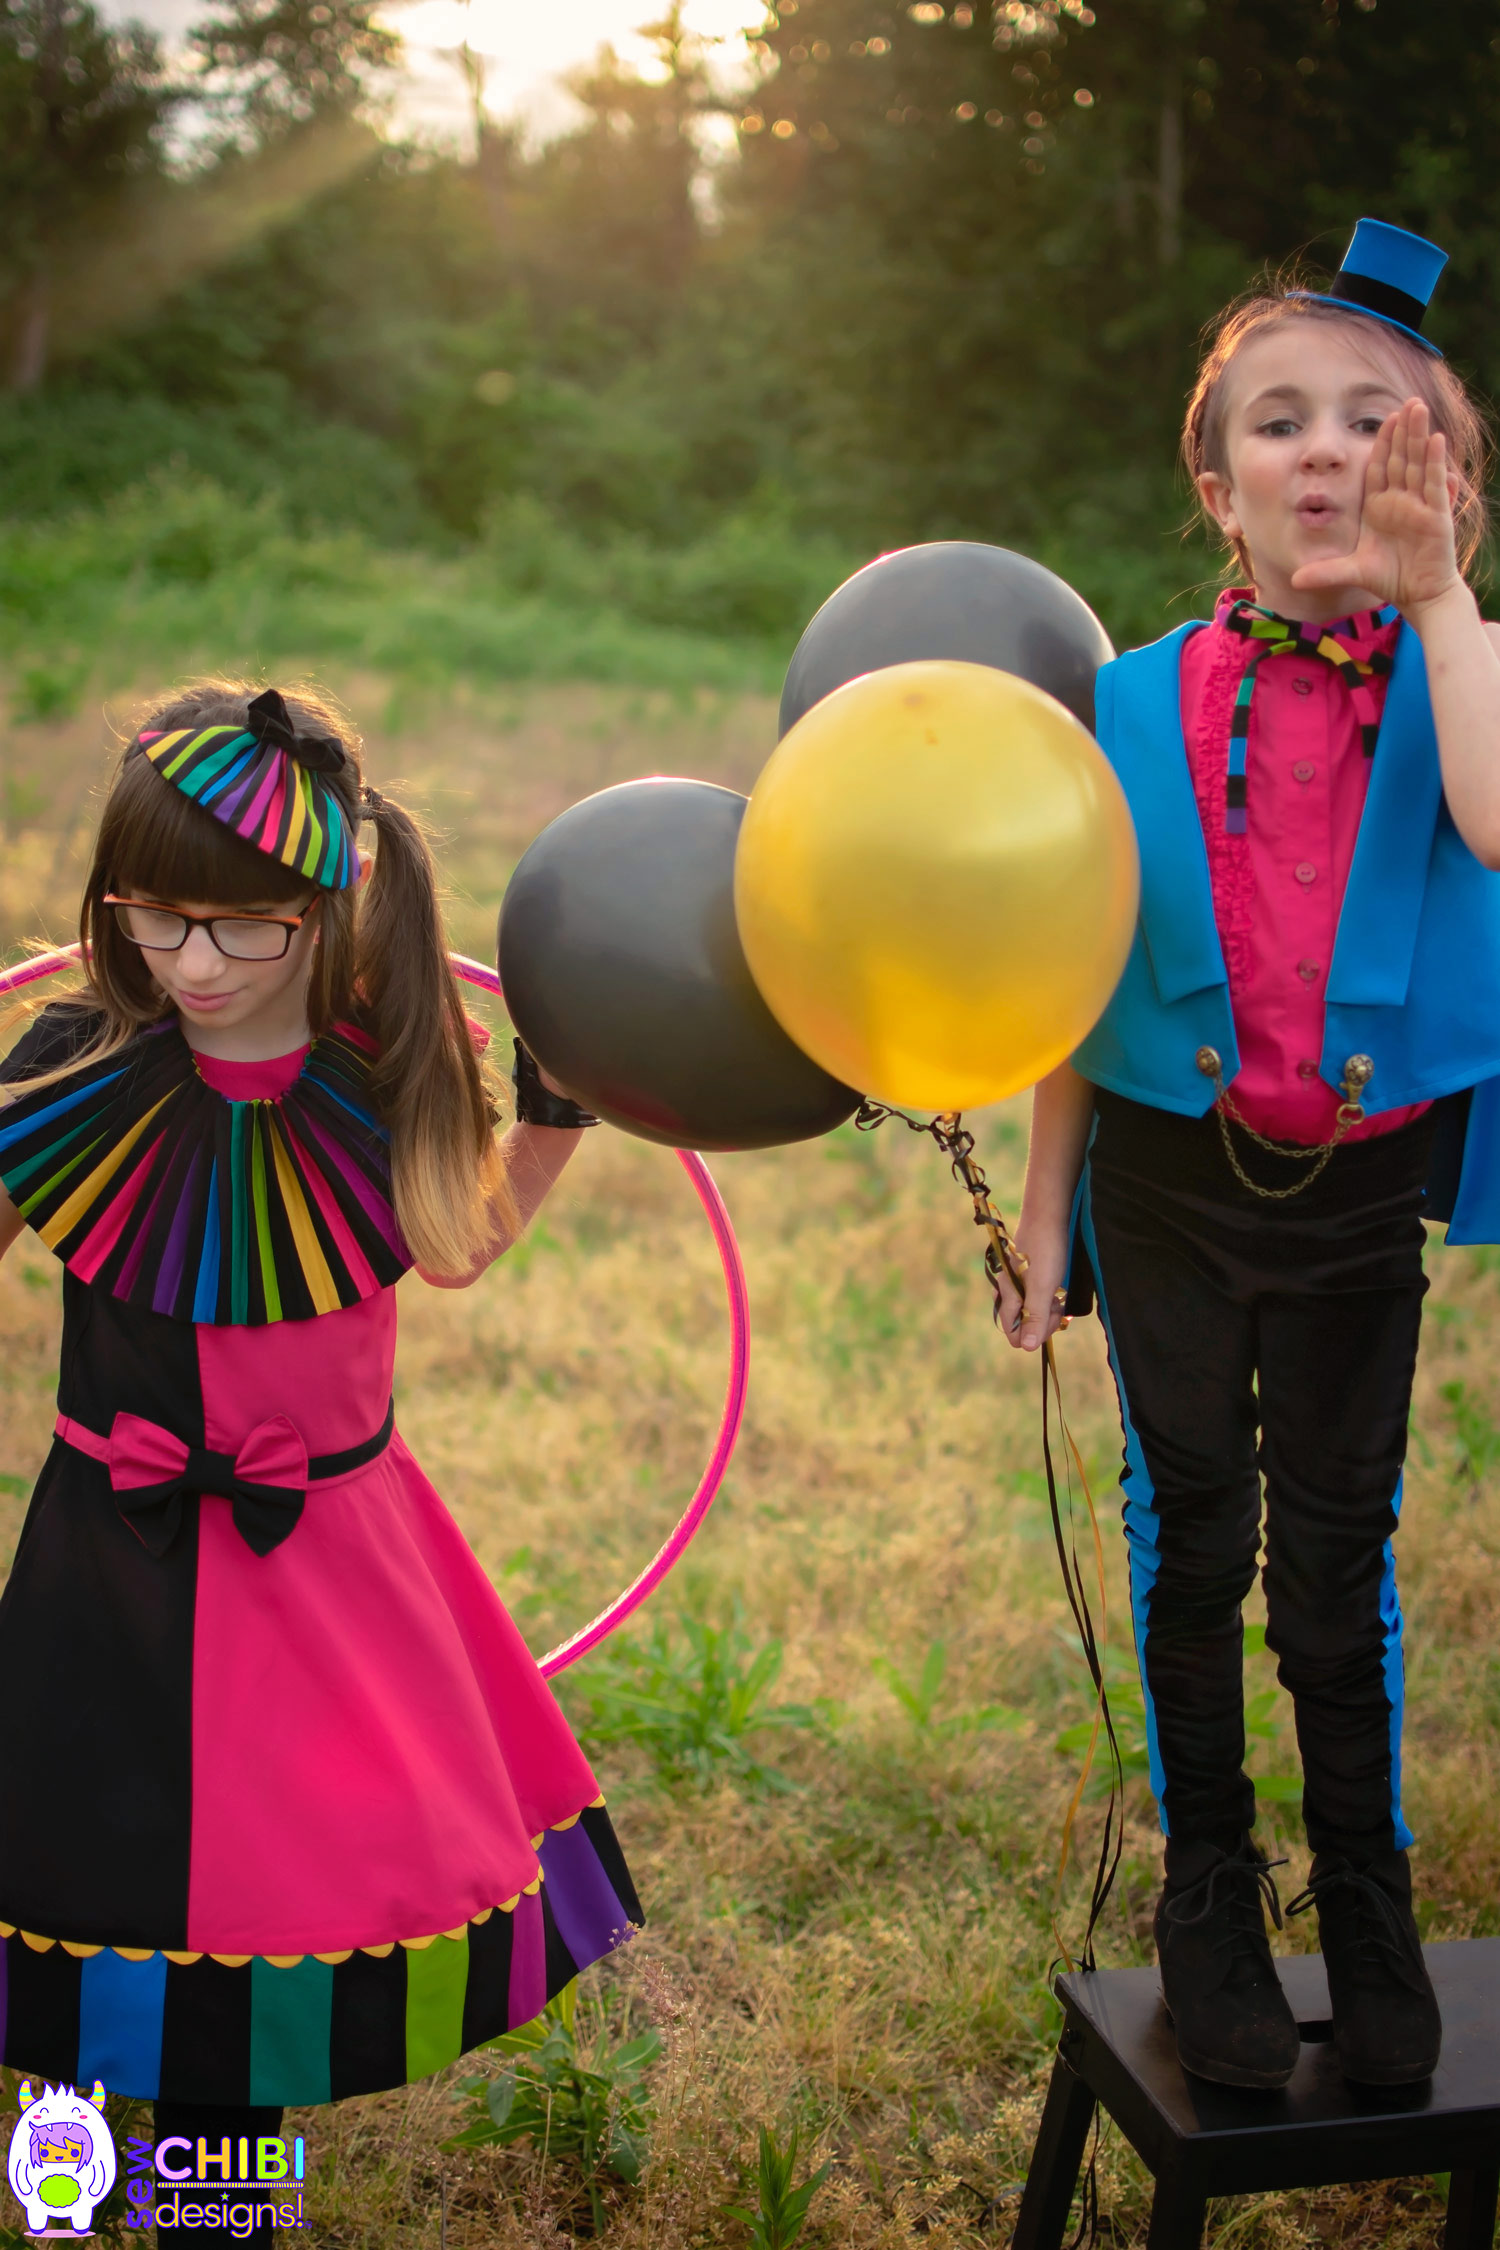
Learning about week 1's Circus theme had my head spinning with ideas! Not one to shy away from color, I quickly decided upon a jewel-toned rainbow color scheme broken up with black to give it a slightly moody feel. I'm forever a fan quality, solid color cotton because it gives me a chance to manipulate the colors exactly how I want them, so I did tons of math and planned out every block of color. The panels of rainbow are all stitched and all different to make the looks not only feel cohesive but unique to each place they were used. I drafted and printed over 50 pages of pattern pieces, not to mention the ones I just traced and drafted with pencil and paper! The results are a little reminiscent of the movie Fantasia I think!
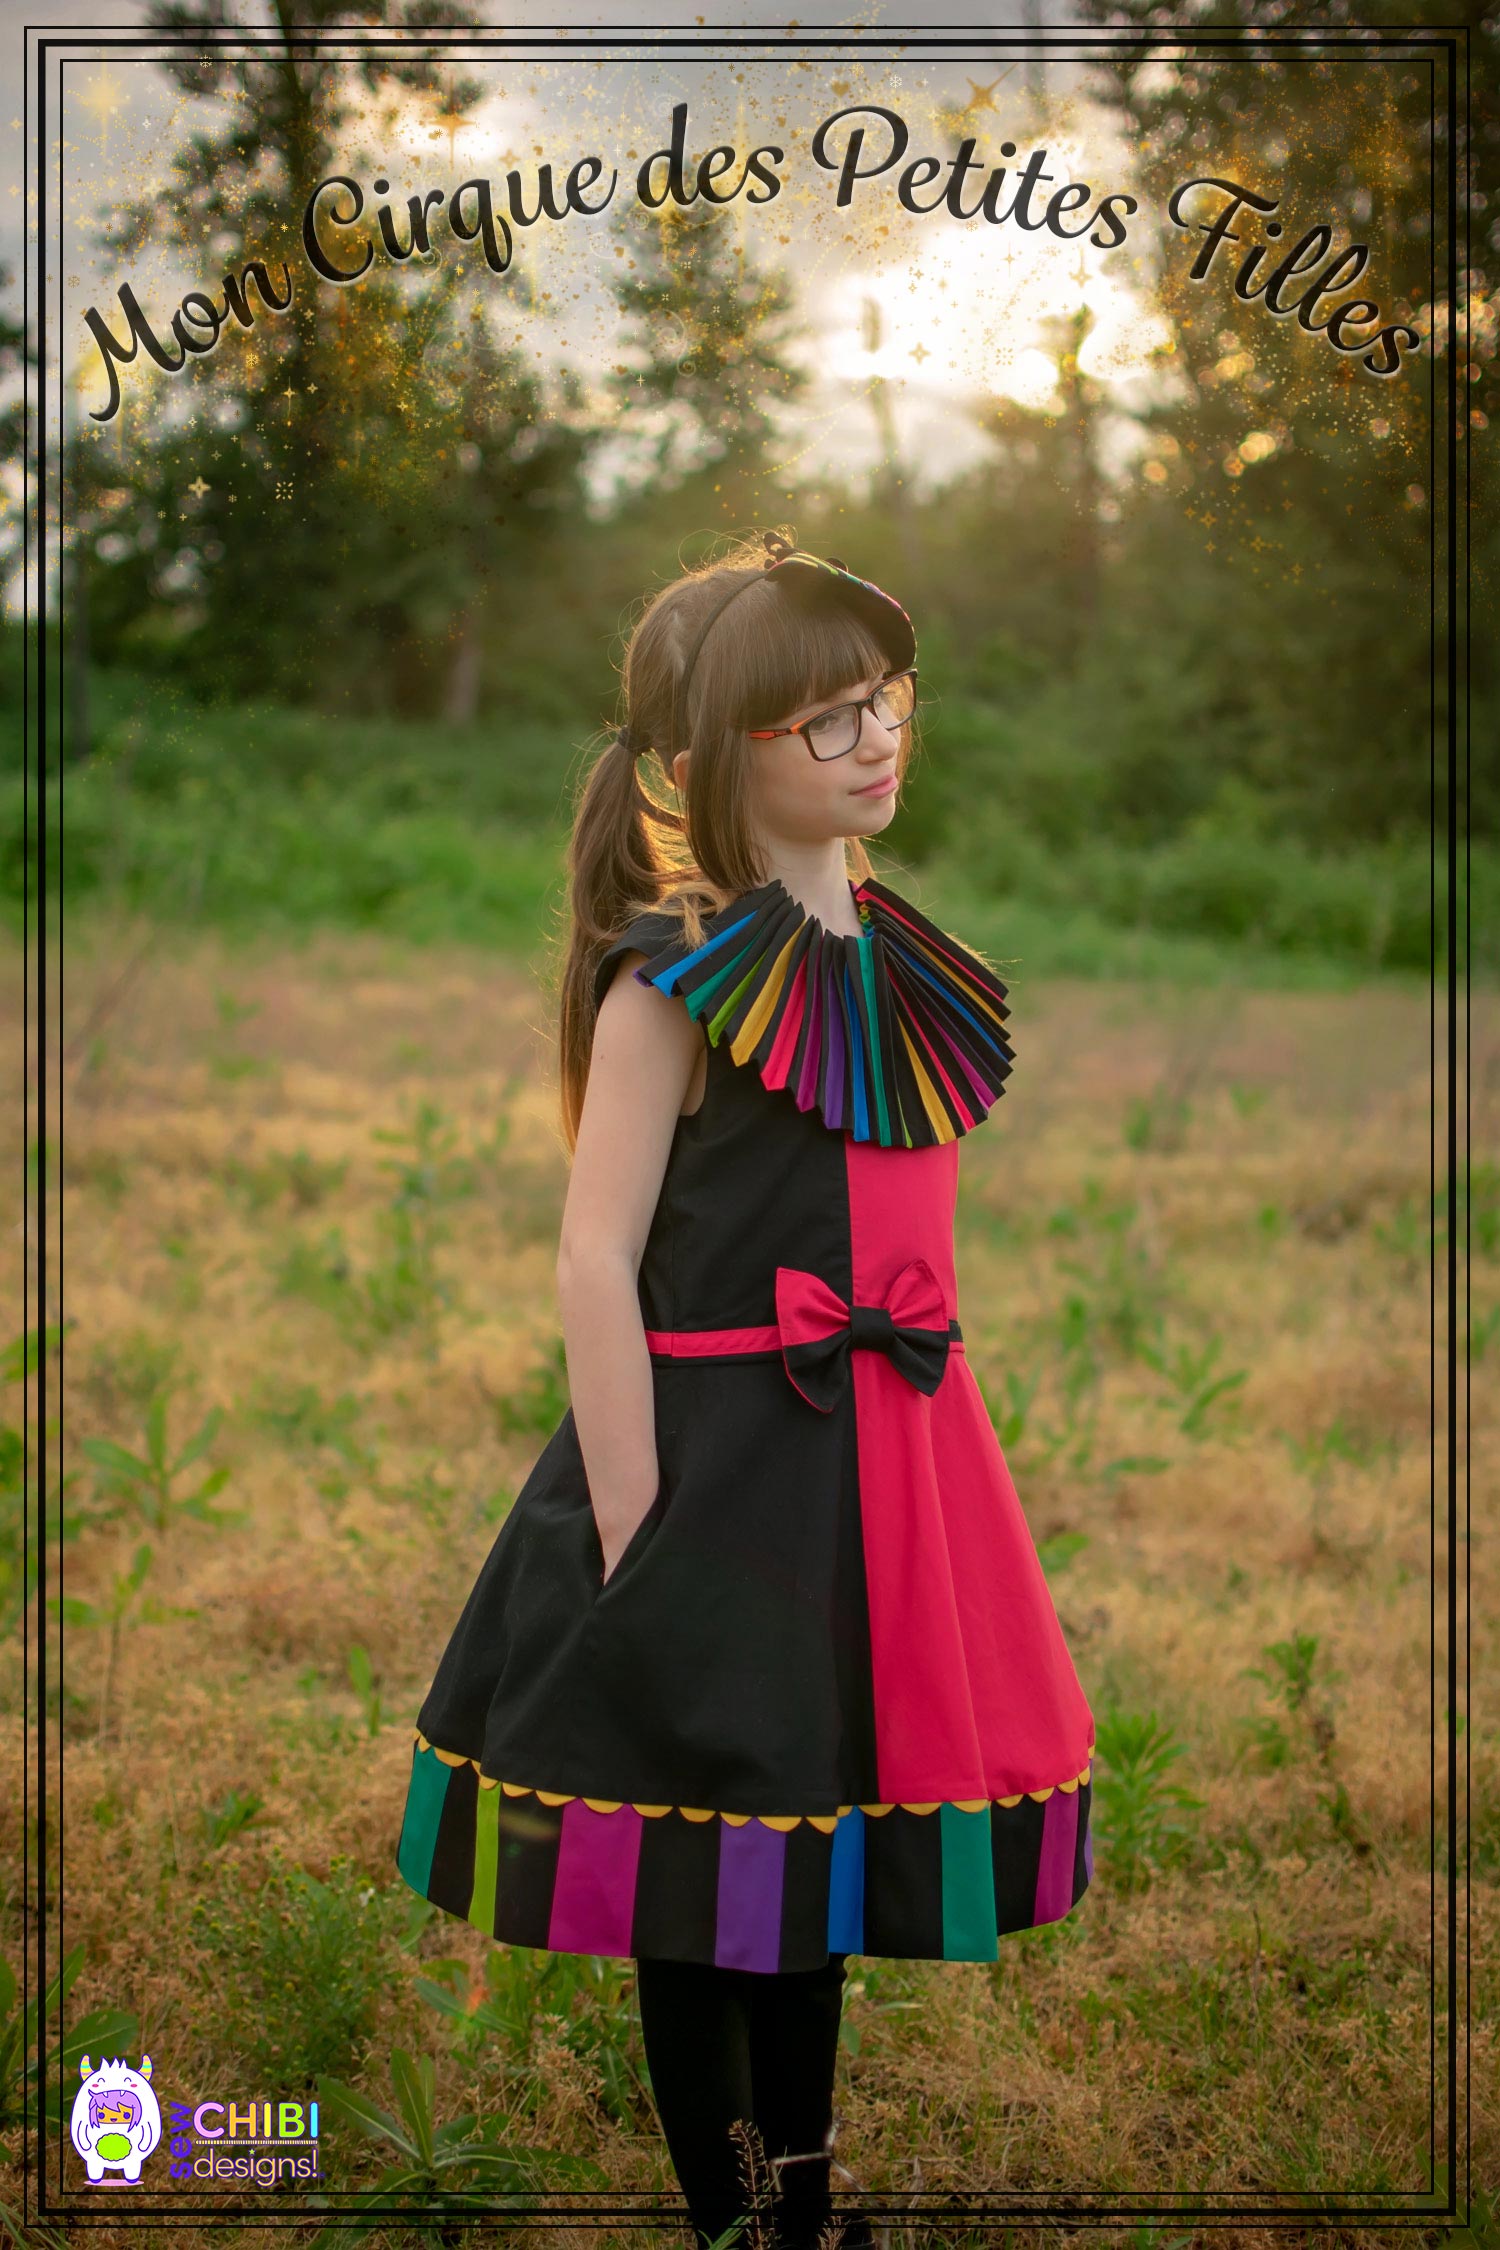
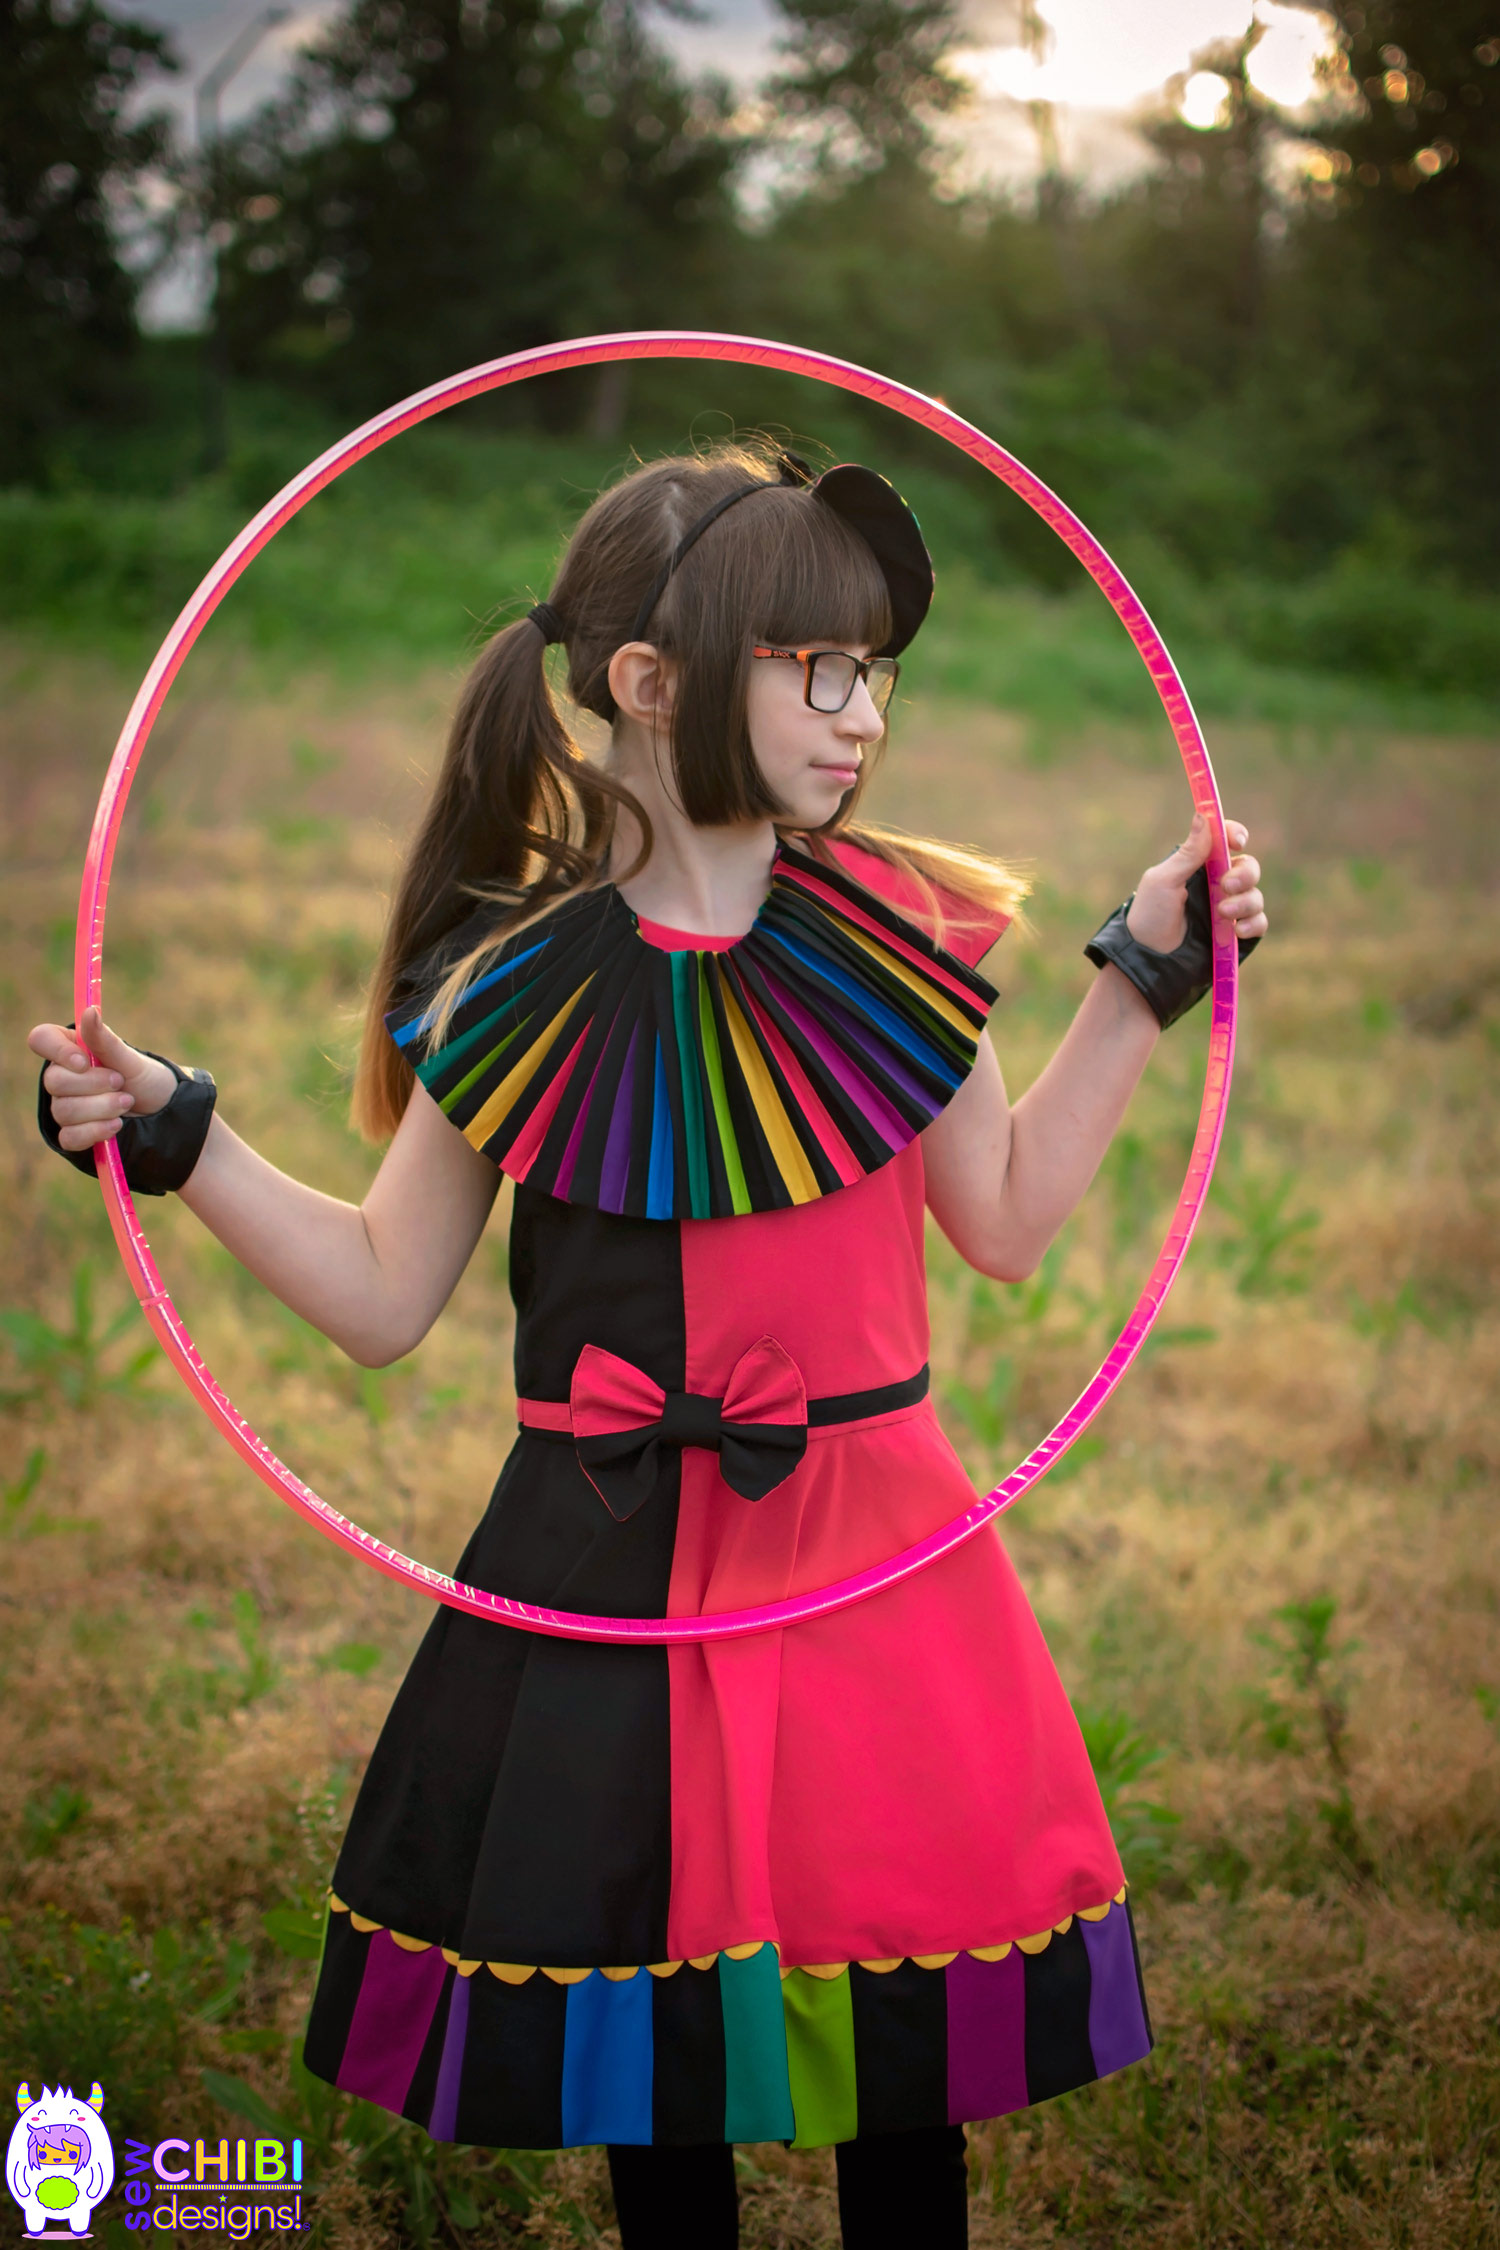
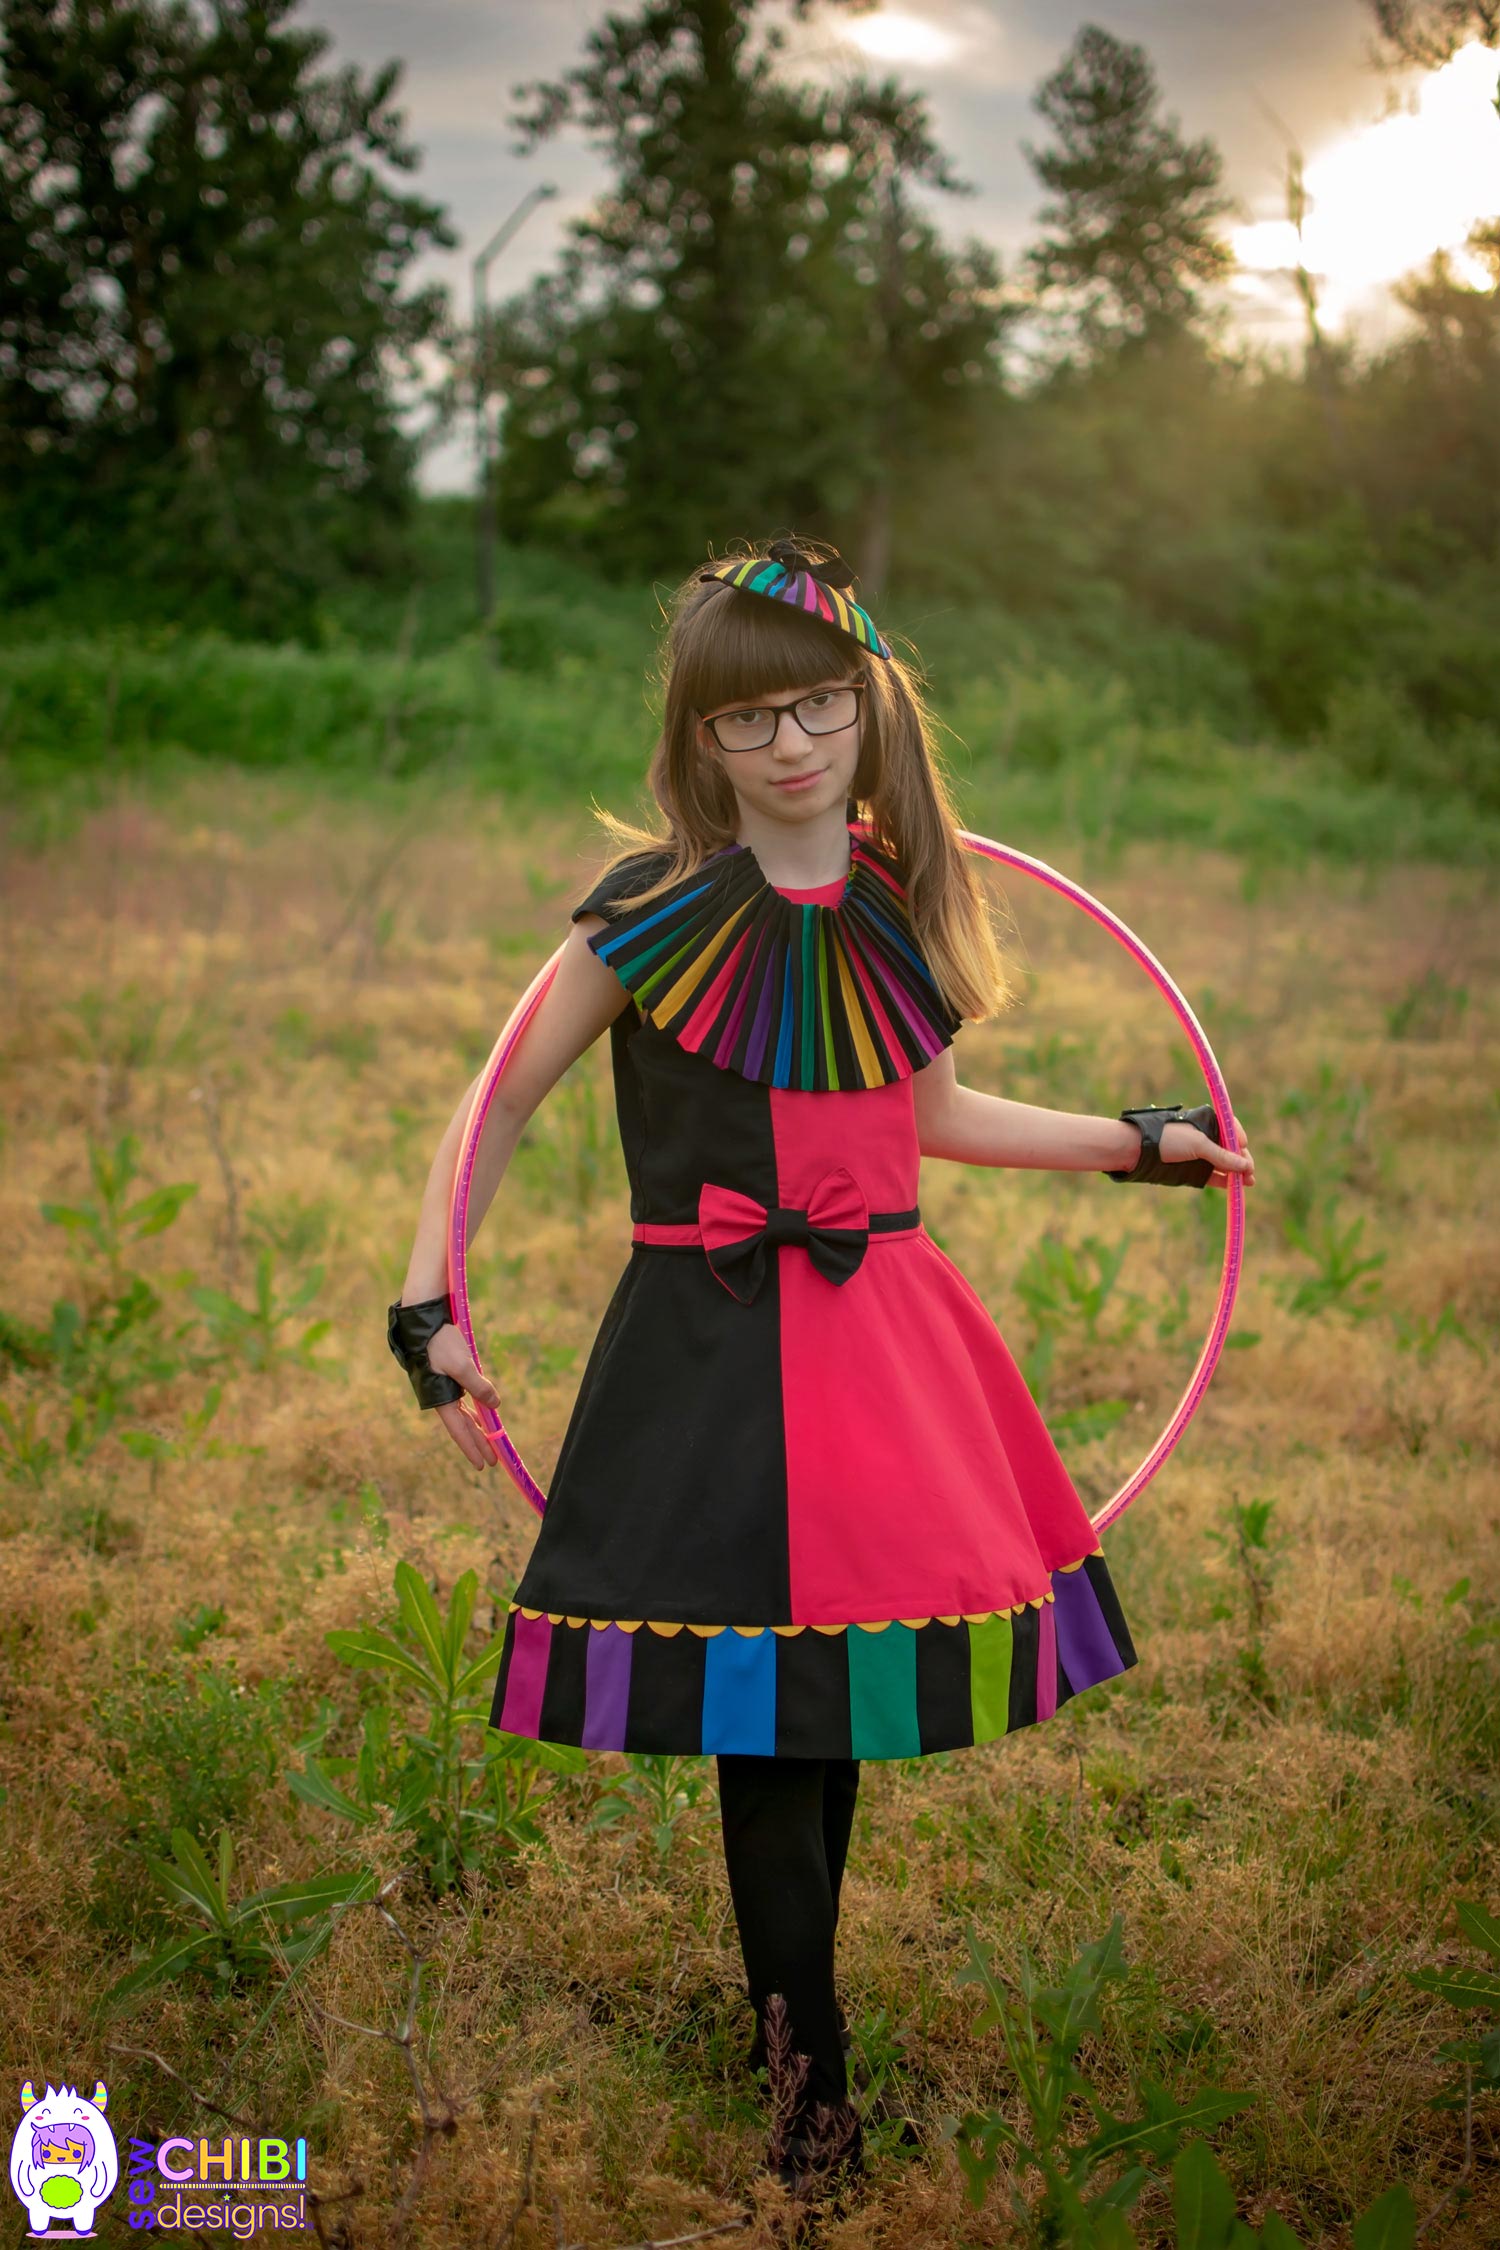
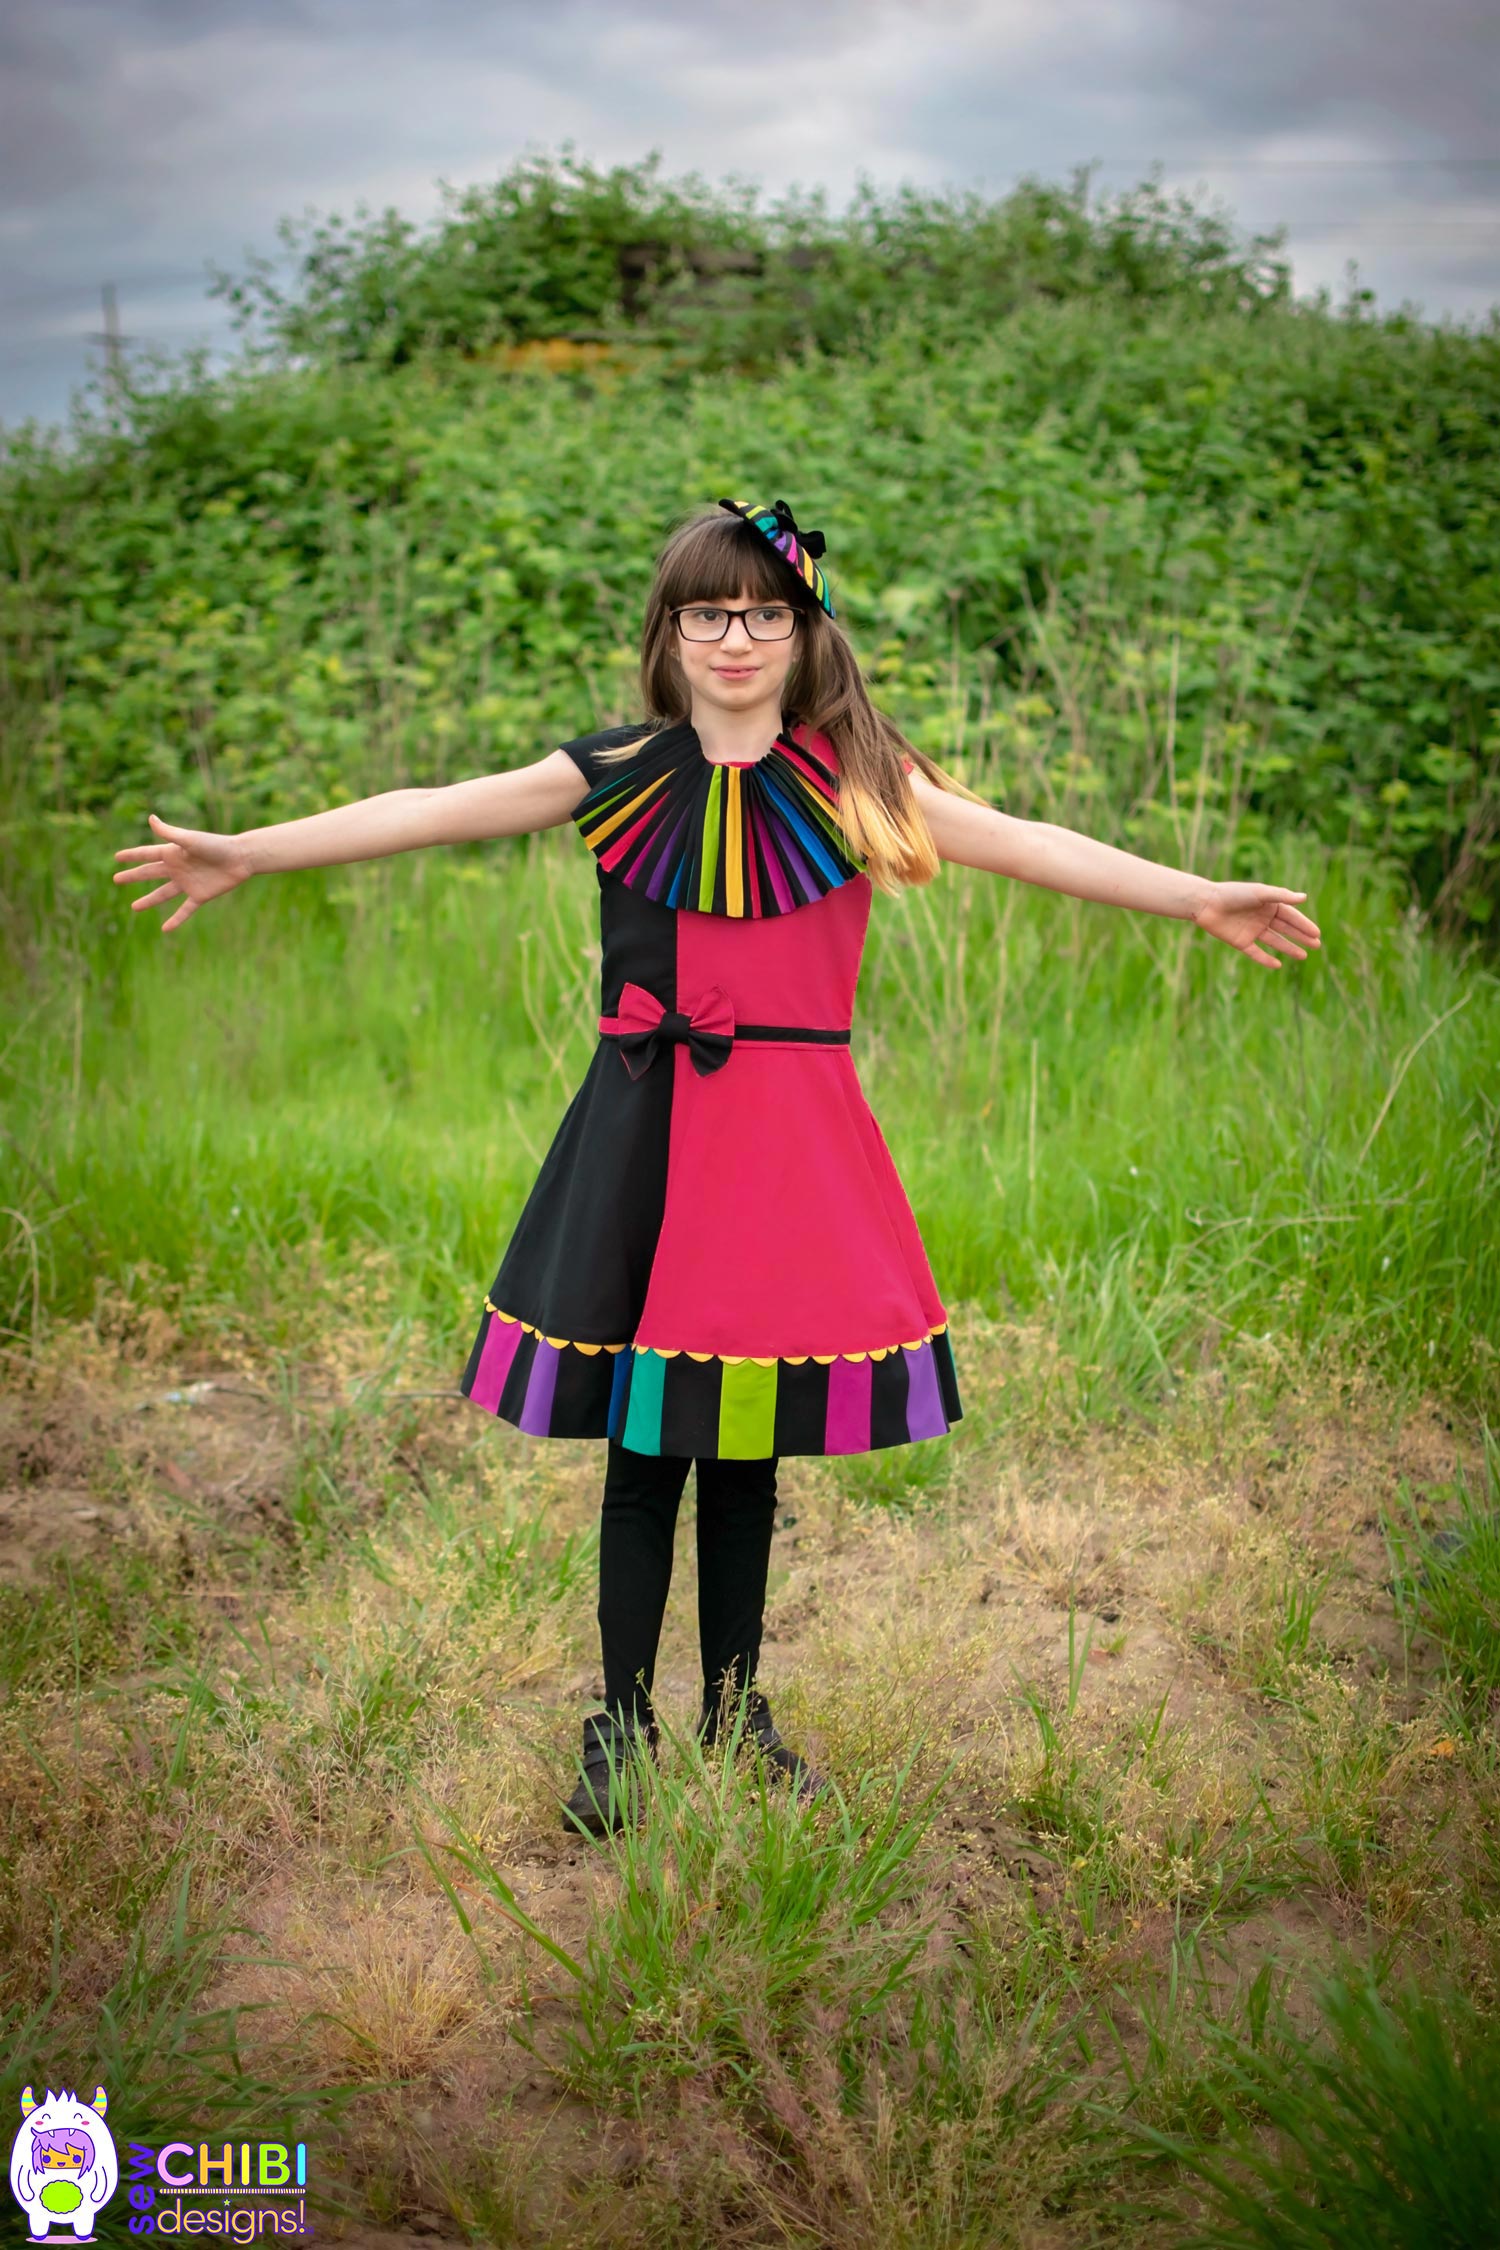
My Hoop Girl, Azriella
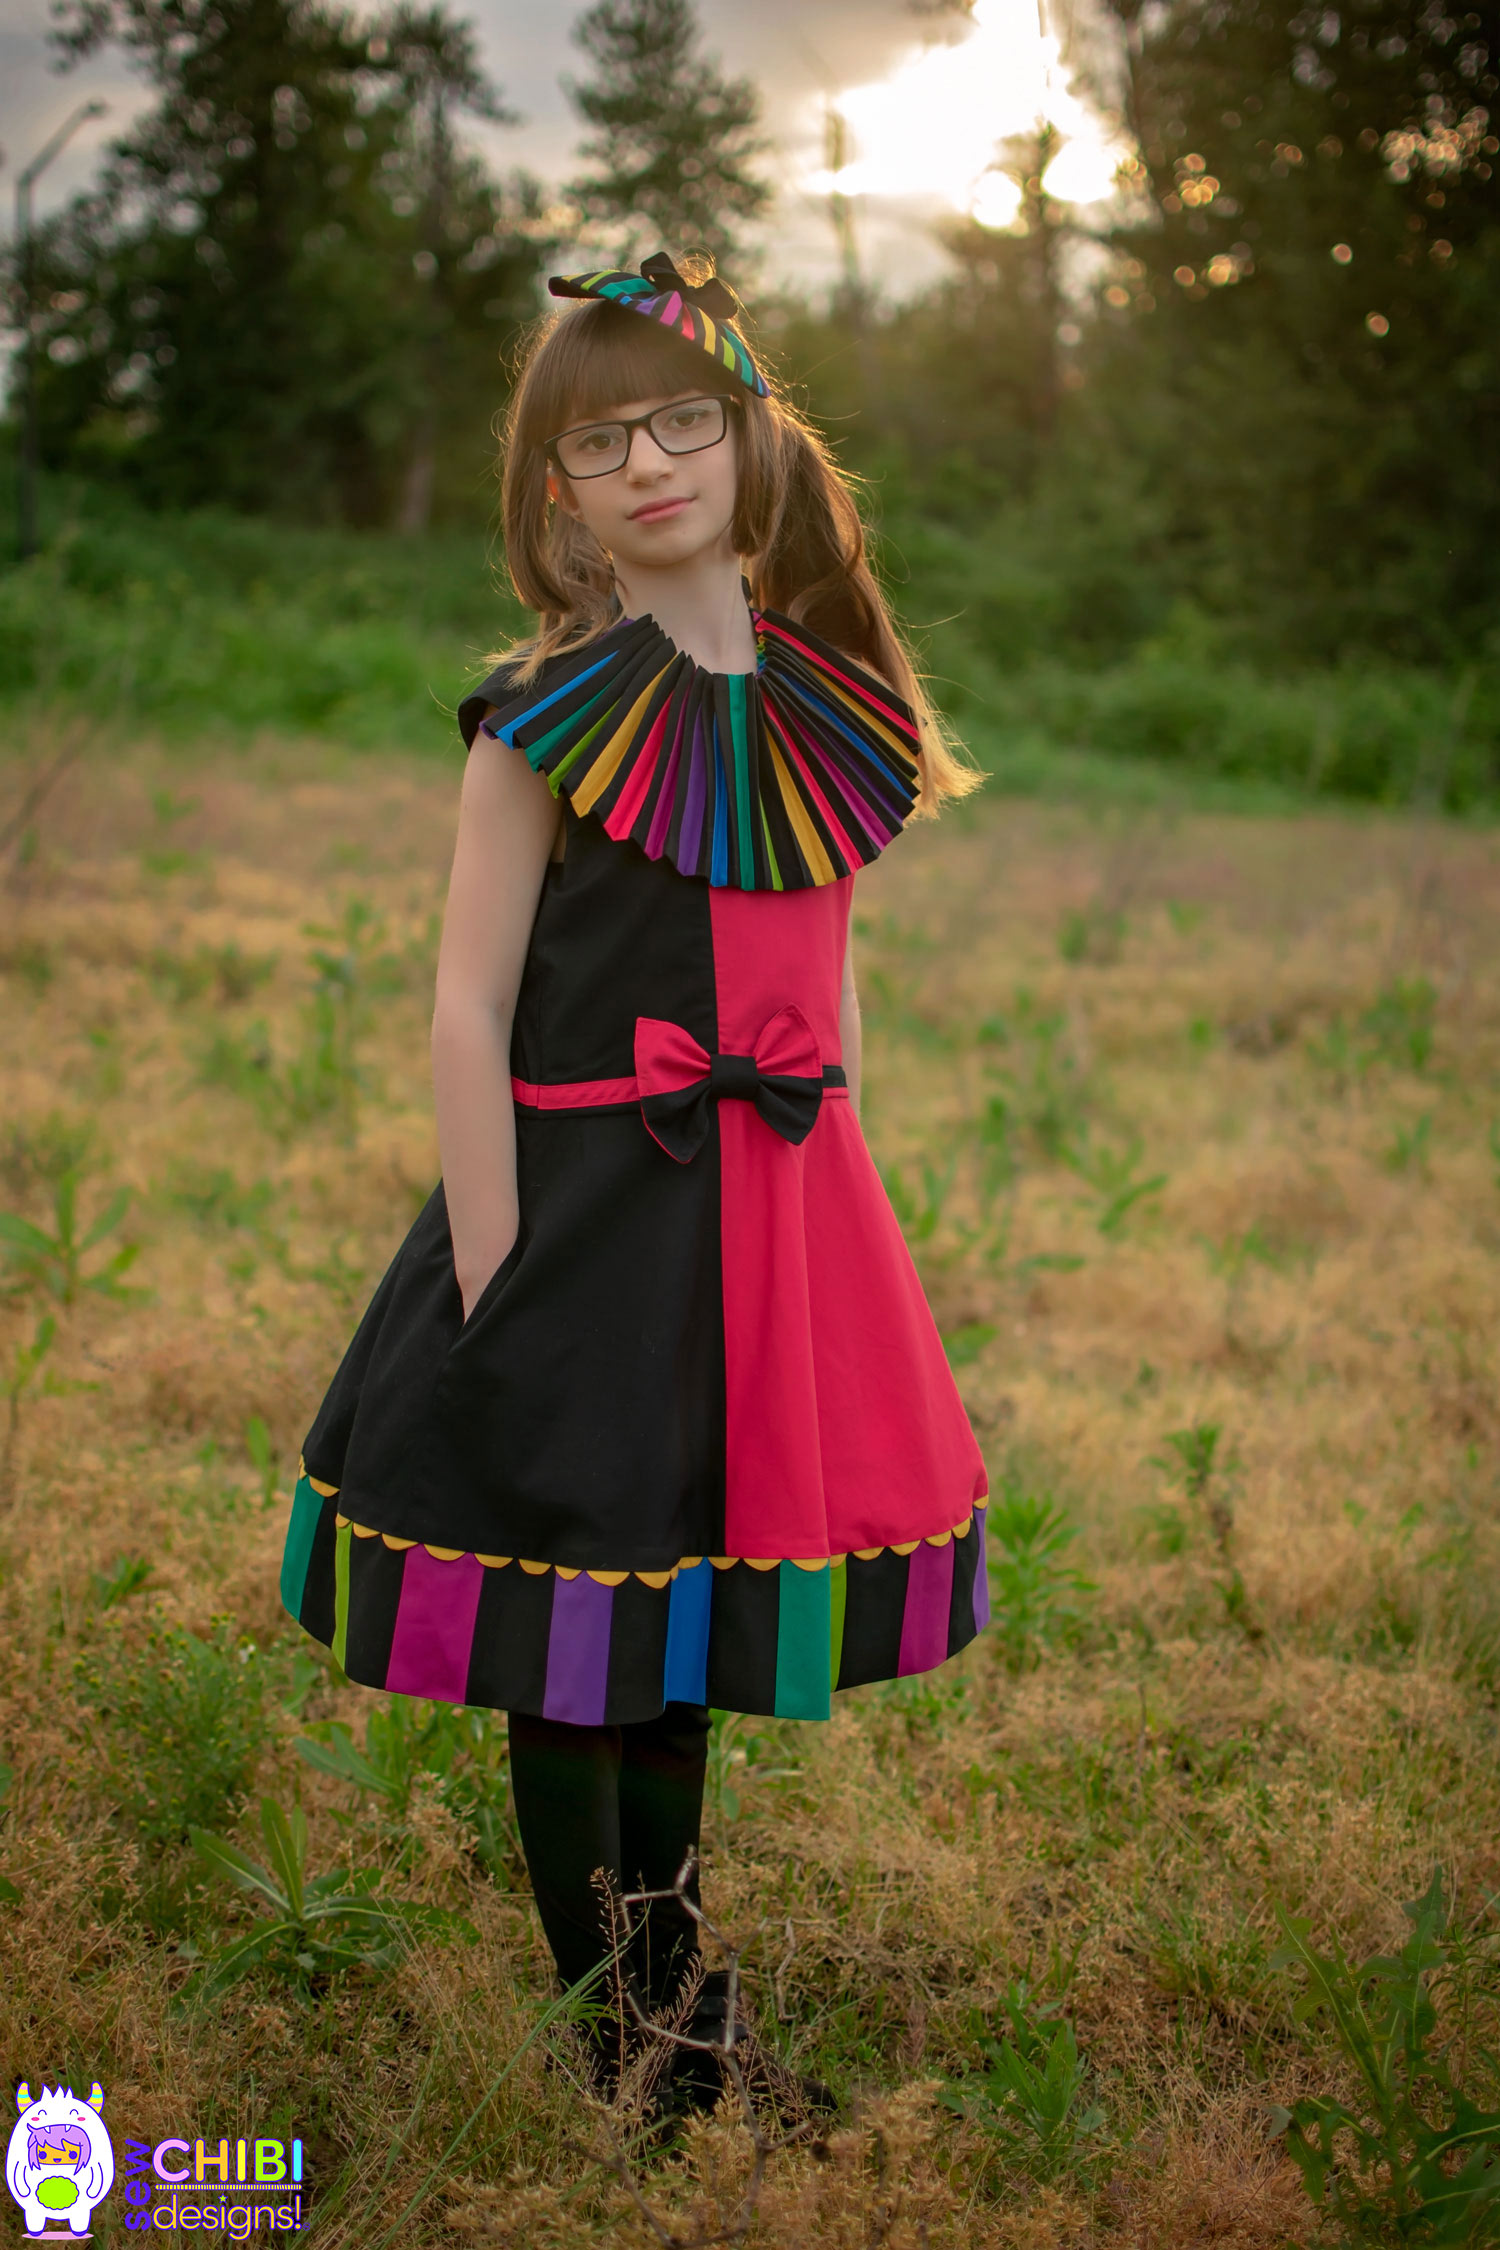
I found an illustration on Pinterest of a Circus girl wearing a dress where the skirt looked like a circus tent and had lights running down it. While I'm no stranger to adding lights to a dress, I wanted this to be a dress that could be easily worn and washed as it most likely will be!
As a base pattern, I used the Tinny Dress by Straightgrain in a range of blended sizes for my thin 10 year old. First off, I altered the bodice to be off-centered (since I myself am a bit off-centered 😉) as well as the skirt. Speaking of the skirt, I wanted it to be slightly circus tent-like with a band of bias cut panels as well as a scalloped trim. To make that happen I had to draft it as a half skirt so there wouldn't be too many ripples (Boy was that a lot of math what with the off-centered pieces!) I also discovered that, if you have a circle skirt and you make a hem finish that is flat (not round), it gives the illusion of a circus tent! 😱. Then I added pockets into the side seams for her because she loves them. The dress needed to be broken up around the center because it felt to linear so I added a sewn in bias "belt" and bow. I had realized too late that I didn't have an invisible zipper in the proper size so I used a regular zipper and stitched it in a way that mimics the look of an invisible zipper! (check out the picture further down this post to see the back of her dress).
Since I wanted a dramatic neck piece, I had to fight the urge to make a built-in collar. The lined, adjustable collar I ended up making is cartridge pleated and finished with a bow That collar was like my baby! I pressed that collar every single day for a week! One thing about cartridge pleating is that it has to be hand-stitched to some sort of backing. I used a 3/4" ribbon, stitching it on the top and bottom of the ribbon. The space between those stitches thus created a casing and ta-da: adjustable circus collar!
I made a pair of black tights blending the Abby socks by Wolf and Tree with a pattern of my own, the Natsu shorties. Honestly they're just straight up black tights (she didn't have any!) but I'm proud of the custom fit on them! I also thought a Hula Hoop grip might need to enhance her grip on her hoop, so I drafted and made black pleather, open-finger, bow gloves! I finished her look with a fascinator-style head piece made with paneled rainbows as well.
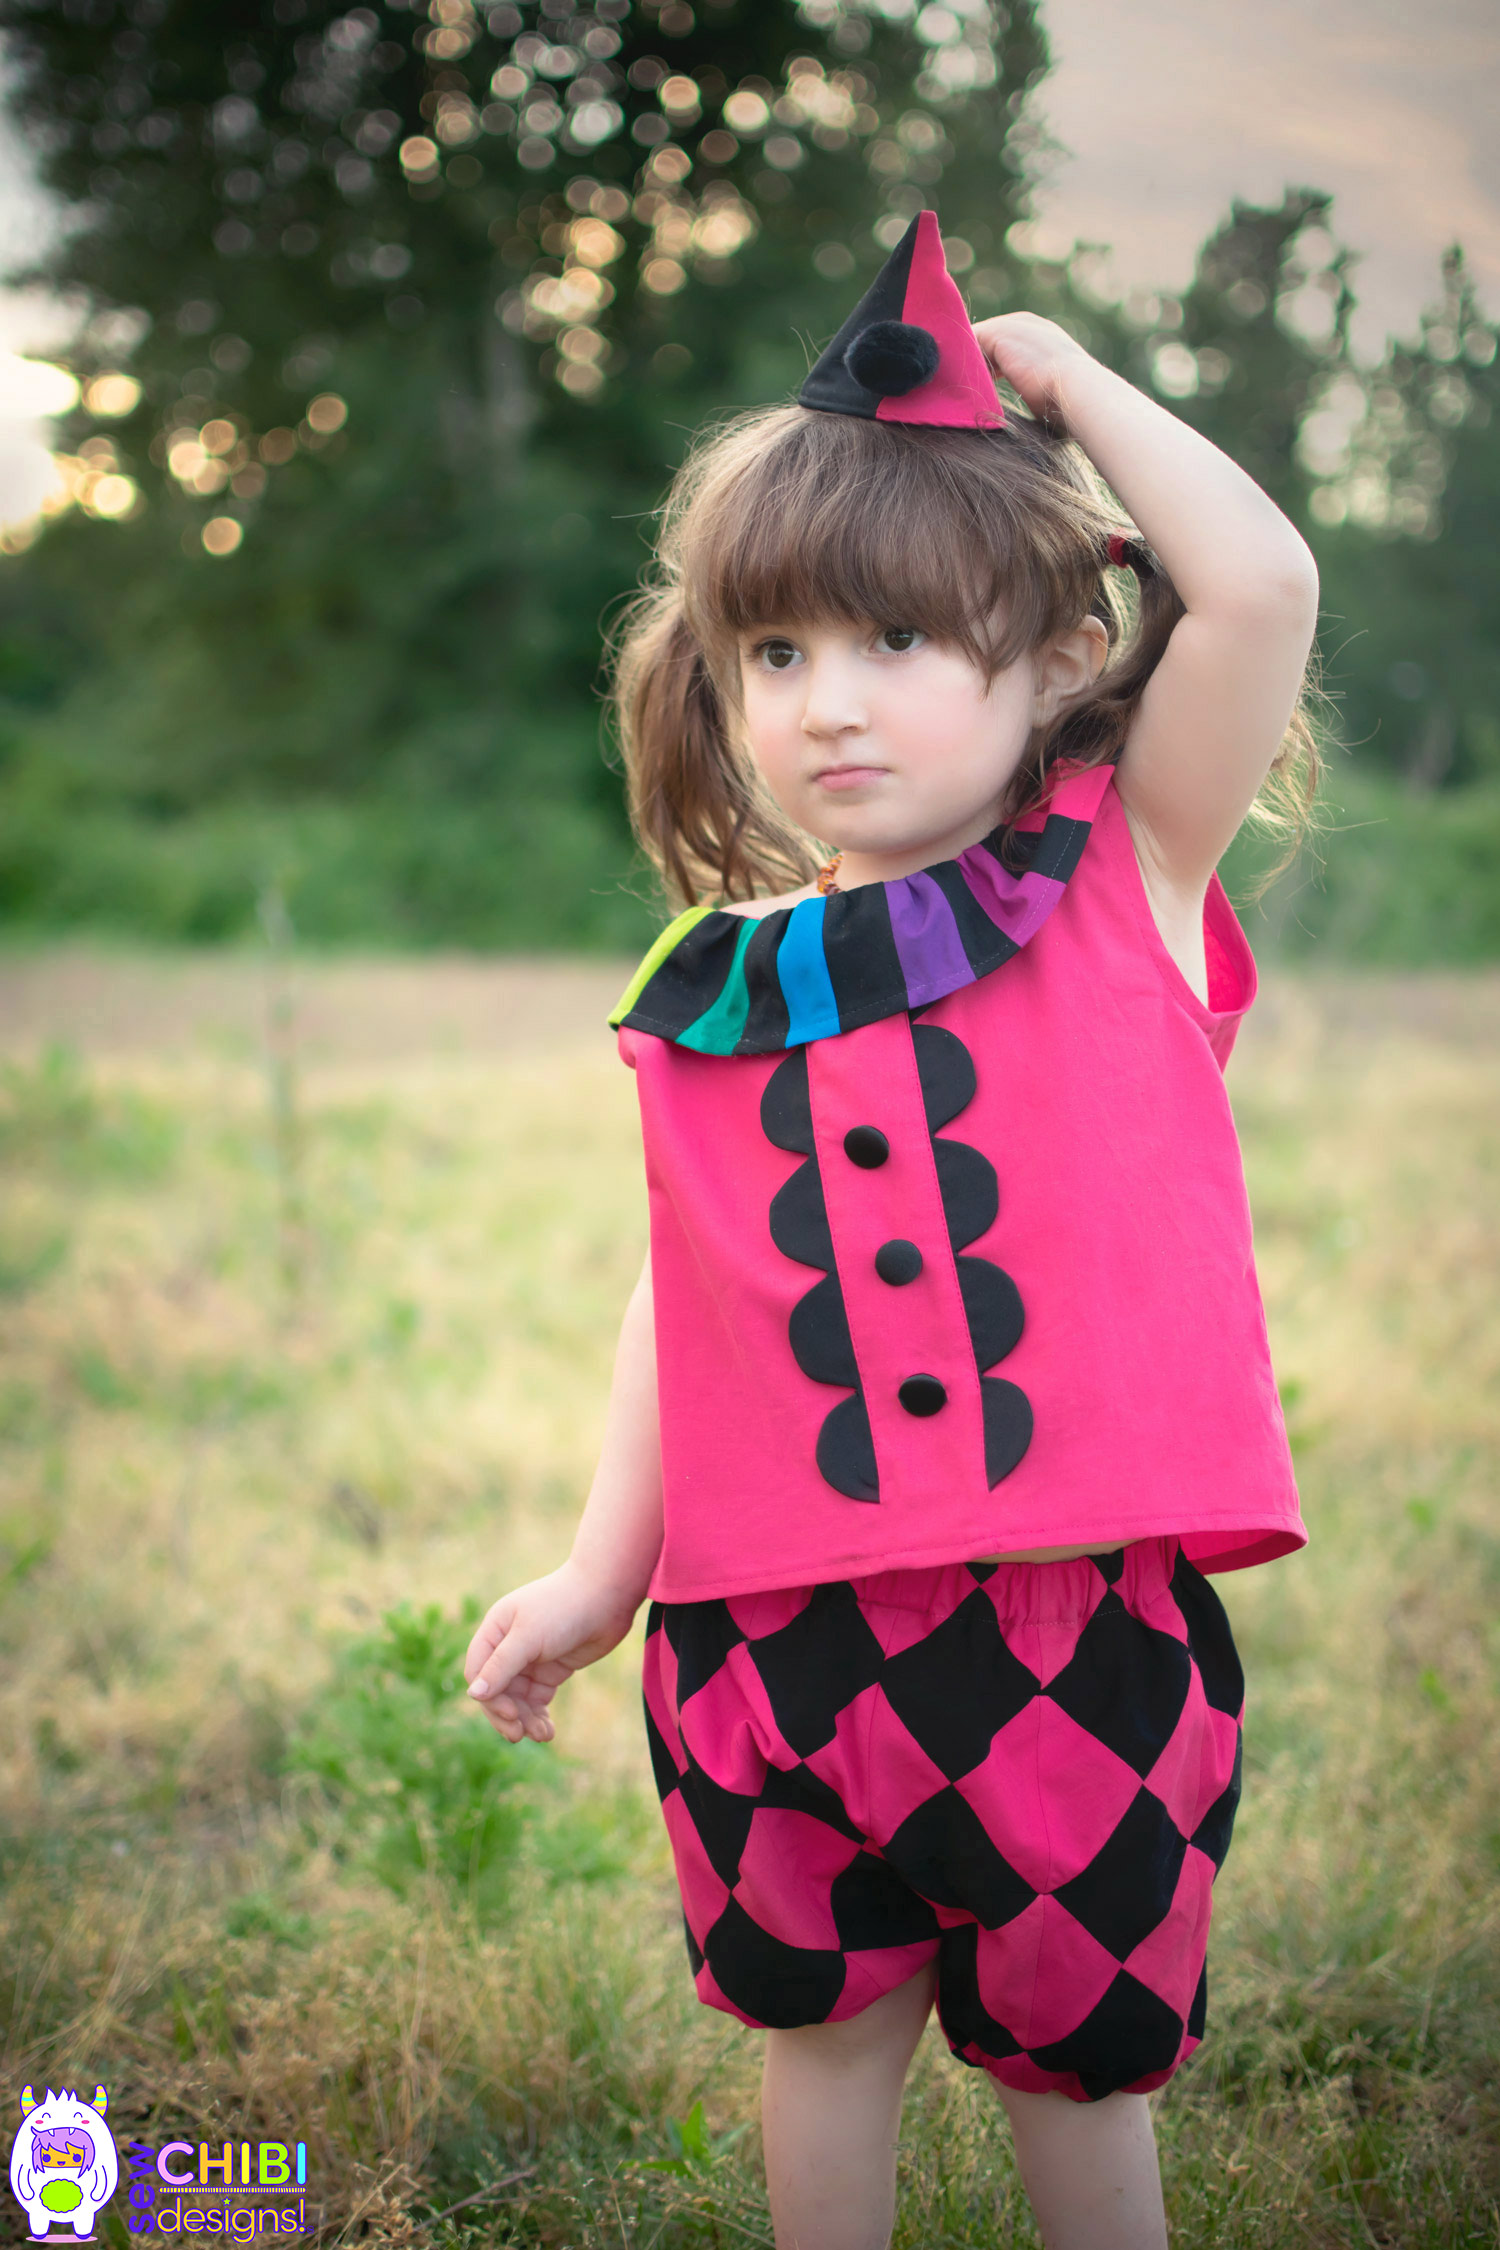
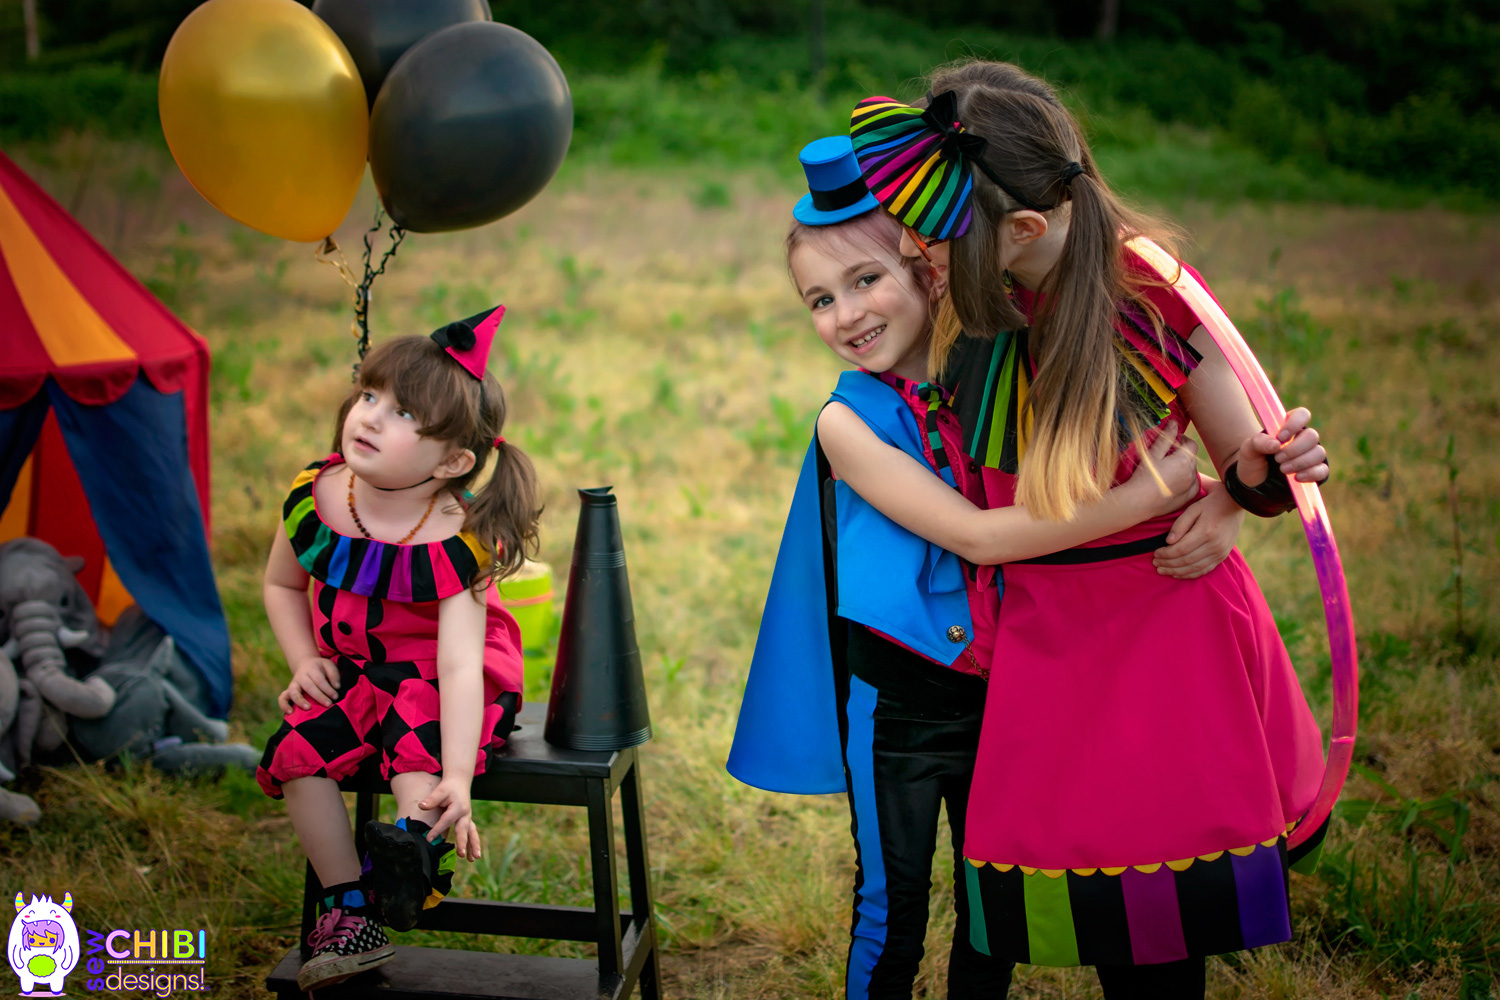
My Little Clown, Akira
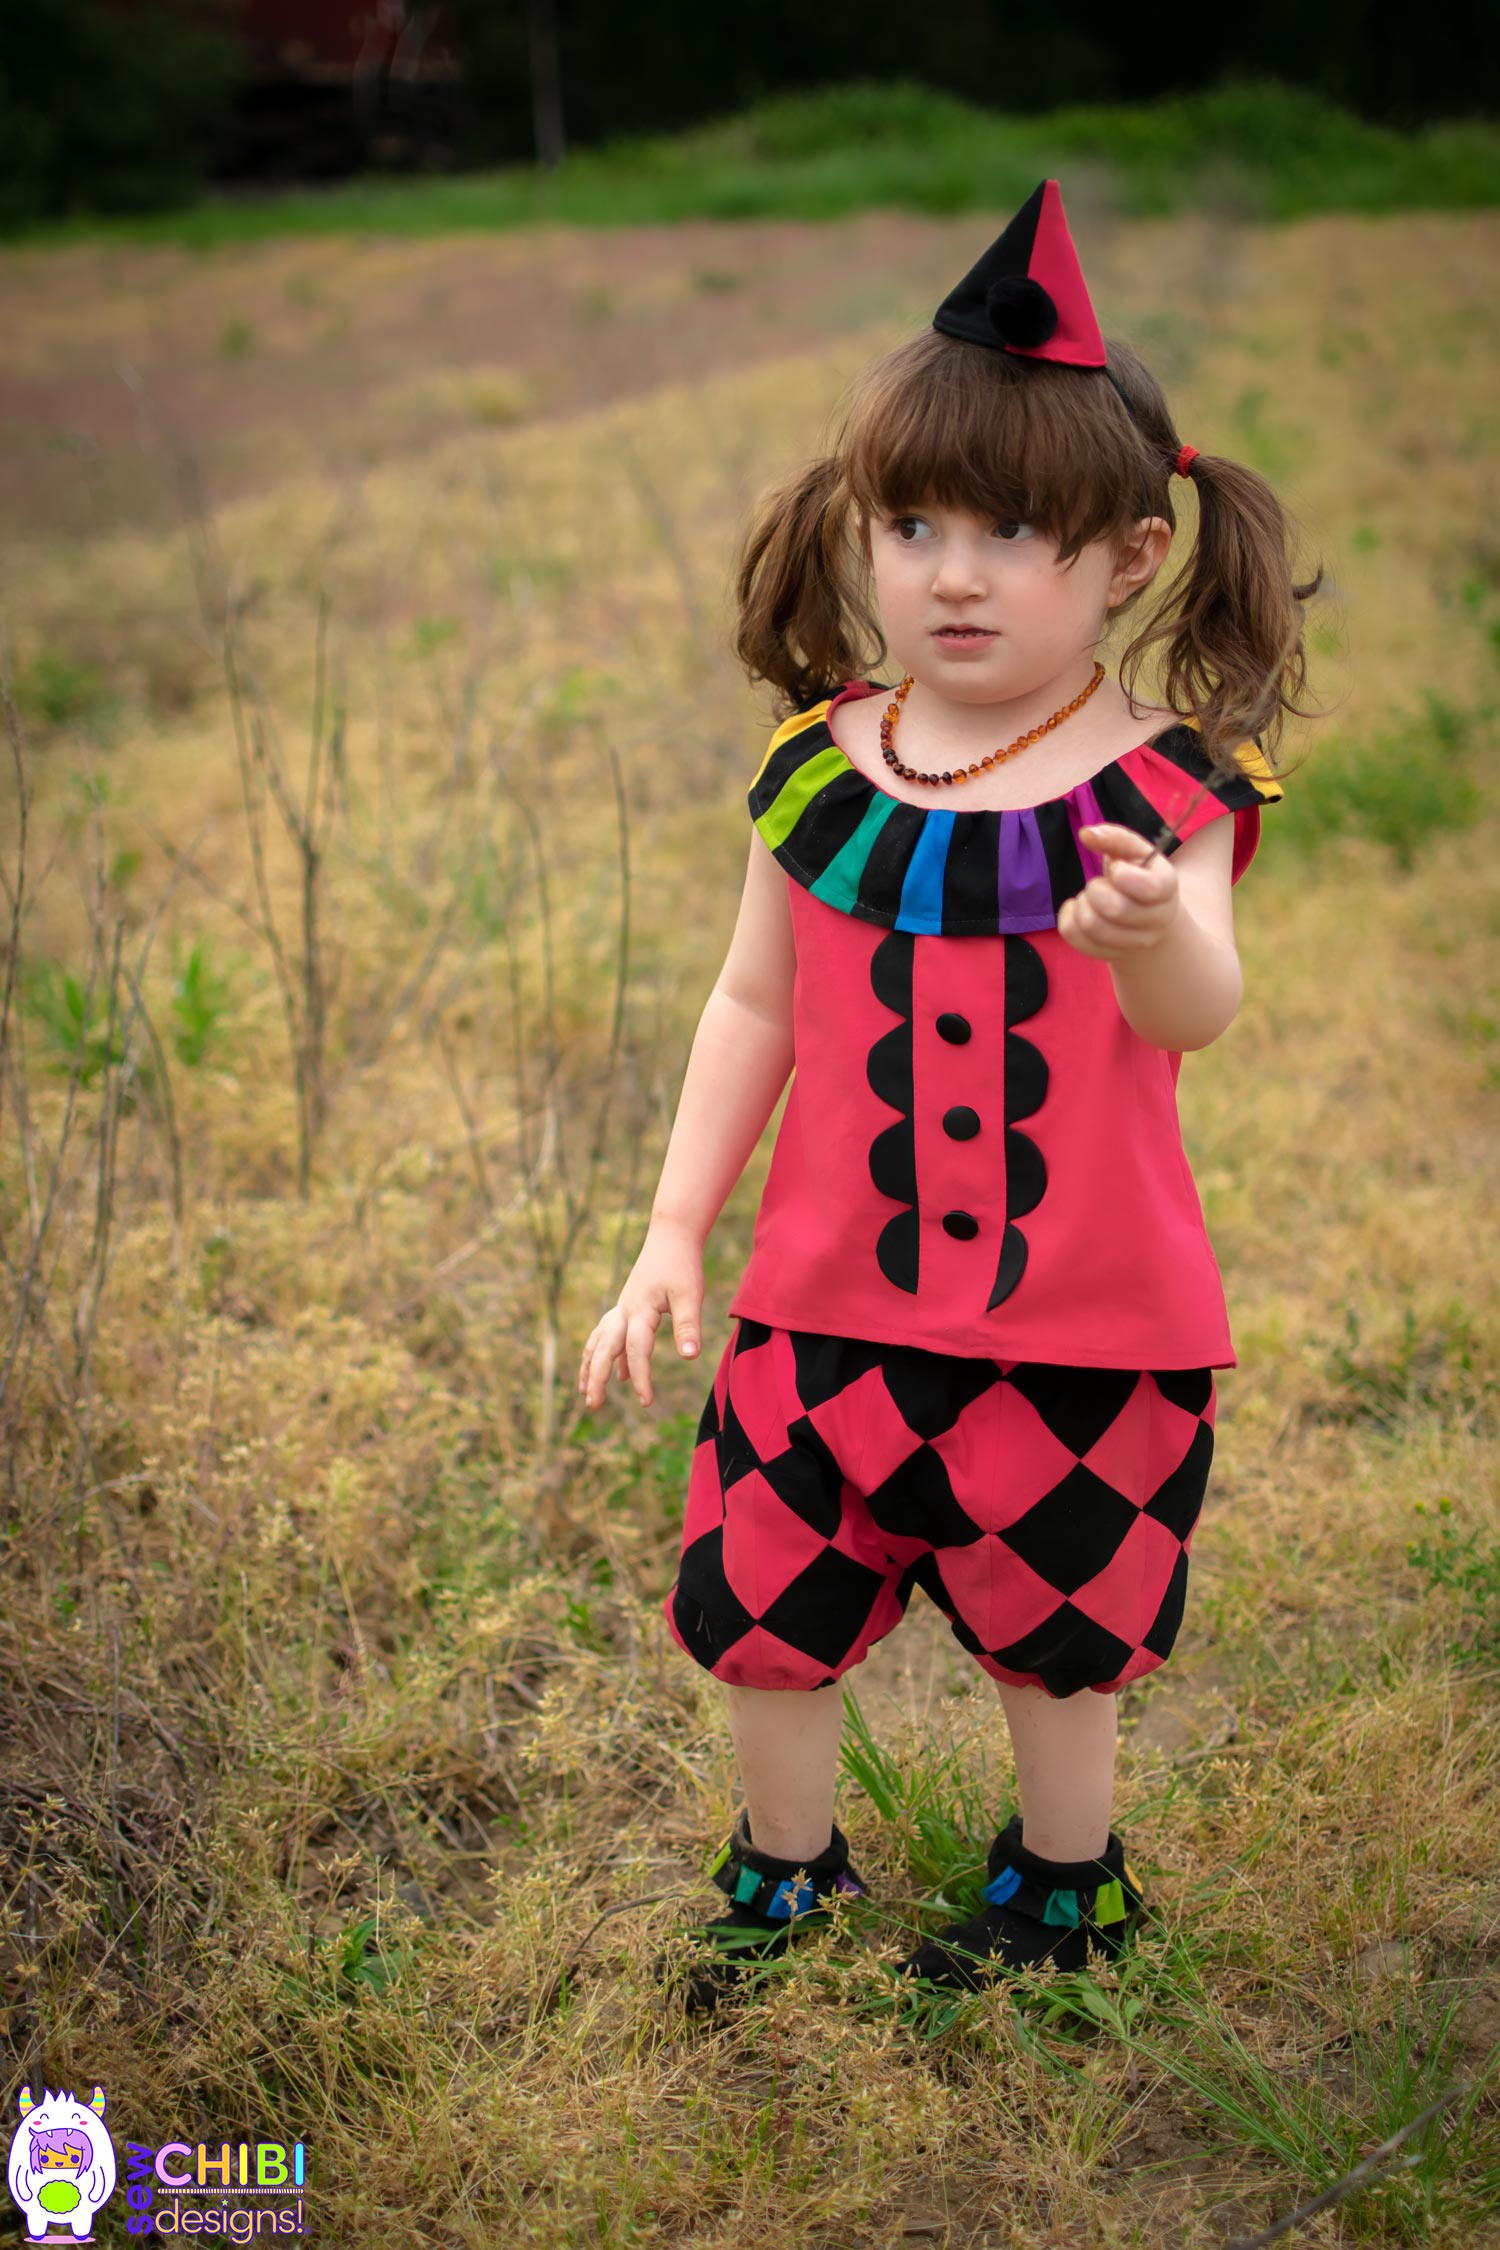
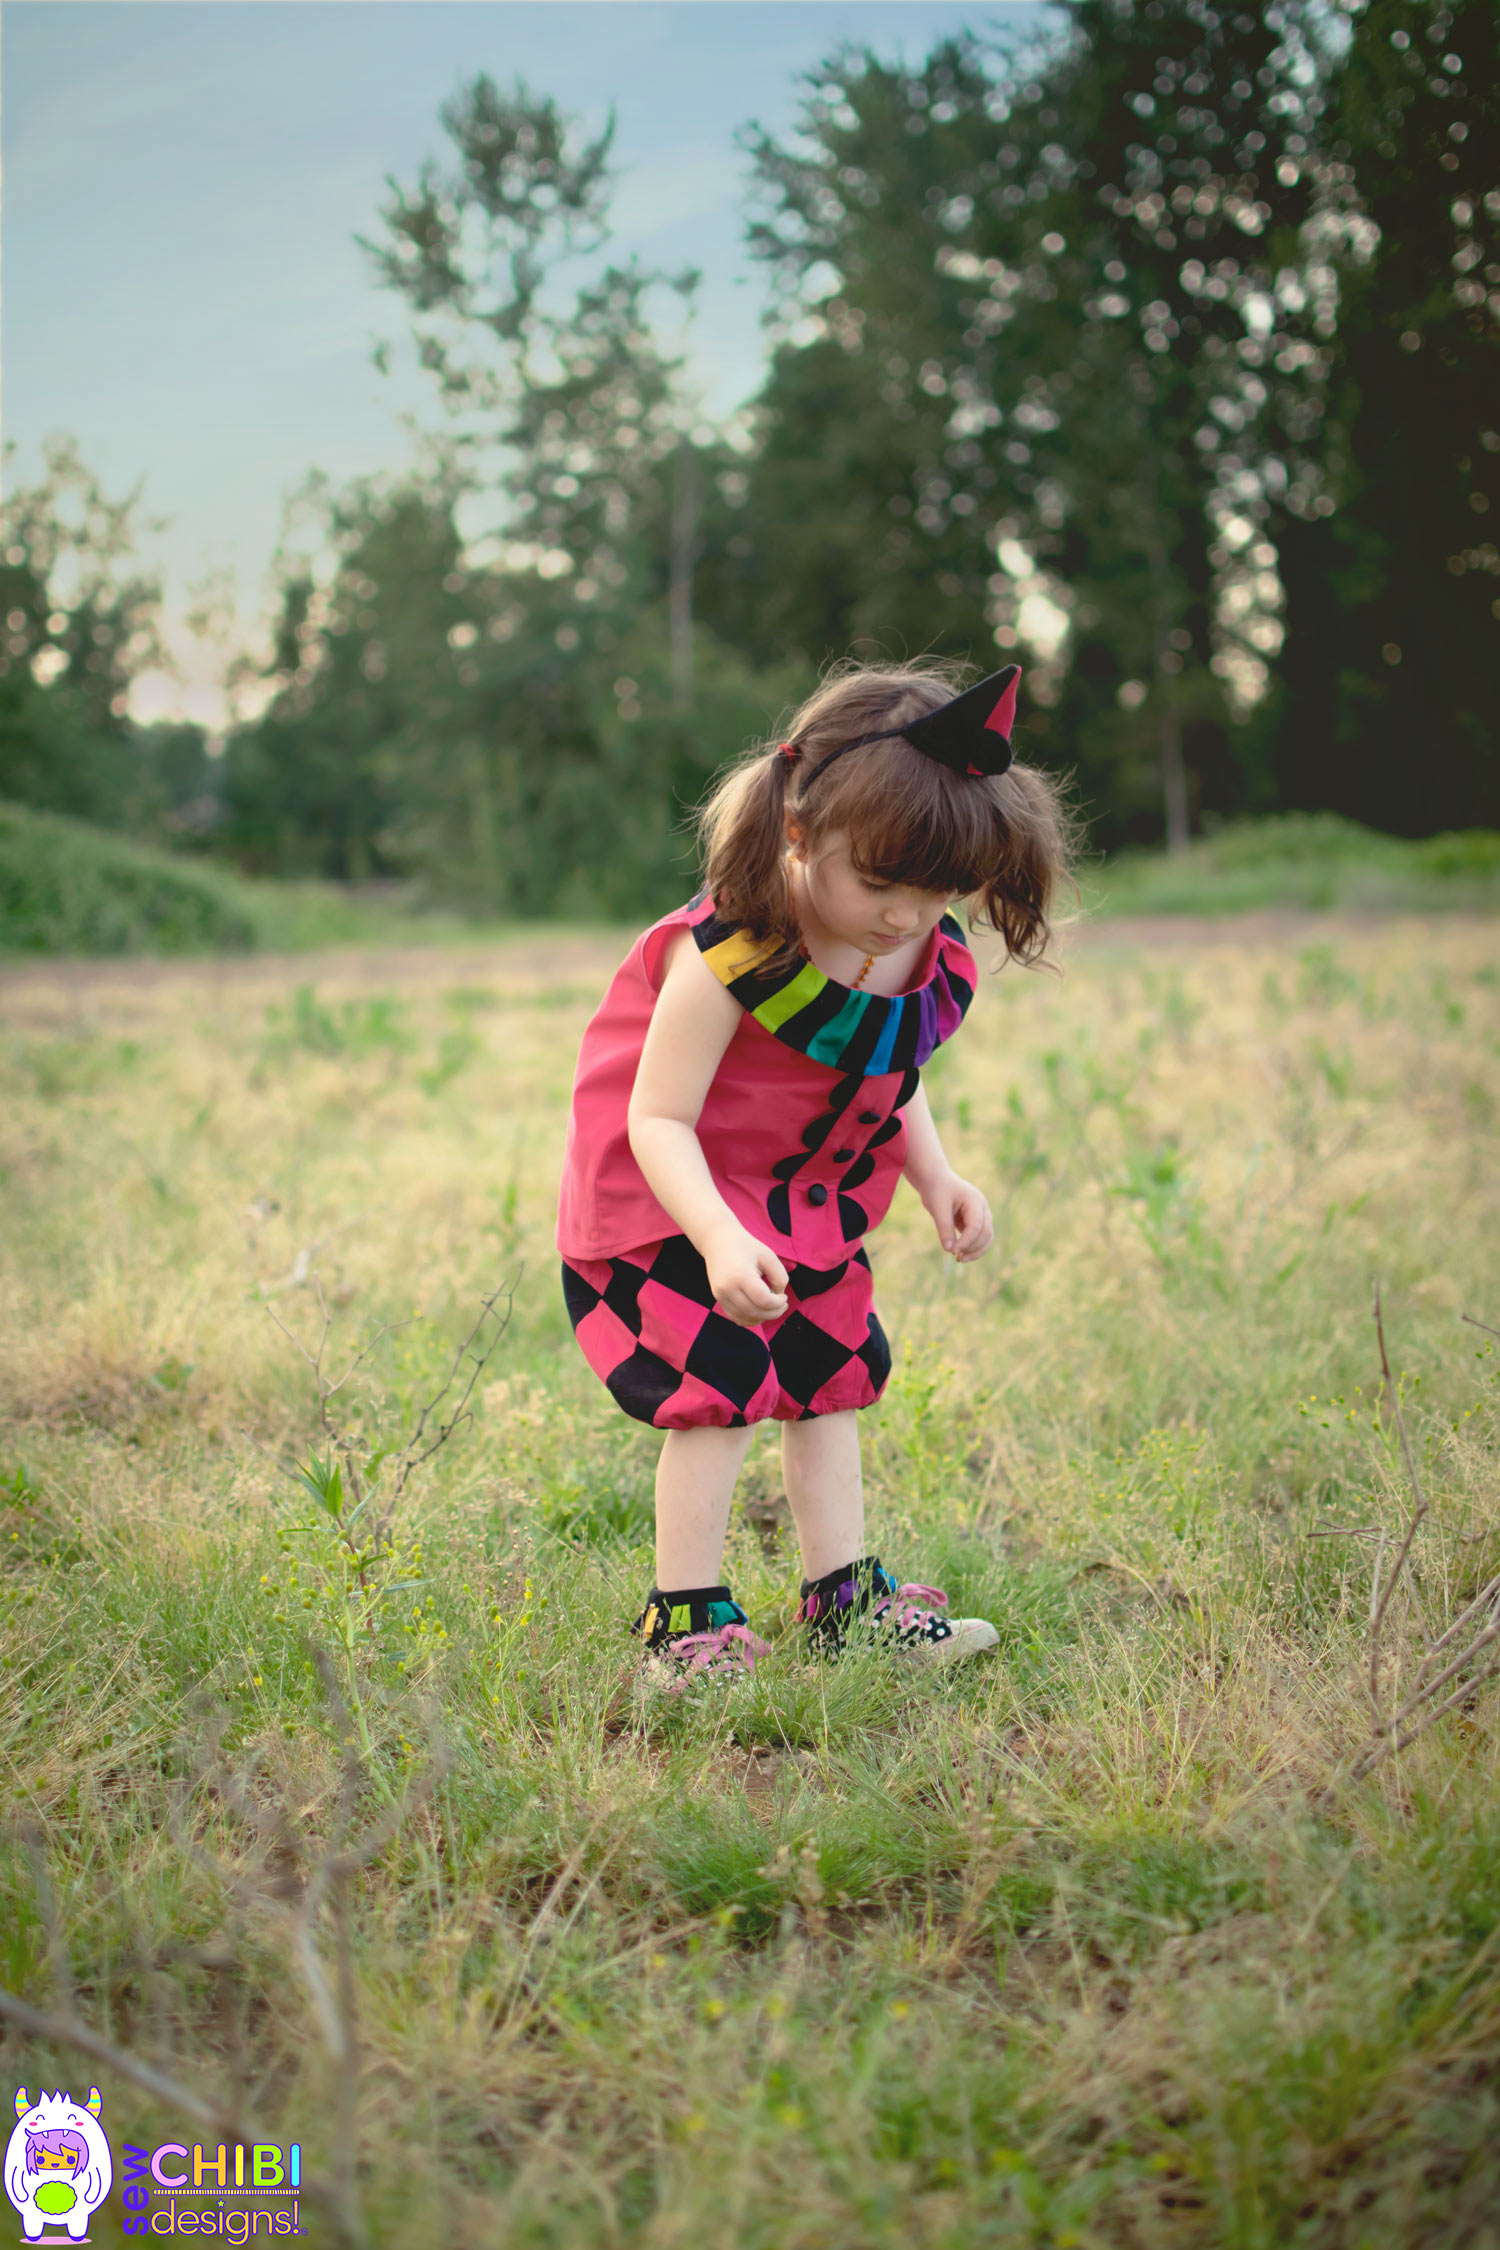
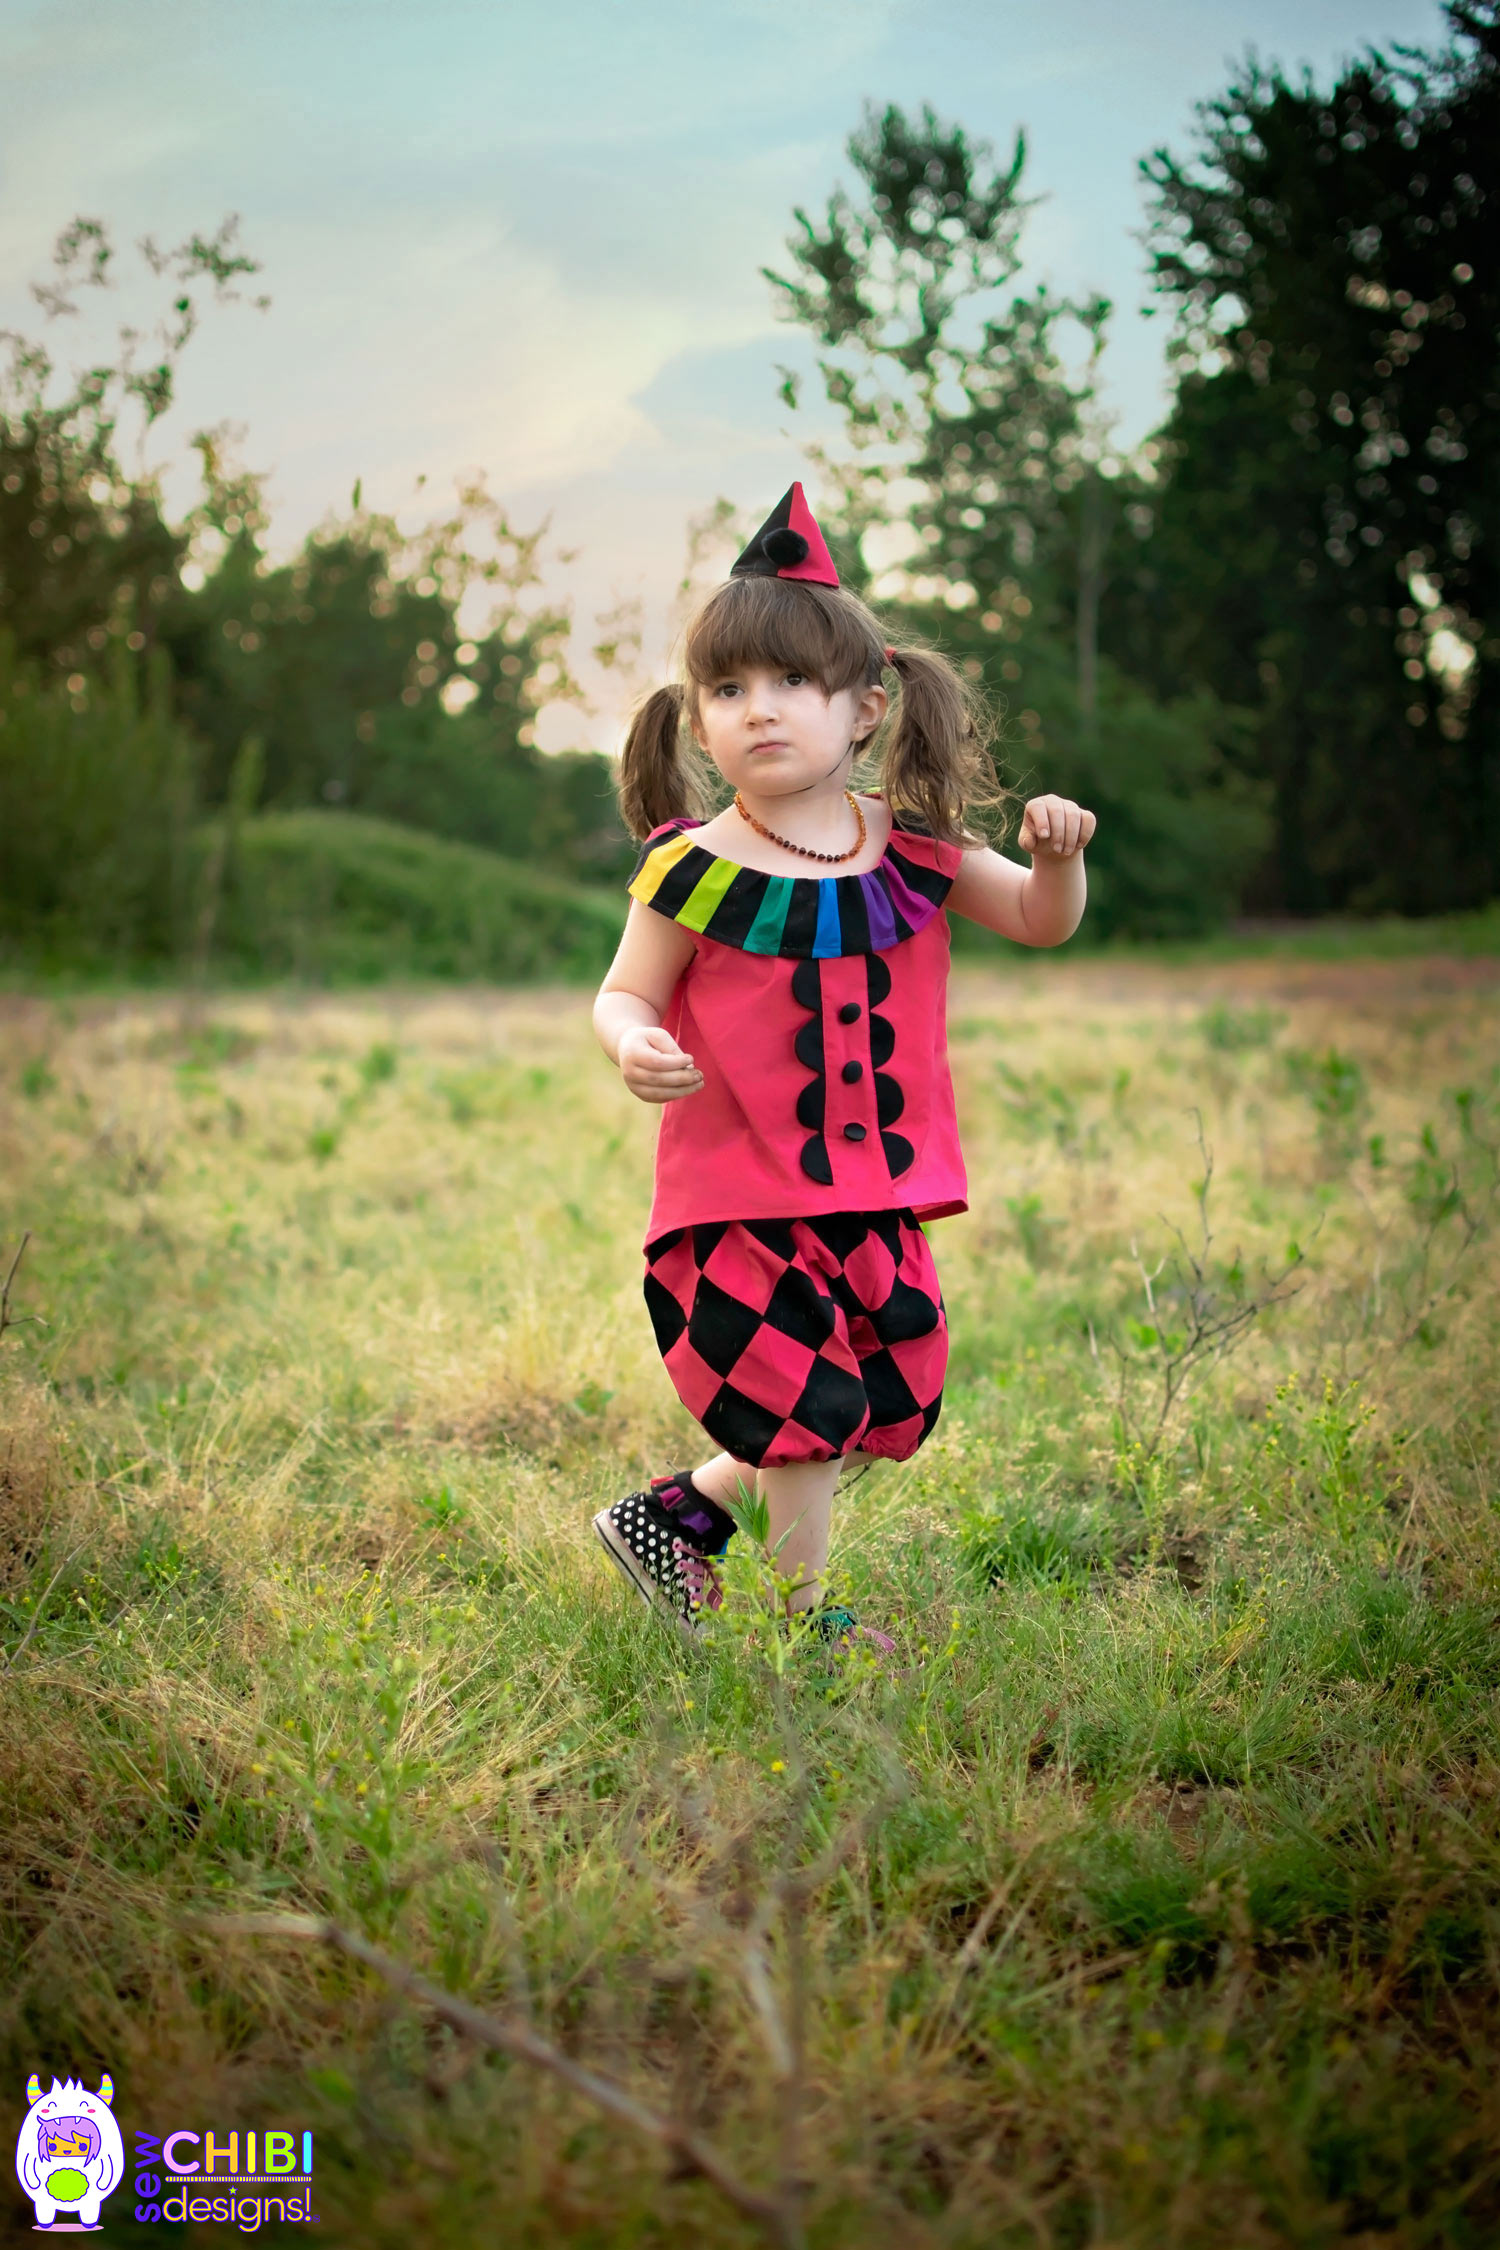
My little clown was actually a last minute change of character as I didn't love the original outfit I fully made 😂! (I'll save all of that and more stories for the next issue of Kira Kira Kira I'm planning again this fall.) Her entire look was created two or three days before the planned photo shoot !
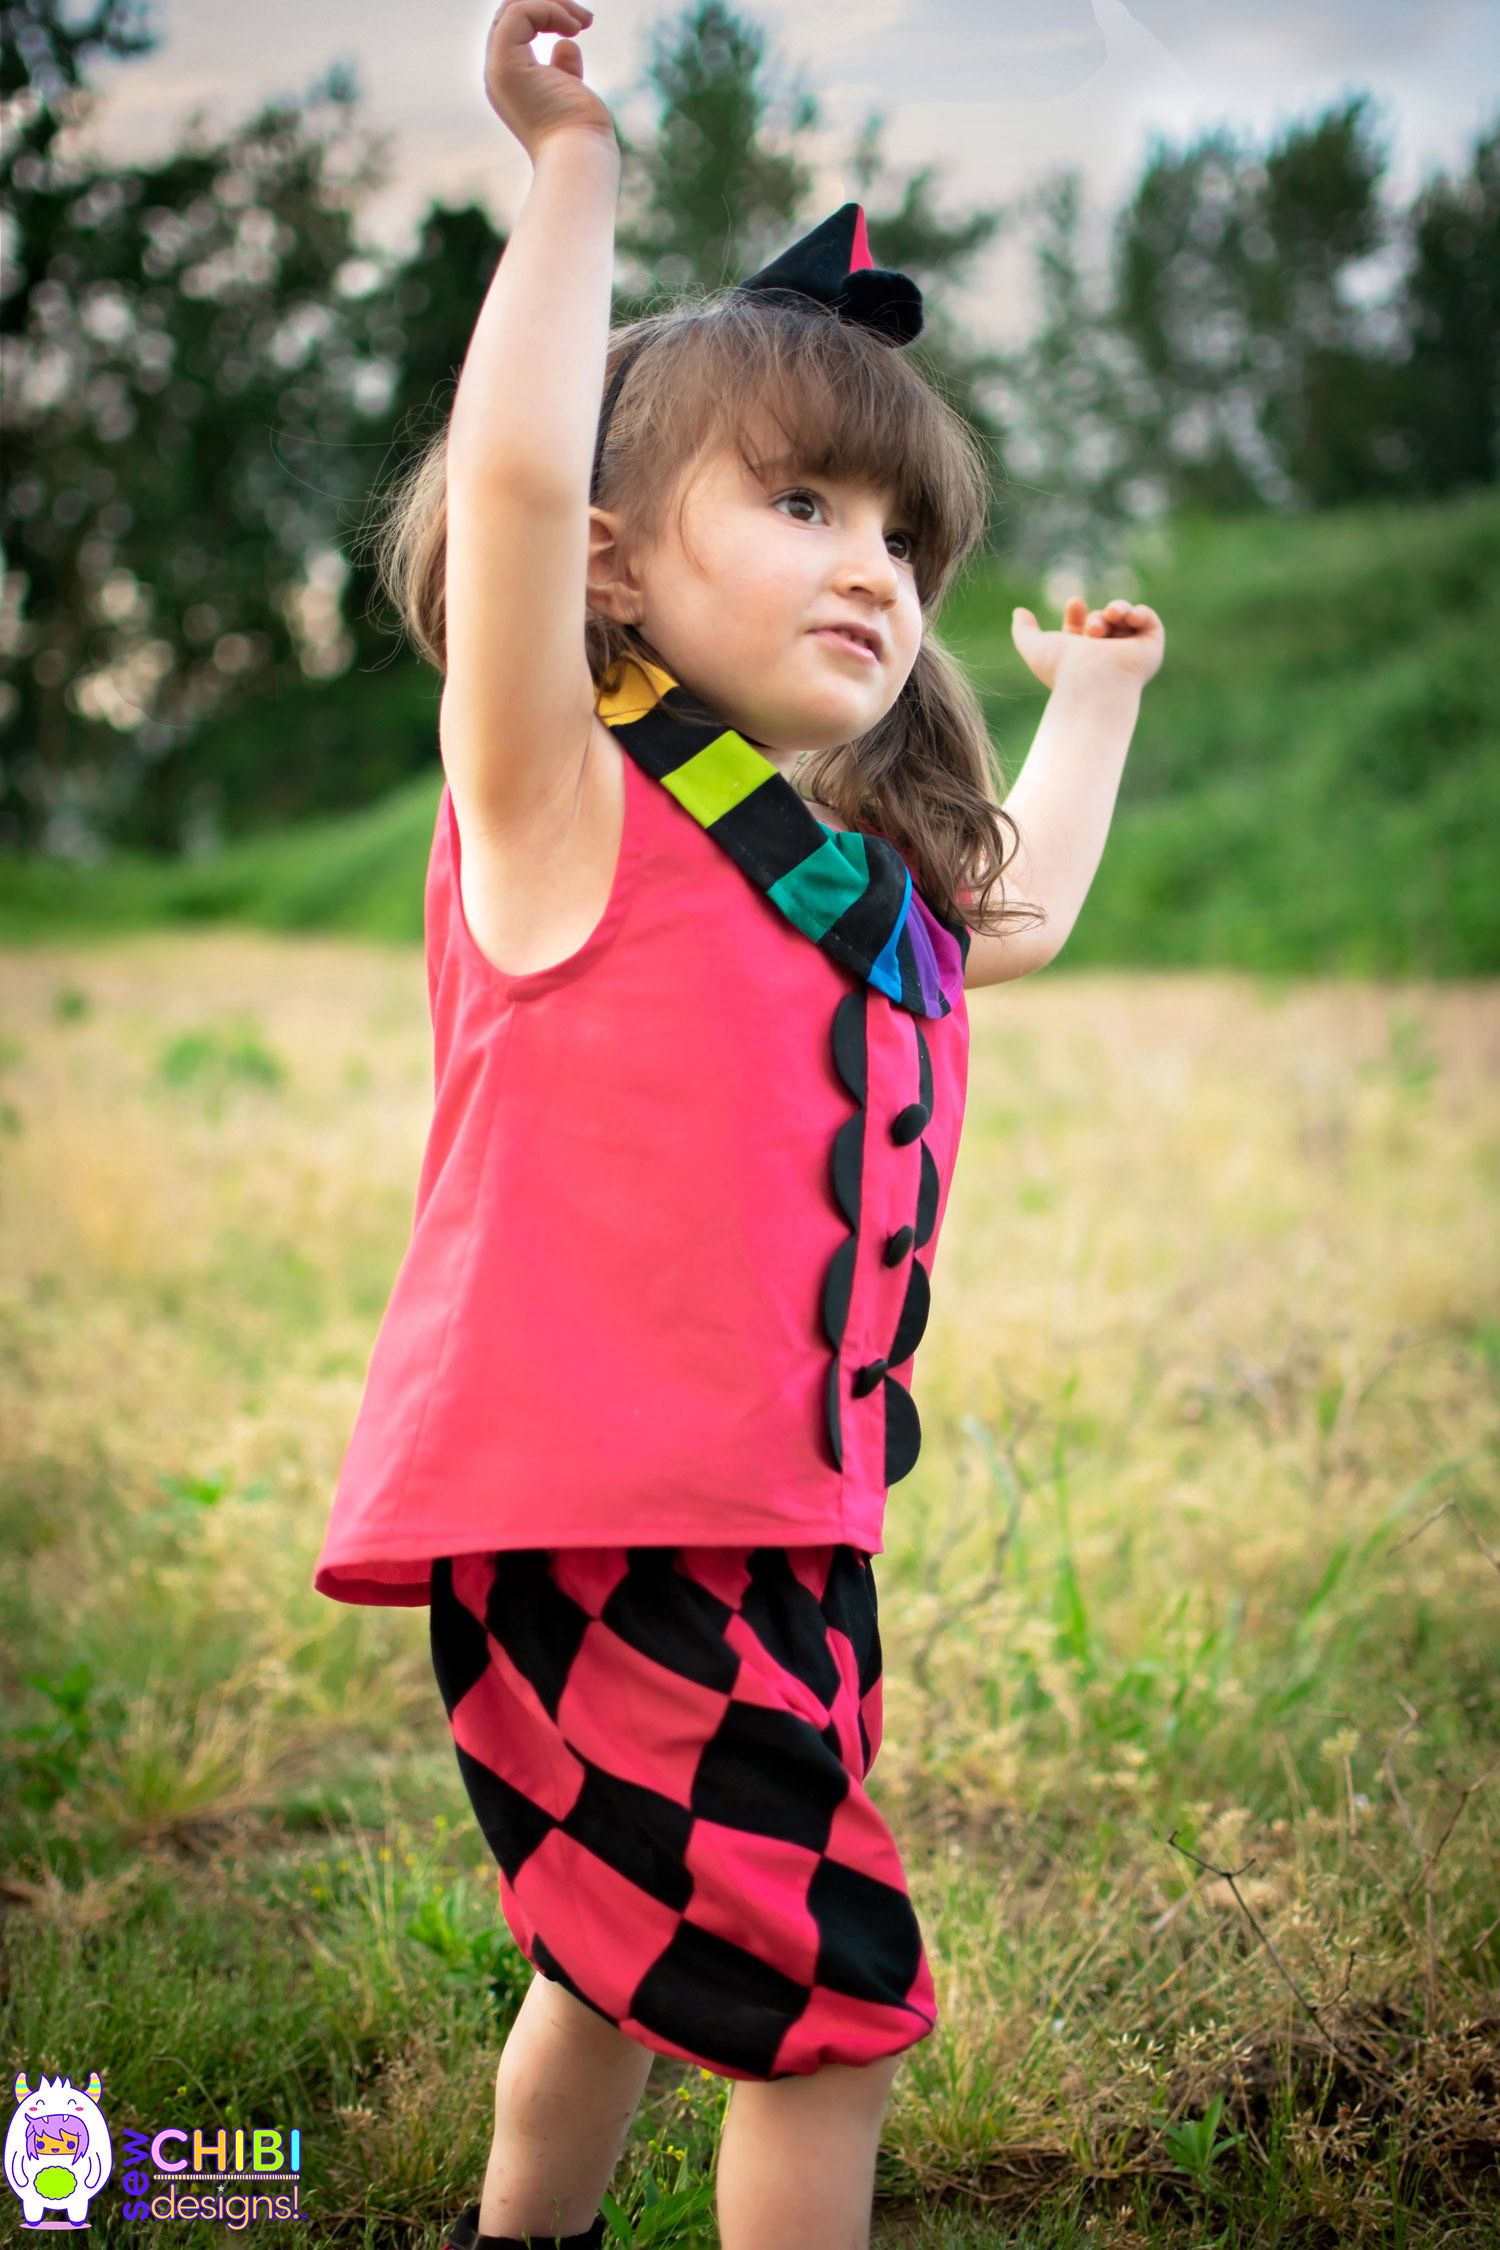
Her top I wanted to have a wide neckline with a slightly gathered rainbow flounce. I used the Doli Tank by Lou Bee Clothing but blended the armholes and back with the Racerback dress by Hey June Patterns. When I was cutting the front bodice, I made a blunder and cut the fold 🤦♀️. Since I am all about "making things work", I brainstormed hard about how to fix it and then it came to me! Add in some scallops, an extra panel and buttons! I honestly can't believe how much of an improvement my "mistake" made!
Her bloomers I quilted to look like harlequin diamonds using triangles (HST quilting). That took a full day in and of itself to do! I adapted a Japanese pattern from Enanna 2014 to bloomer length and painstakingly matched up those diamonds as much as possible by the inseam (I blended the pieces together to make the legs one piece so that side seam matching wouldn't be an issue).
To finish it off, I made a mini clown hat out of felt, interfacing and the same Kona cotton fabrics as well as a pair of Abby bobby socks by Wolf and Tree with rainbow ruffles.
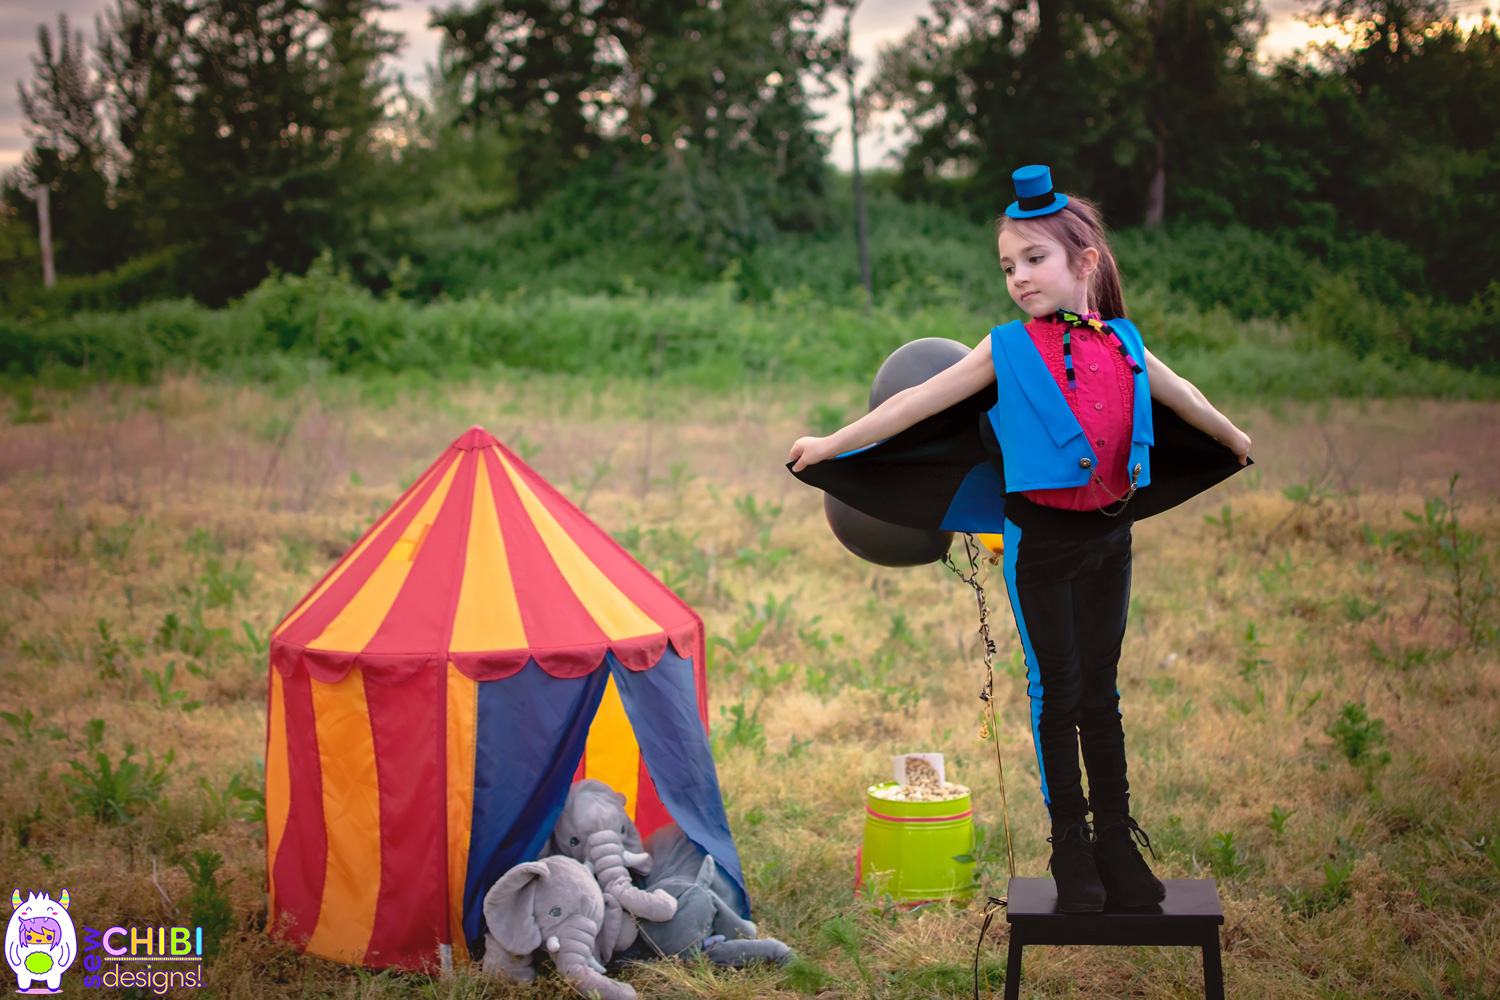
My Ringleader, Sephira
A circus isn't a circus without its Ringleader! I am a big advocate for blurring the lines of gender when it comes to fashion. I love the movement of boys wearing pink and florals! However, I have all girls! So beside making frilly dresses, I frequently like to create things that you don't necessarily see girls wearing because they are too "boy-like". My middle girl is the girliest of the bunch, but she's also my most daring too! She's been rocking a side shave for 3 years (begged for a solid month!), jumps at the chance to cosplay as David Bowie, and stands up for what she loves no matter how different it may be! She makes the perfect Ringleader to my circus of little girls.
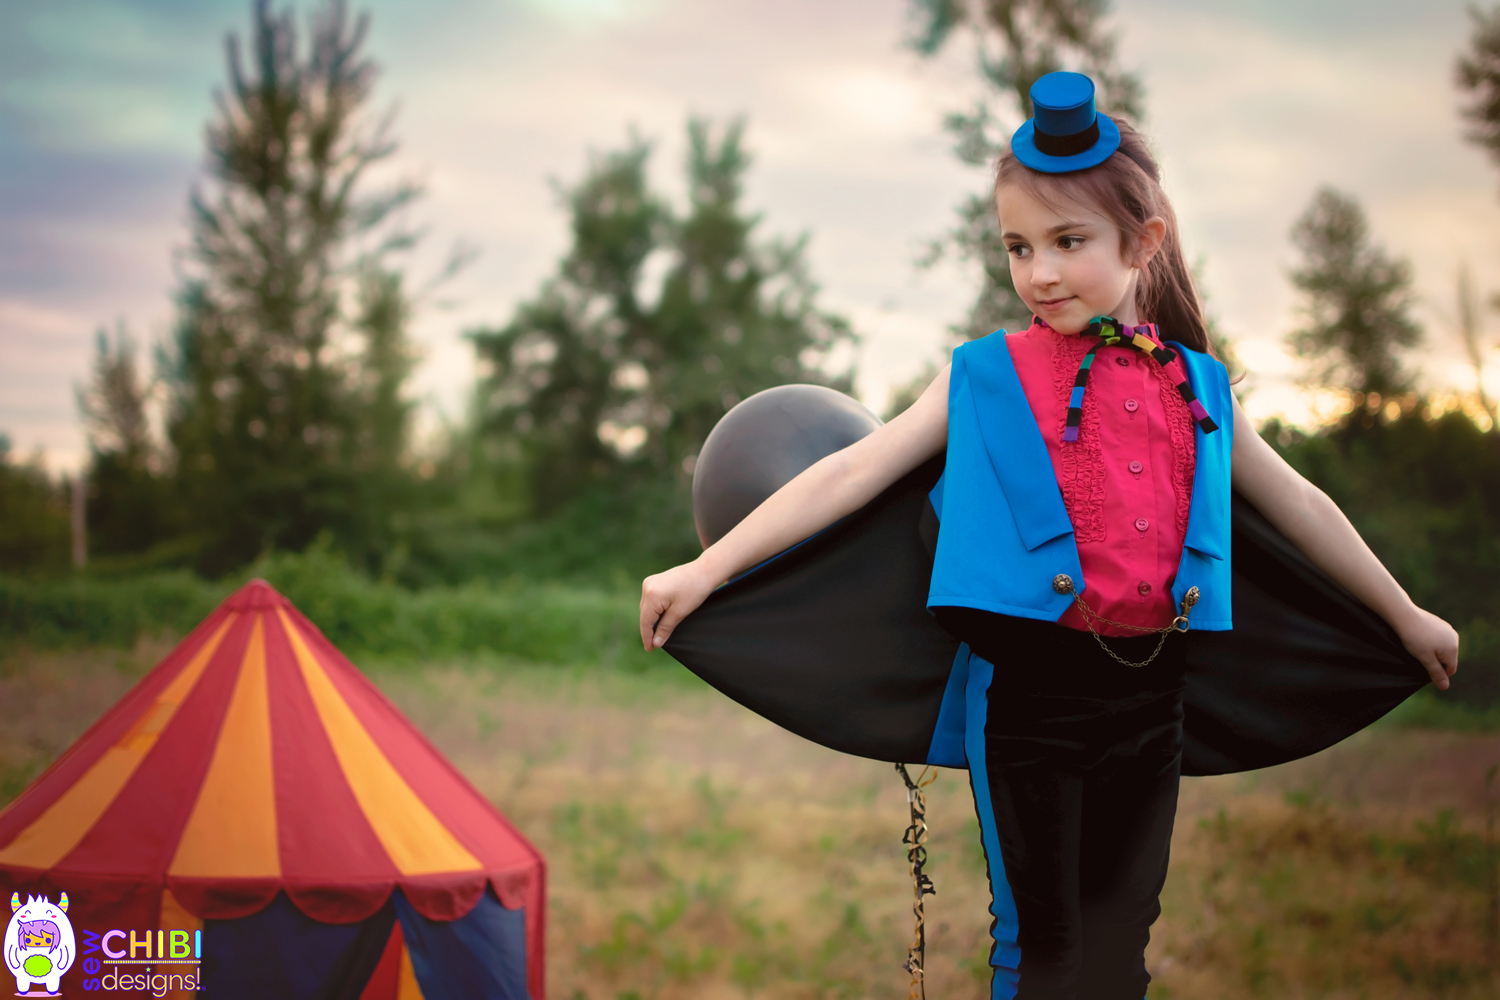
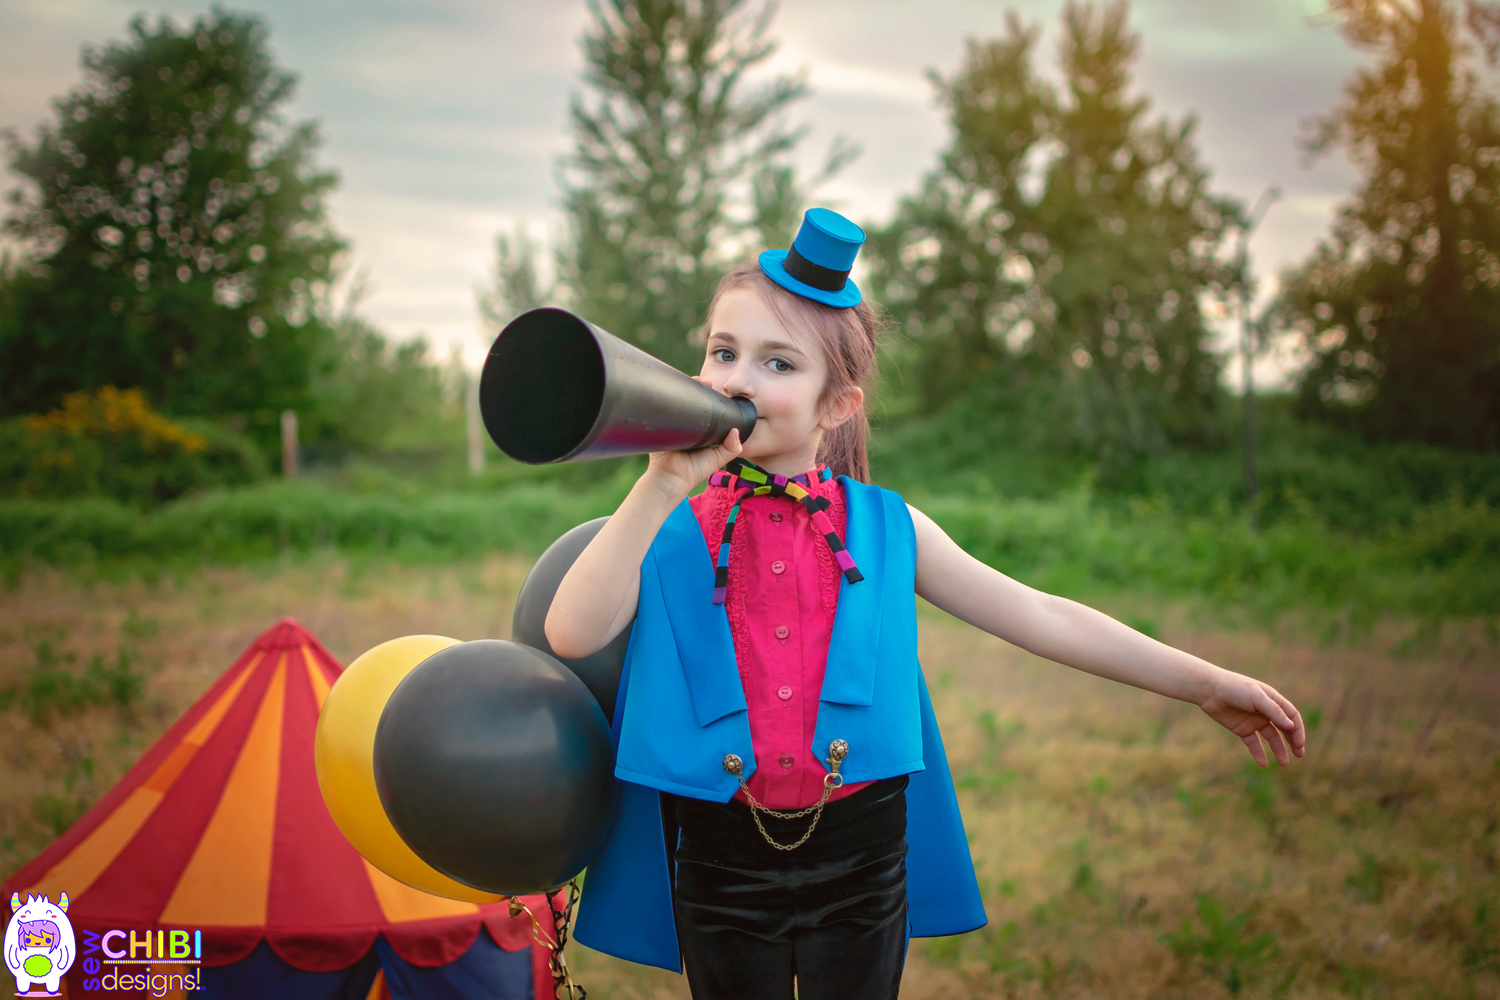

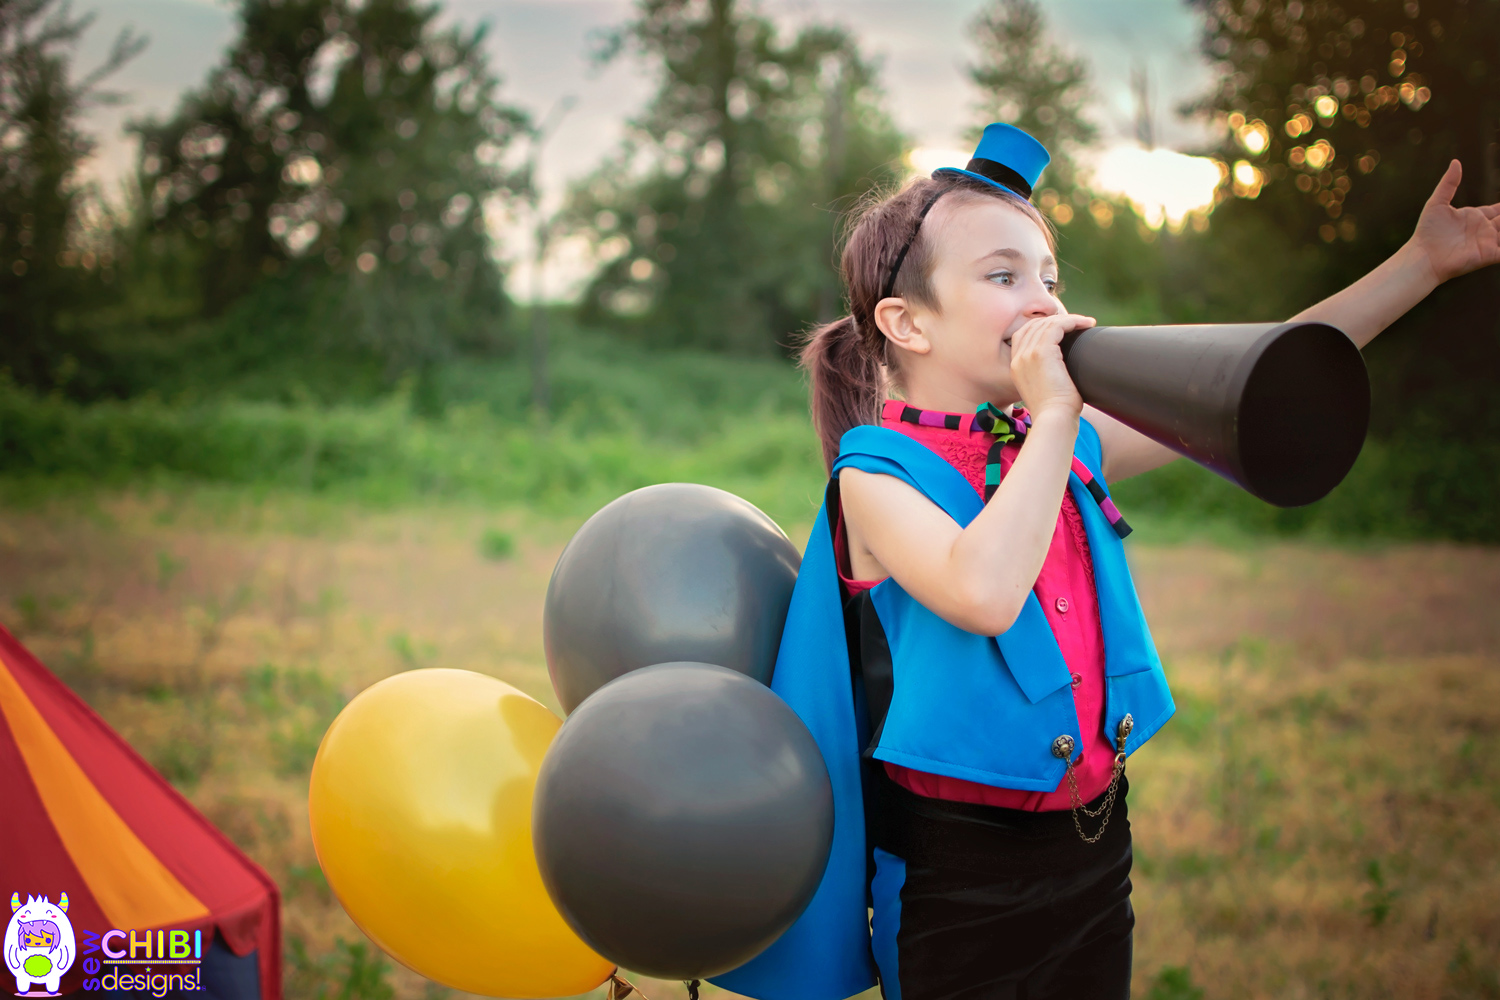
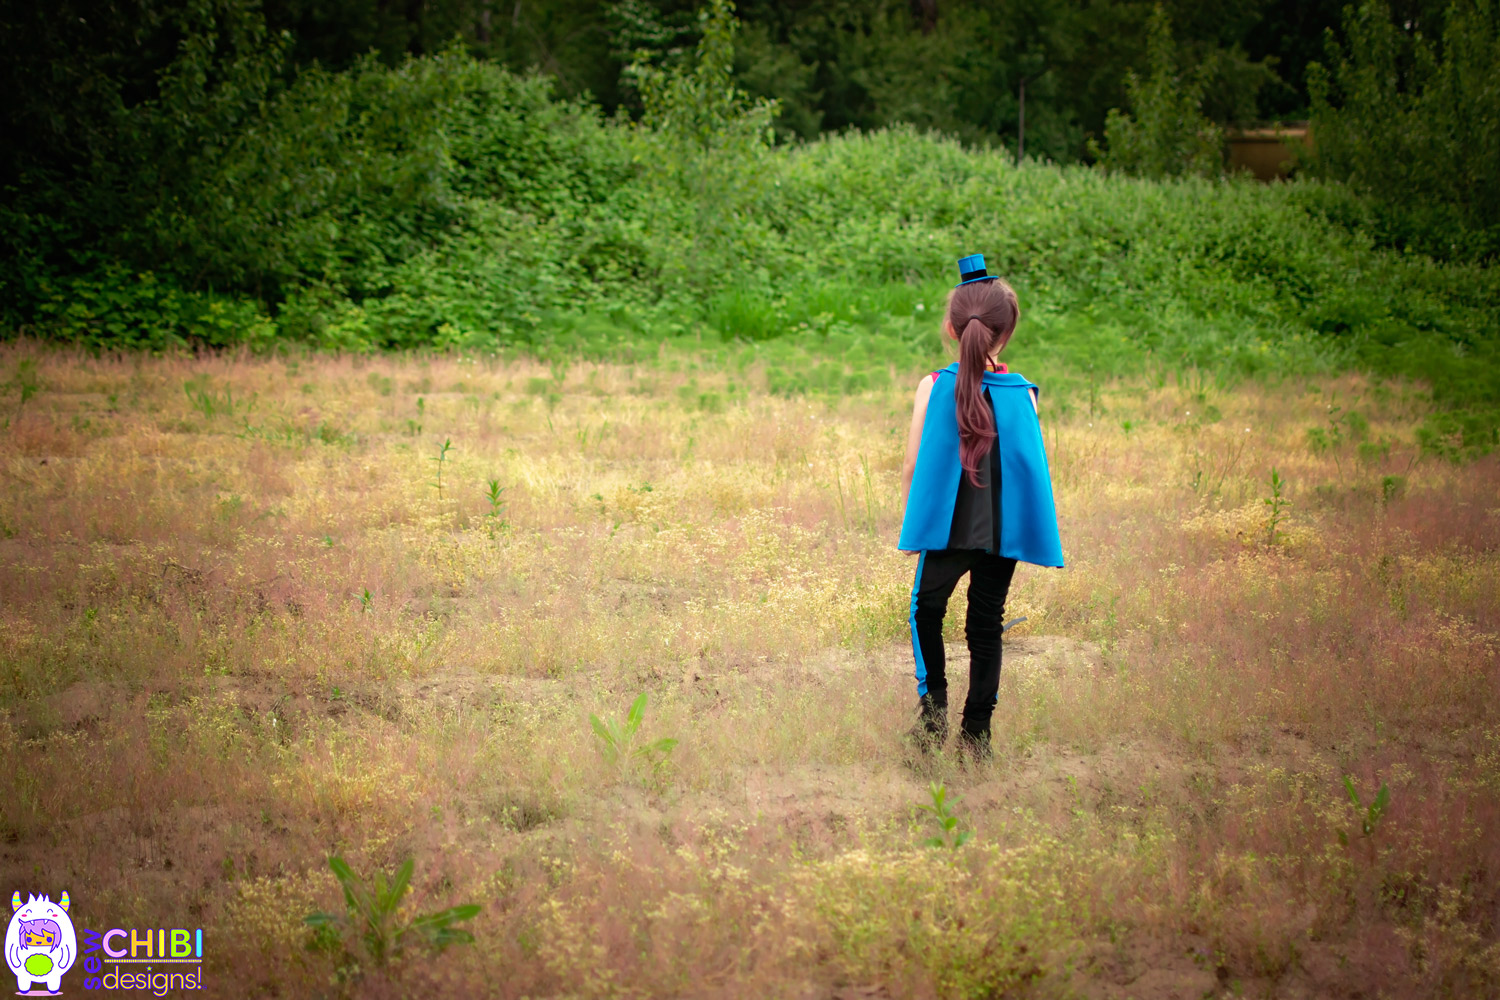
It is no secret that I am a fan of Asian fashion, idols, music, food, culture, well, everything (when I'm not creating, you can find me trying to learn Chinese on my phone 😂)! The inspiration for a caped vest came from a music video and I've been itching for a reason to make something similar but in my own way. I loosely used a Japanese pattern from Cucito Spring 2013 for the actual vest. I made a full lining, changed the slope of the opening, drafted a squared-off collar cut on the bias so it shapes nicely around the curves of the neck, made an adjustable strap for the back, and added two buttons and doubled chain with swivel hook for easy wearing. To give the satin some weight to the vest, I used woven interfacing throughout. I drafted the built-in cape to be longer than the vest but not exceedingly so. It has an inverted box pleat with opposite colors on the reverse side.
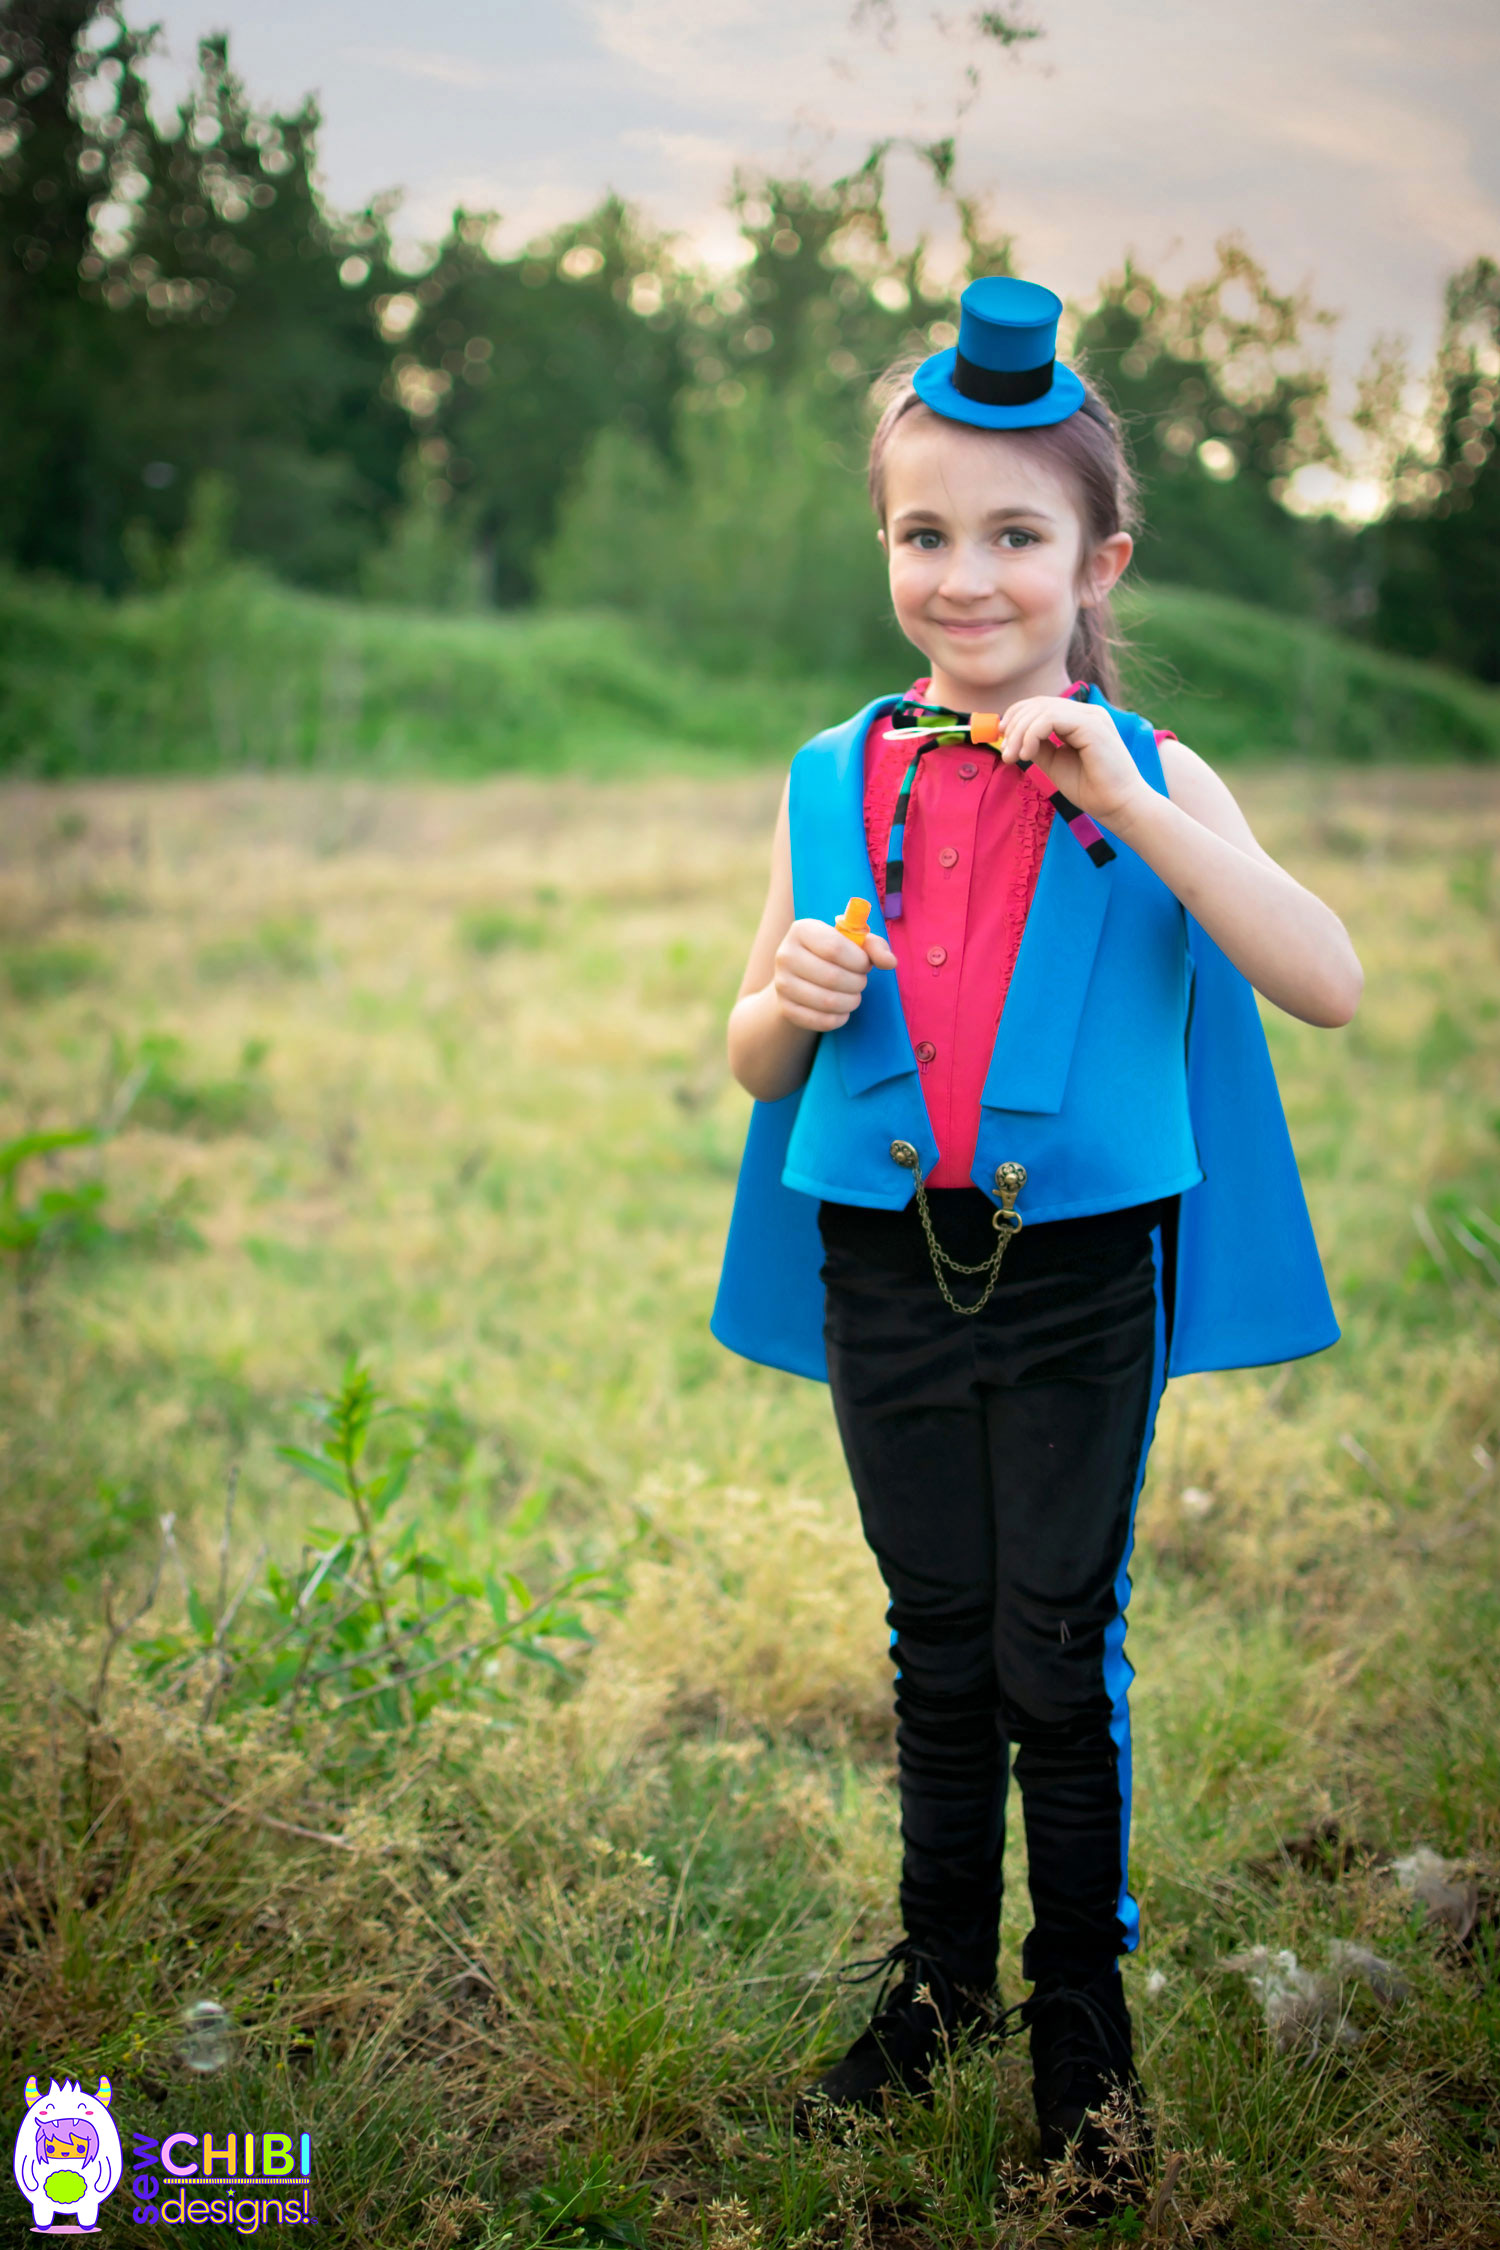
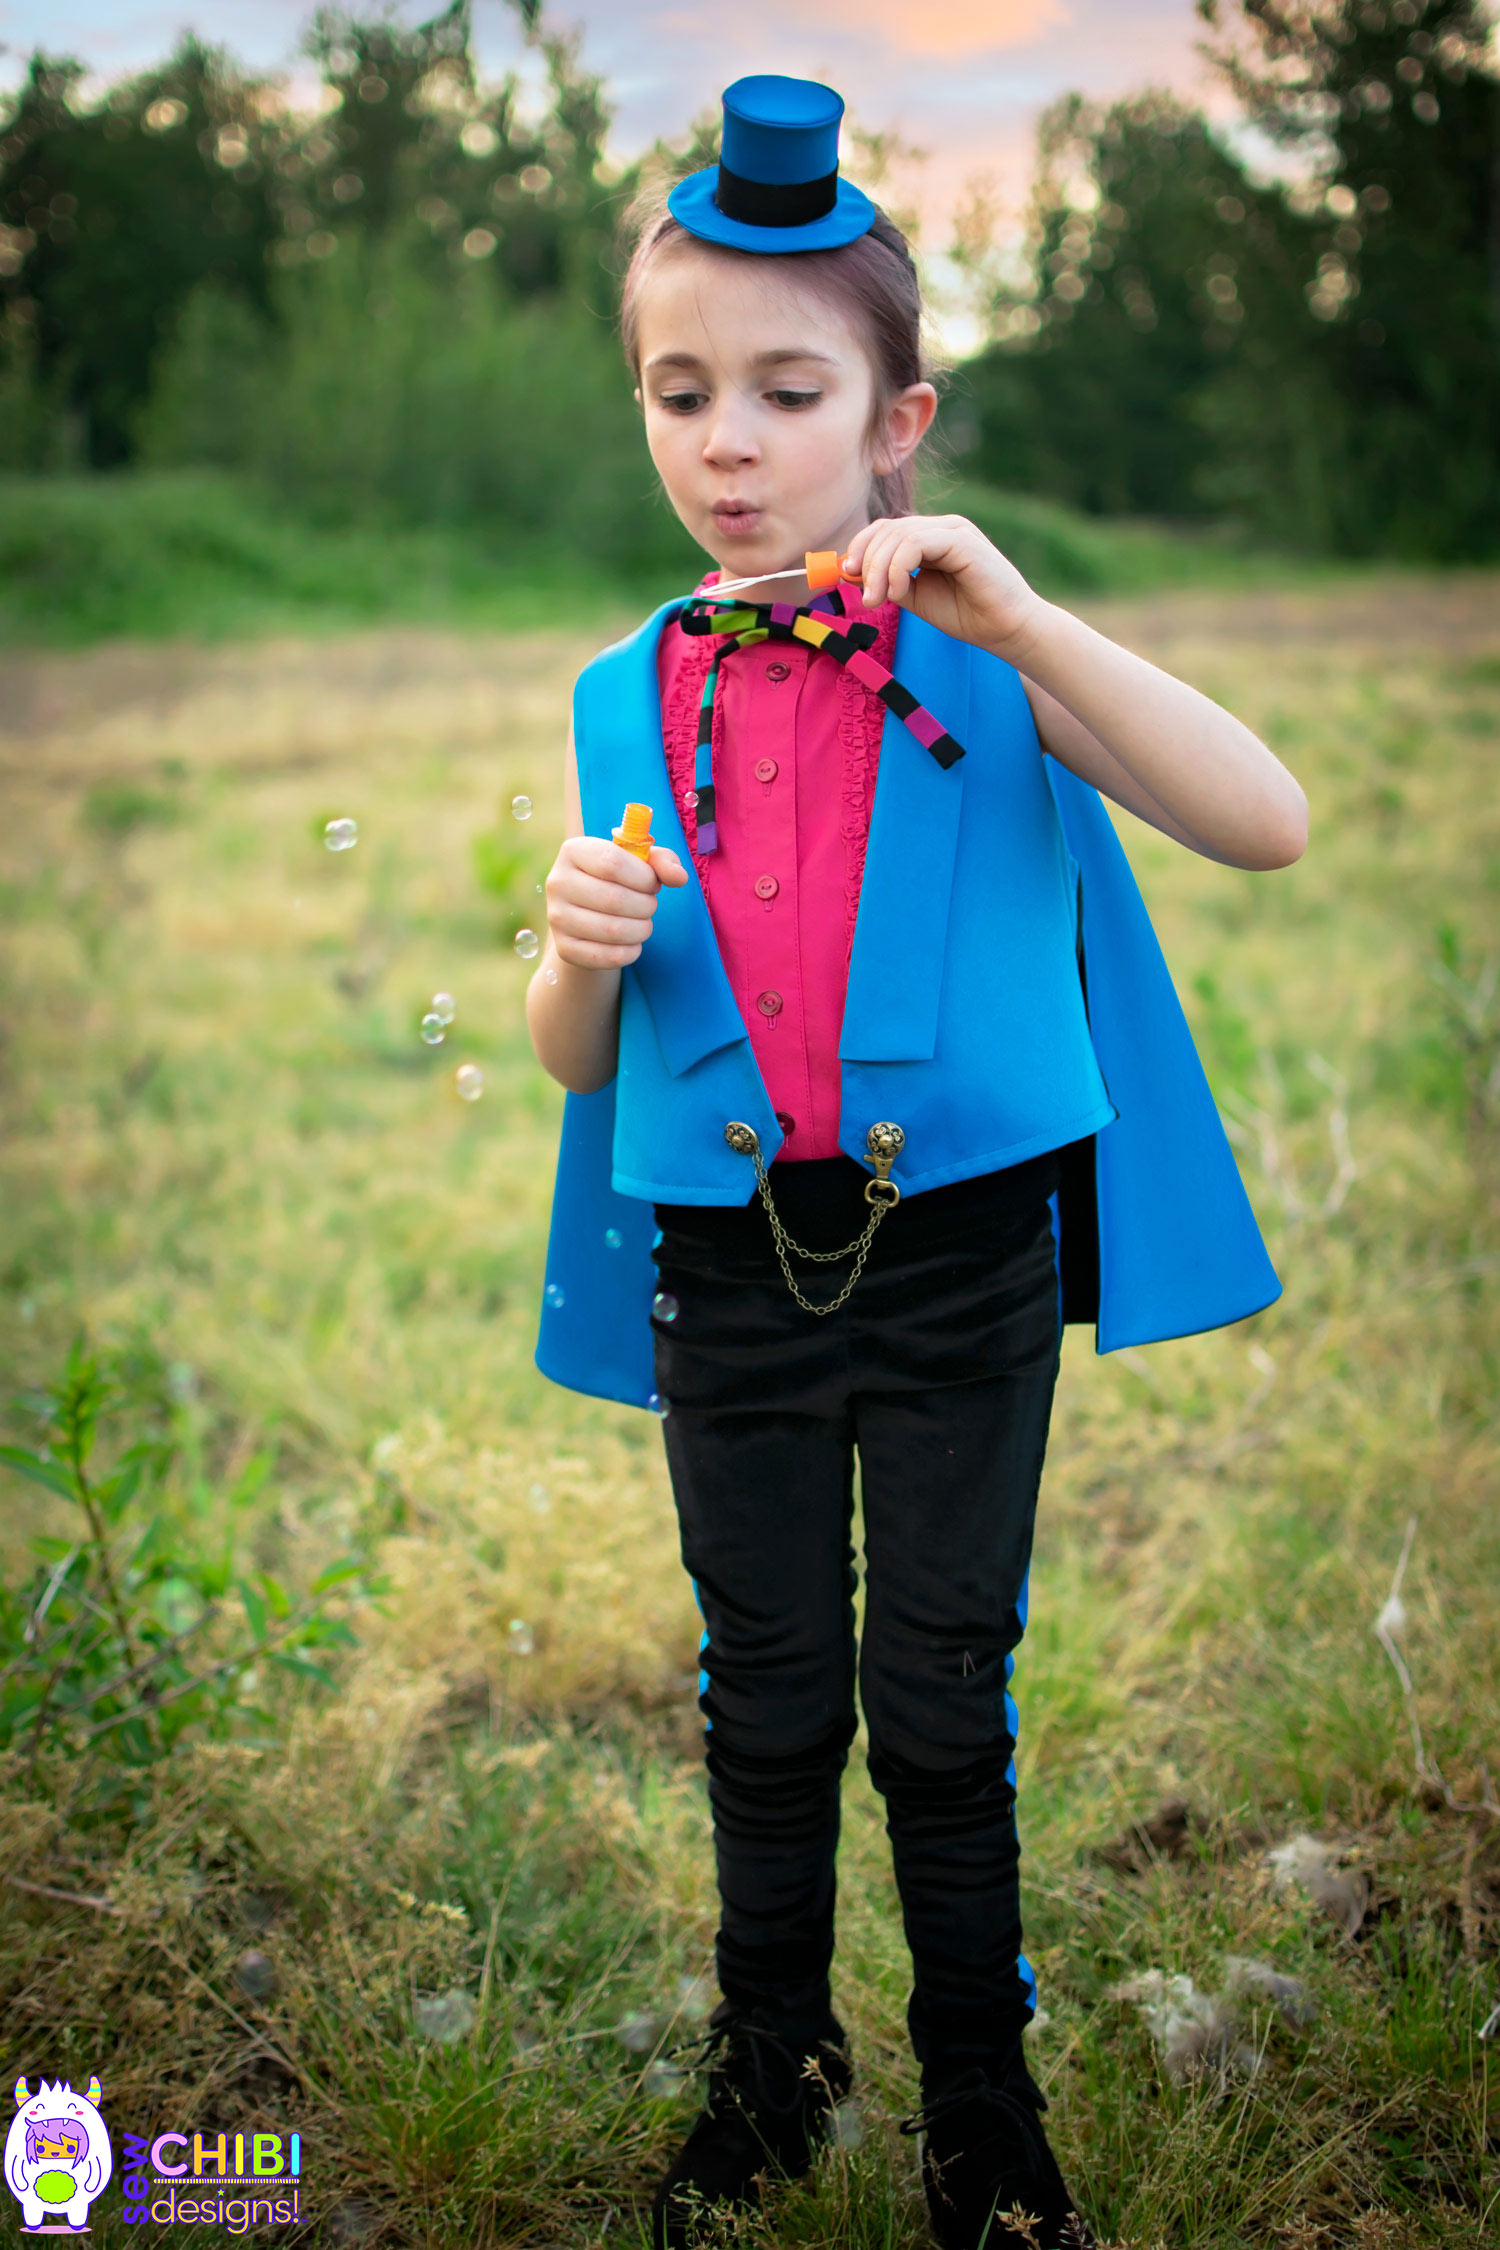
Her "tuxedo" shirt is a mash-up of the Laramie Top by Hey June Patterns and the Vivie Dress by Blaverry with a Nehru collar so that I could add loops for her rainbow necktie and rows of tiny bias ruffles (that stop at the waist for easy shirt tucking). The inspiration for the loops and tie again came from Asian idol fashion (it's just so good it's hard not to be inspired!)
I made a pair of stretch velvet Hosh pants by Lou Bee Clothingwith blue bias striping on the sides (so that there wouldn't be any weird ease issues). I wanted a high waistband look so I opted for the yoga band option which is meant to be folded over. I didn't think that went with the clean lines of the outfit so I halved the length and it fits perfectly and stands up nicely too!
I finished my little Ringleader off with a self-drafted mini top hat made from foam sheet, felt and according fabric.

Fabrics Used:
all Kona Cottons from Fabric Depot, Portland, Oregon
Stretch velvet, stretch matte satin in blue and black from Joann Fabrics
And that's it! It was such a beautiful day for pictures, although the clouds were totally against my golden hour photo-shoot! Trying to wrangle them all for pictures truly turned into a 3-ring circus: Akira was always wandering off and the other two were busy looking for ladybugs the whole time! 😅

And sometimes, there are these magical photo-shoots where they are all happy and engaged with each other and taking tons of sweet pictures as a group... those usually only happen on shoots for pretesting and other unimportant things. 😂 Today was not that day!

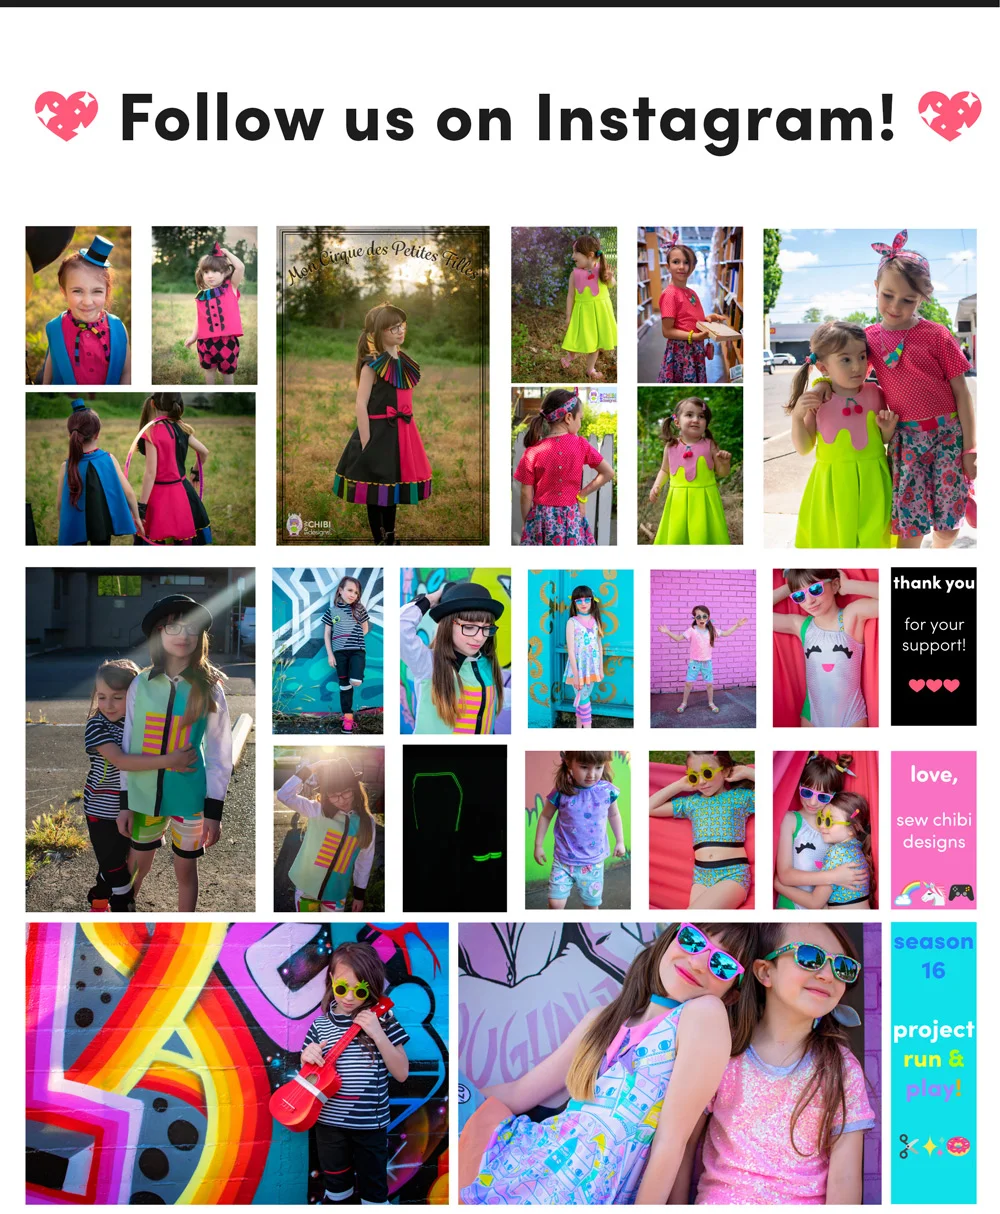
I hope you enjoyed my Circus collection for Week 1 of Project Run & Play! 😊 If it's your favorite, please cast your vote for me by clicking the button below! I have so many colorful and fun surprises planned for the coming weeks, I hope you like them too!

First time checking out Sew Chibi Designs? Maybe it's your first time since I redesigned everything?! If you just want even more: more explosively colorful and silly handmades or are really keen to making super cute stuff, you should sign up for my Sew Chibi Designs Newsletter which keeps you up to date with all the willy antics I'm up to, PLUS exclusive access to my new SECRET FREEBIES CLUBHOUSE! created for sharing free patterns, updated content, printables, etc.
“It’s like a secret sewing club for kawaii inclined! Make sure you sign up so you get...... deh secret password!