Sephira's 2nd Birthday Dress! Behind the Seams!
Earlier this month, our baby turned 2!
Sometimes, I just can't believe it!!!
But my darling Sephira Zen is a darling little girl. And she deserves a dress that is truly one of a kind!

A dress that is its own playmat or treasure trove of activities, if you will.
I started with a simple Japanese pattern and drafted my own dress version to fit my little chibi princess.

About the dress:
inseam pockets
hidden ball pockets
handmade rainbow glitter buttons
a peek-a-boo panel hem
candy hand-basted into the dress
an inset glitter gel playmat circle center

I'd like to note that I am not an avid designer fabric buyer. I definitely do from time to time, but I save it only for special occasions. Don't get me wrong: I love certain designers with a passion and admire their work very much. However, I tend to do some wild things and I feel mixing prints is a really tough thing to do properly and requires thoughtfulness. I also like to challenge myself to take basic palettes and make my own completely different thing. So that's just part of my wacky sewing philosophy. And with that being said, it was a painstaking day filled with exasperation, crying children, and whining husbands at Fabric Depot as we all searched for the perfect fabric for Sephira's special day.
I am familiar with the Alexander Henry print from some online fabric shops but haven't seen anyone out there do anything with it yet. Personally. And one of my biggest gripes/concerns with designer fabrics, just for me, is that once one person makes something truly notable with it, it becomes redundant. And that doesn't work for me since 95% of the time I am trying to stand apart from the pack and that other 5% is just practical stuff.
This was a fabric that we all agreed would be perfect. There is so much to see and point out, and Sephira loves talking! And the colors!.... [be still my heart]
I wanted to make sure that the elements of the dress didn't take too much attention away from the design of the fabric since it is sooo pretty. I chose to make most of the elements almost hidden unless otherwise pointed out.

The inseam pockets are pretty standard and self explanatory.
The little pockets were carefully cut and stitched to blend completely in to the dress.
The buttons are just glorious rainbow colored polymer buttons that I made with glitter.
I added a sash to give some shape to the dress.


The funniest thing was when I was talking to my friend Rachael. I showed her a picture of the dress (the picture on the hanger above) and here was how the conversation went down:
Rachael: AHHHHH!!!!! SO CUTE!!!! I'm not sure what you mean add candy though.... ??
Me: You don't see the candy?(smirk) That gel circle..... I can't even. Most stressful sewing ever. Cutting out a hole on an already finished dress was crazy amounts of anxiety.
Rachael: Um, yeah! that's crazy. and no, i don't see candy. am i supposed to or are you fucking with me? lol
Me: No there's twizzler rope lol
Rachael: Omg! is that what all the "piping" is??
Me: Yes!
Rachael: Omg. that's hysterical and awesome!!


So of course that all gotten eaten up immediately and after the first photoshoot I took out all the basting stitches since they were only for that initial wearing. Still, it was a big hit! And no worries, she had a dentist appointment a few days later and her teeth are just perfect!

The peek-a-boo hem was important. I have a pretty fierce alphabet fiend on my hands and I thought it would be a great opportunity to add an element that would teach her her name. Obviously that meant it must be appliqued upside down and backwards so she could read it. The panels on top were cut from the same scene so that it doesn't look too obvious that those bits are separate but more like they'd seem like pleats or even nothing at all! I used various solids and silver linen for the backing and fused them all down first then secured them with stitching.


And I saved the best element for last.
The gel playmat circle.
So the way my brain works is this:
"I gotta make a dress for __. How do I get them to love it?"
Then I brainstorm their favorite activities.
This time, I came up with a water.
How does one sew water? Off to Pinterest.
{insert many hours searching}
Nothing. Nada. Zilch. No help.
I found one pin about turning a Ziploc and some hair gel into a makeshift play-mat for a toddler. Obviously, I knew I would need to use a thicker grade vinyl.

But besides the big question of integrating an element as such to the dress, the BIG question was: How do I fuse the vinyl securely and comfortably while looking appealing?
The process was going to be quite the trial and error. And there were many tests.
First to address the fusing issue, I turned to my fellow Go Make Shit contributors and Thomas suggested two different vinyl glues. I don't know why I didn't realize that there would be a glue special for vinyl but there is!

First I stitched a blue piece of fabric behind one piece of vinyl so that this thing wouldn't stick to her chest. I used a lightweight ml vinyl (I think it was 8ml because I tried it once with 12 and it was too thick for my taste). I had a problem getting a thin enough line so I made my seam allowance a little larger to accommodate the glue spread. A little super glue helped with the itty bitty spots that needed a touch up. Leaving a small opening I added blue hair gel, various colors of glitter glue, some blue iridescent glitter and some glitter stars. Then, switching to a 100 size needle, I added a small blue binding around the edge so the glue edge was covered up.
Once I made a successful gel circle (I think I had about three tries at it before I was satisfied), I did part one of the two most gut wrenching, nerve wracking, oh-my-god-I-want-to-cry-while-sewing-this in-even-though-it's-going-well...parts: cutting a perfectly sized circle out of my otherwise completely finished dress. It was like the feeling one gets when making buttonholes but times 200. Serious anxiety. Circle cut out to the right dimensions, I notched and pressed under the edge just so that it matched perfectly with the binding.

Then. The true test that this was not all for naught. Oh please let me not mess this up and ruin this dress!
Stitching in the circle cost me one of my nine lives, folks. I stitched one stitch at a time. Sloooooooooooowly. And pivoting carefully. And praying to the sewing gods that I didn't go outside the fused area. I kept thinking: "please don't show a wet spot. please don't show a wet spot." Honestly, I needed a shot of bourbon halfway through but we had nothing in the house! HA!
I did an actual Happy Dance when I finished successfully. Seriously, folks, I got up and danced. OMG, that was stressful! But soooo rewarding! I think it looks so cute and that thing is durable! You can tug it, stretch it, punch it.... it doesn't leak! So damn proud of myself!
I can officially check off the "sewed liquid into a garment" box on my internal sewing challenge list!

Huzzah!

Funniest part? The diva didn't even want to wear it on her birthday! Sheesh!
No matter. She eventually brought it to me and requested to wear it which is when the photoshoot(s) happened.


mommy photobomb
And she loves it!

A dress full of fun activities for my sweet, adventurous little girl. Sephira, I love you so infinitely!


Still so very much more to come!!!
Until next time!
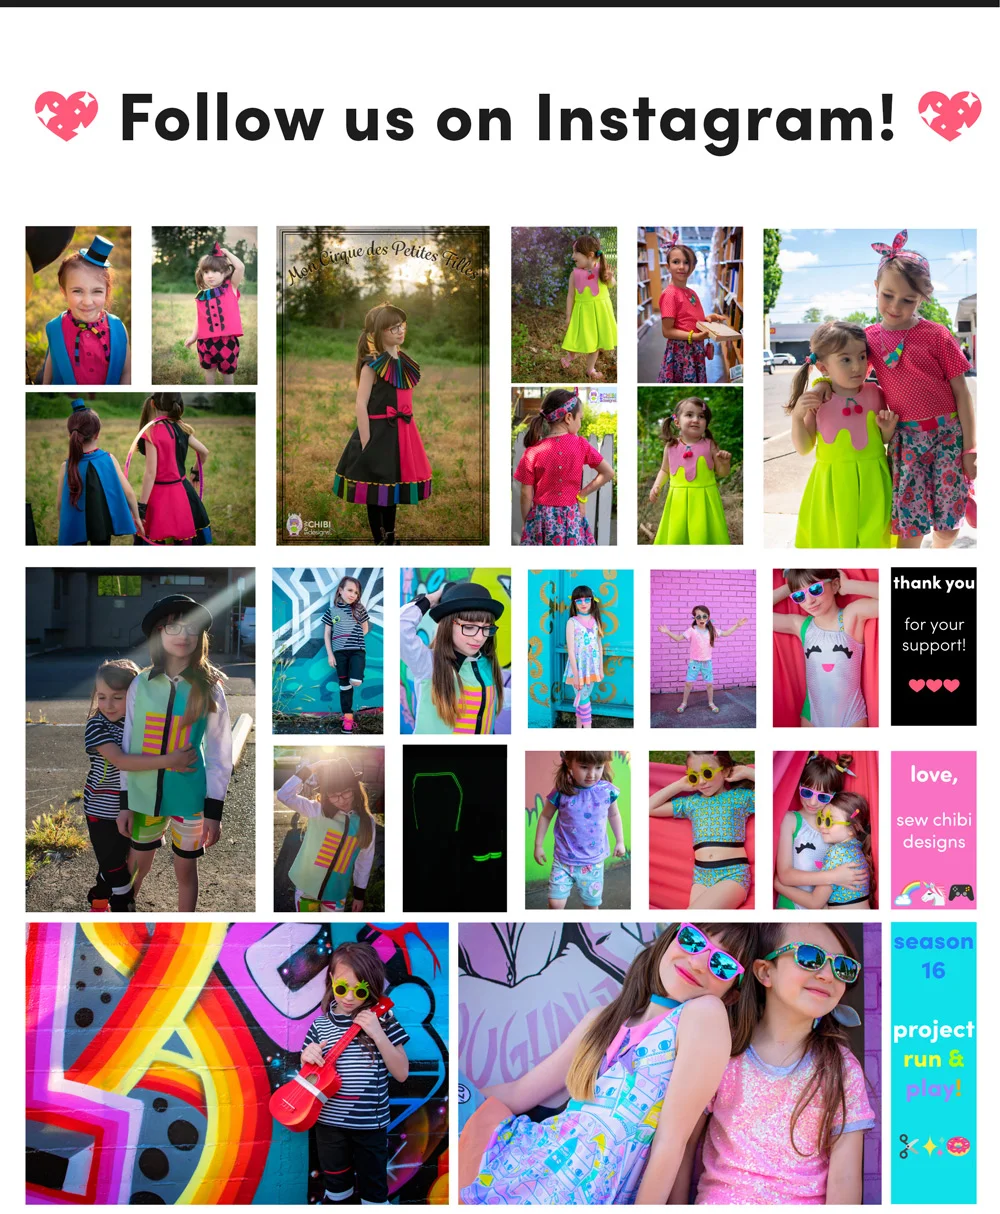


YAY! You're here! I'm so happy! I'm Kat! Mom, shawol, and pattern designer, this is the place where I share all of my sewing projects, chibi cosplay fashion, and DIY/tutorials! Everything around here is action-packed with color, silliness, and tons of kawaii stuff!